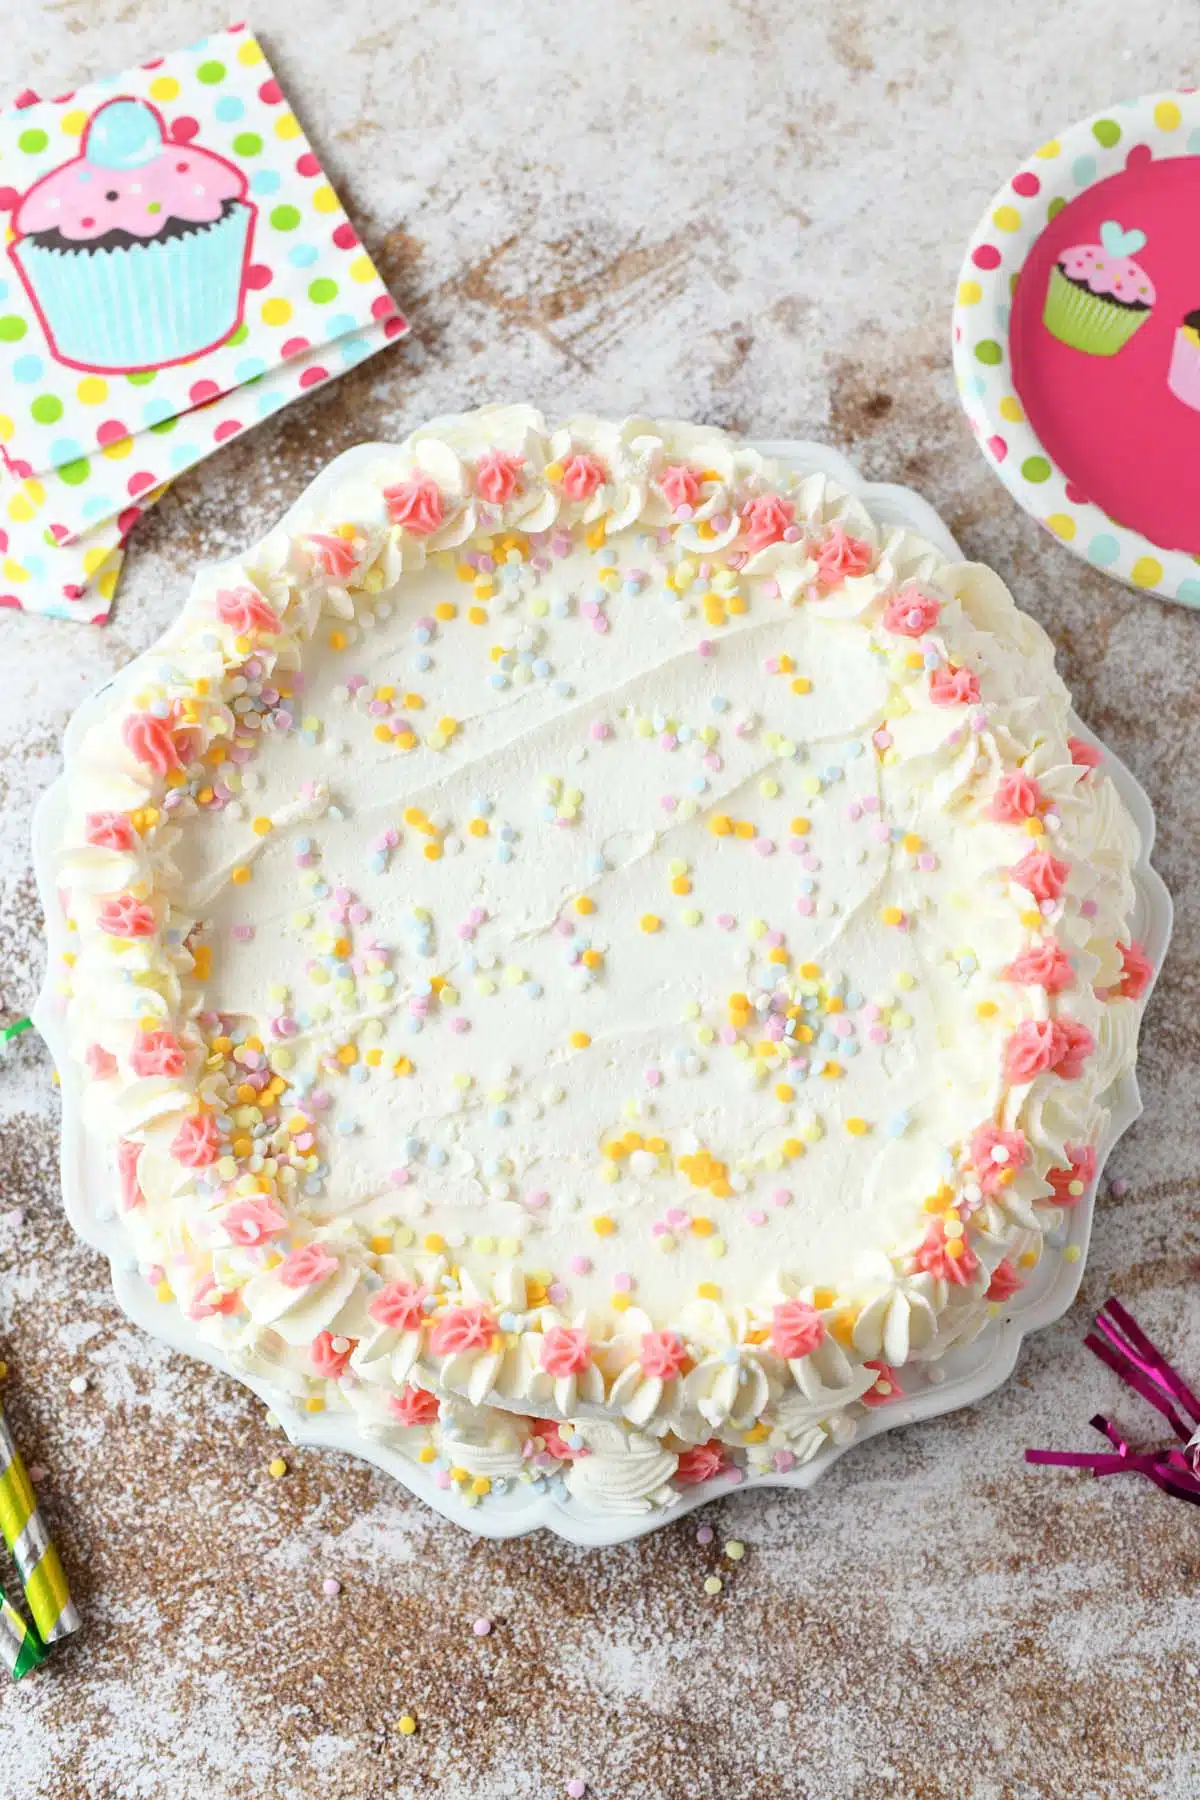
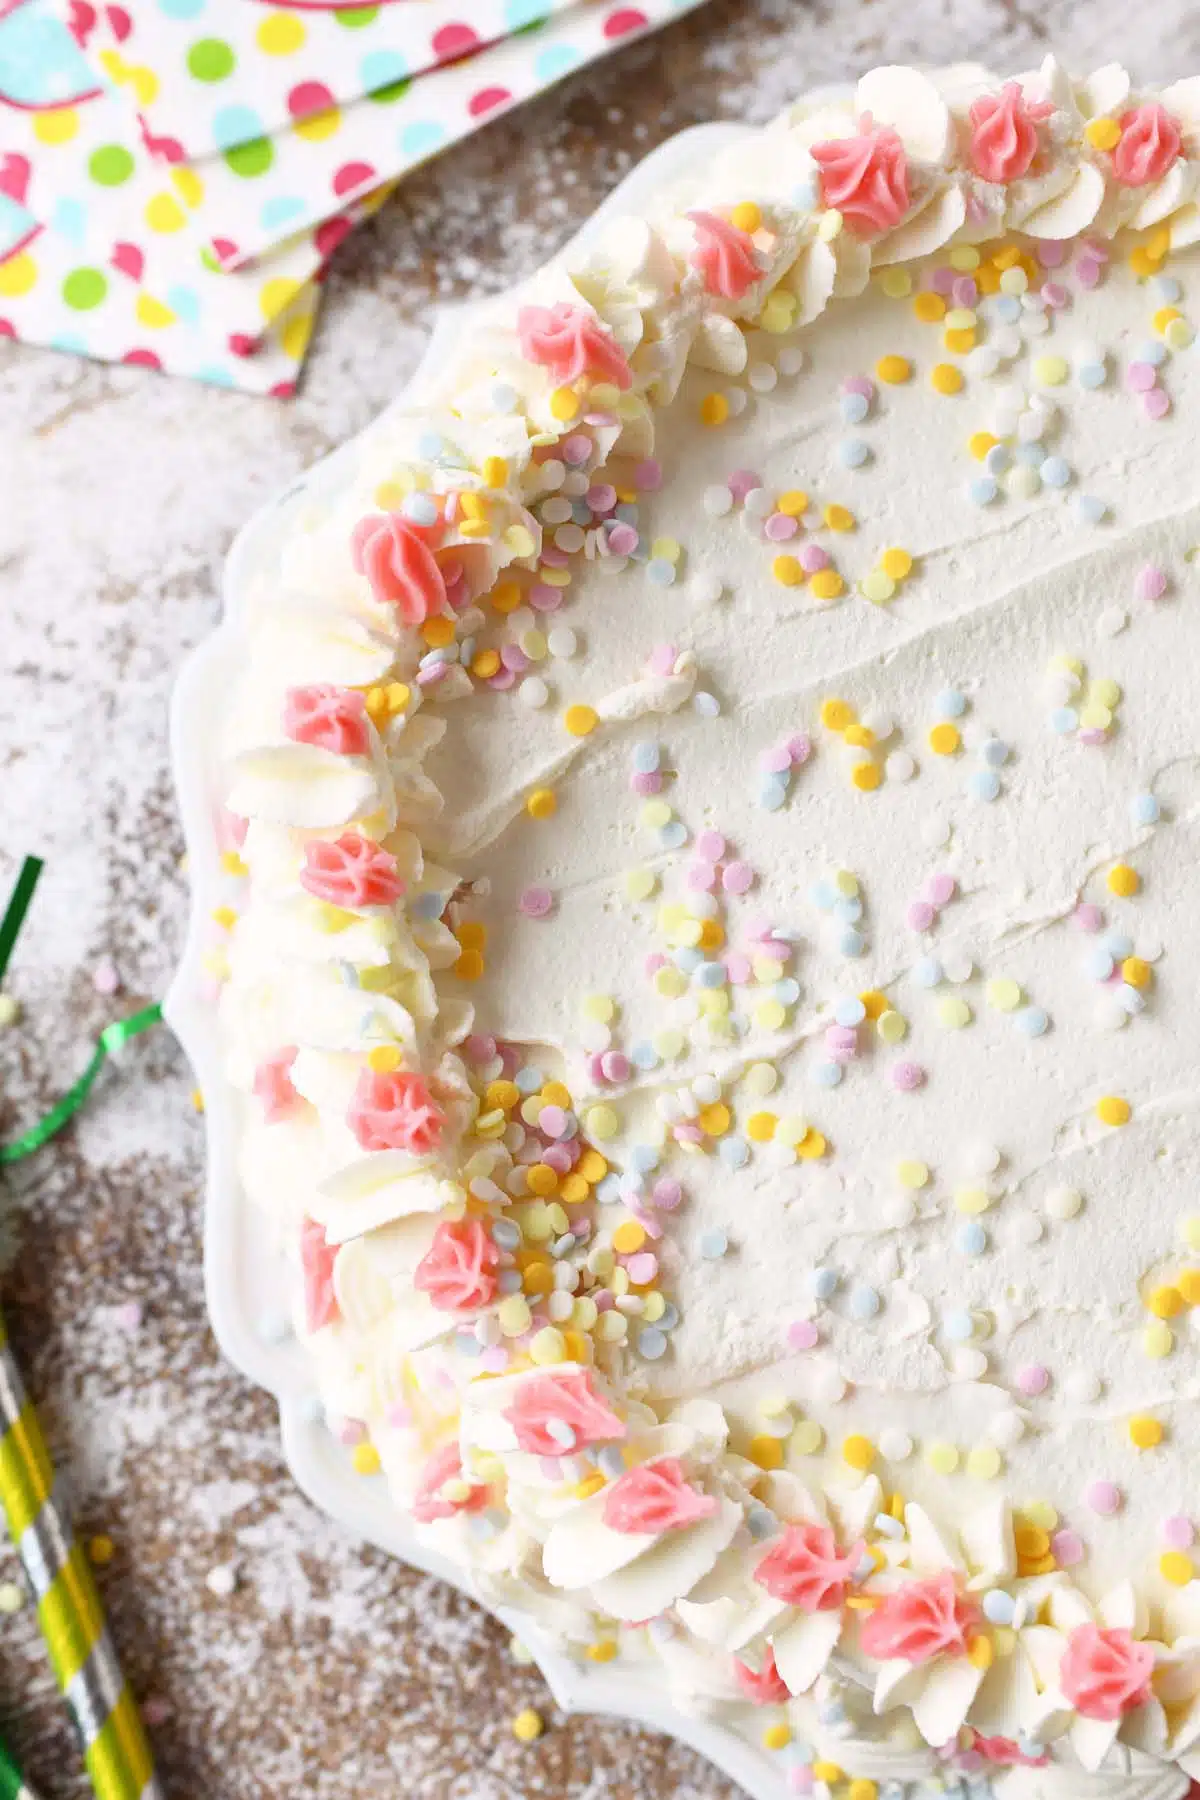
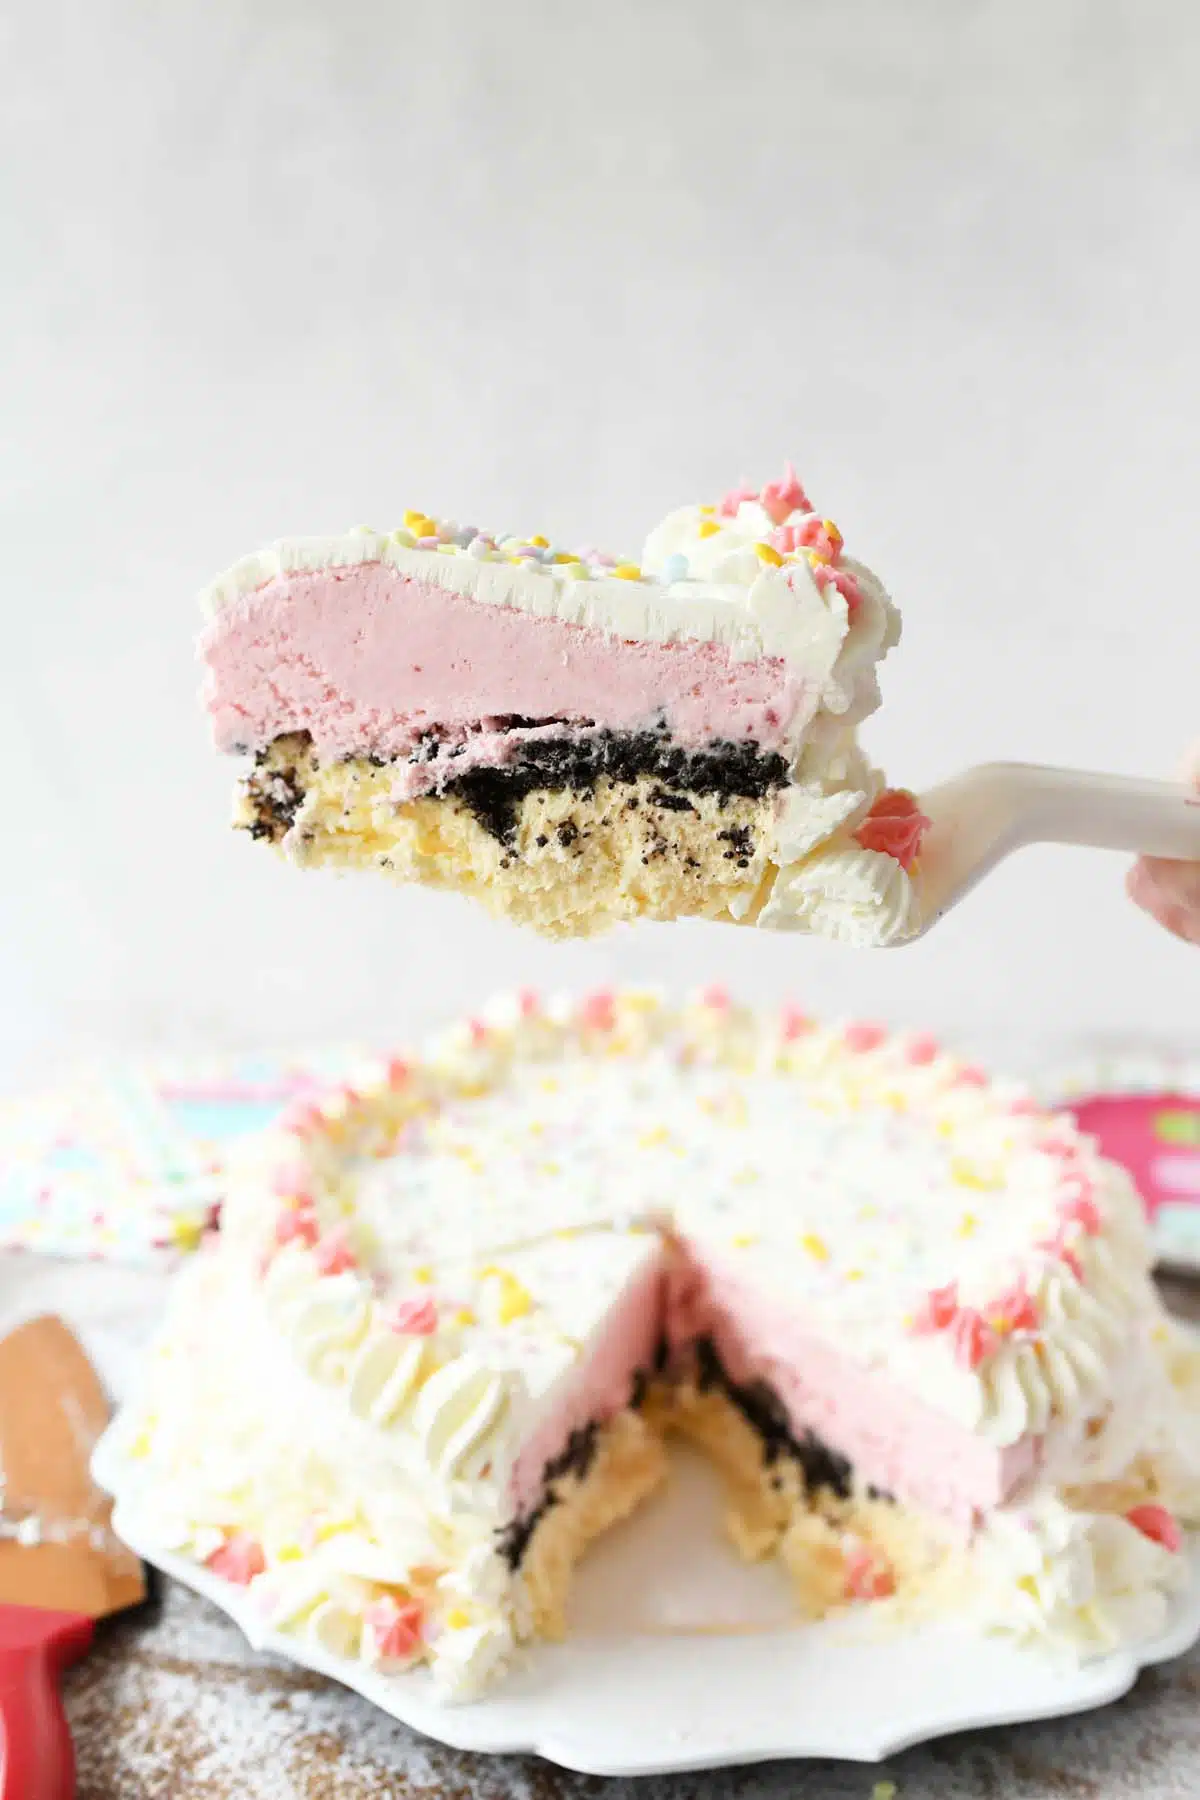
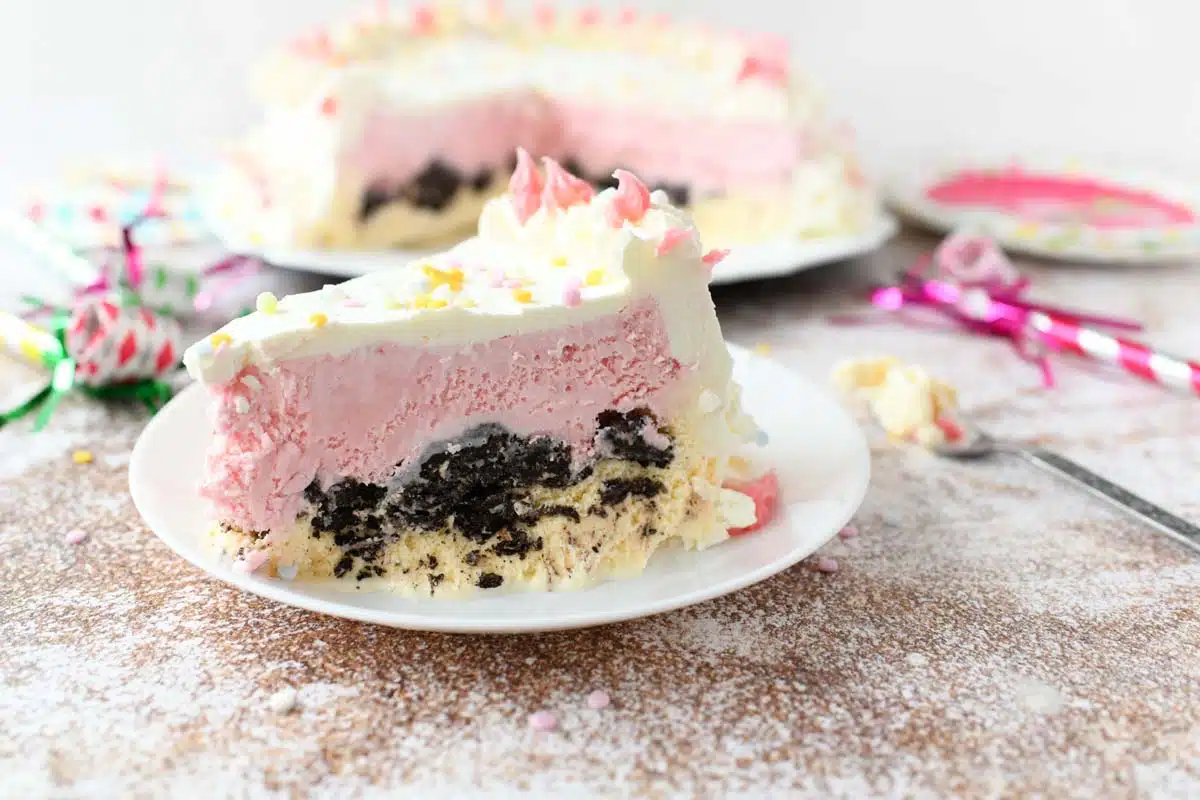
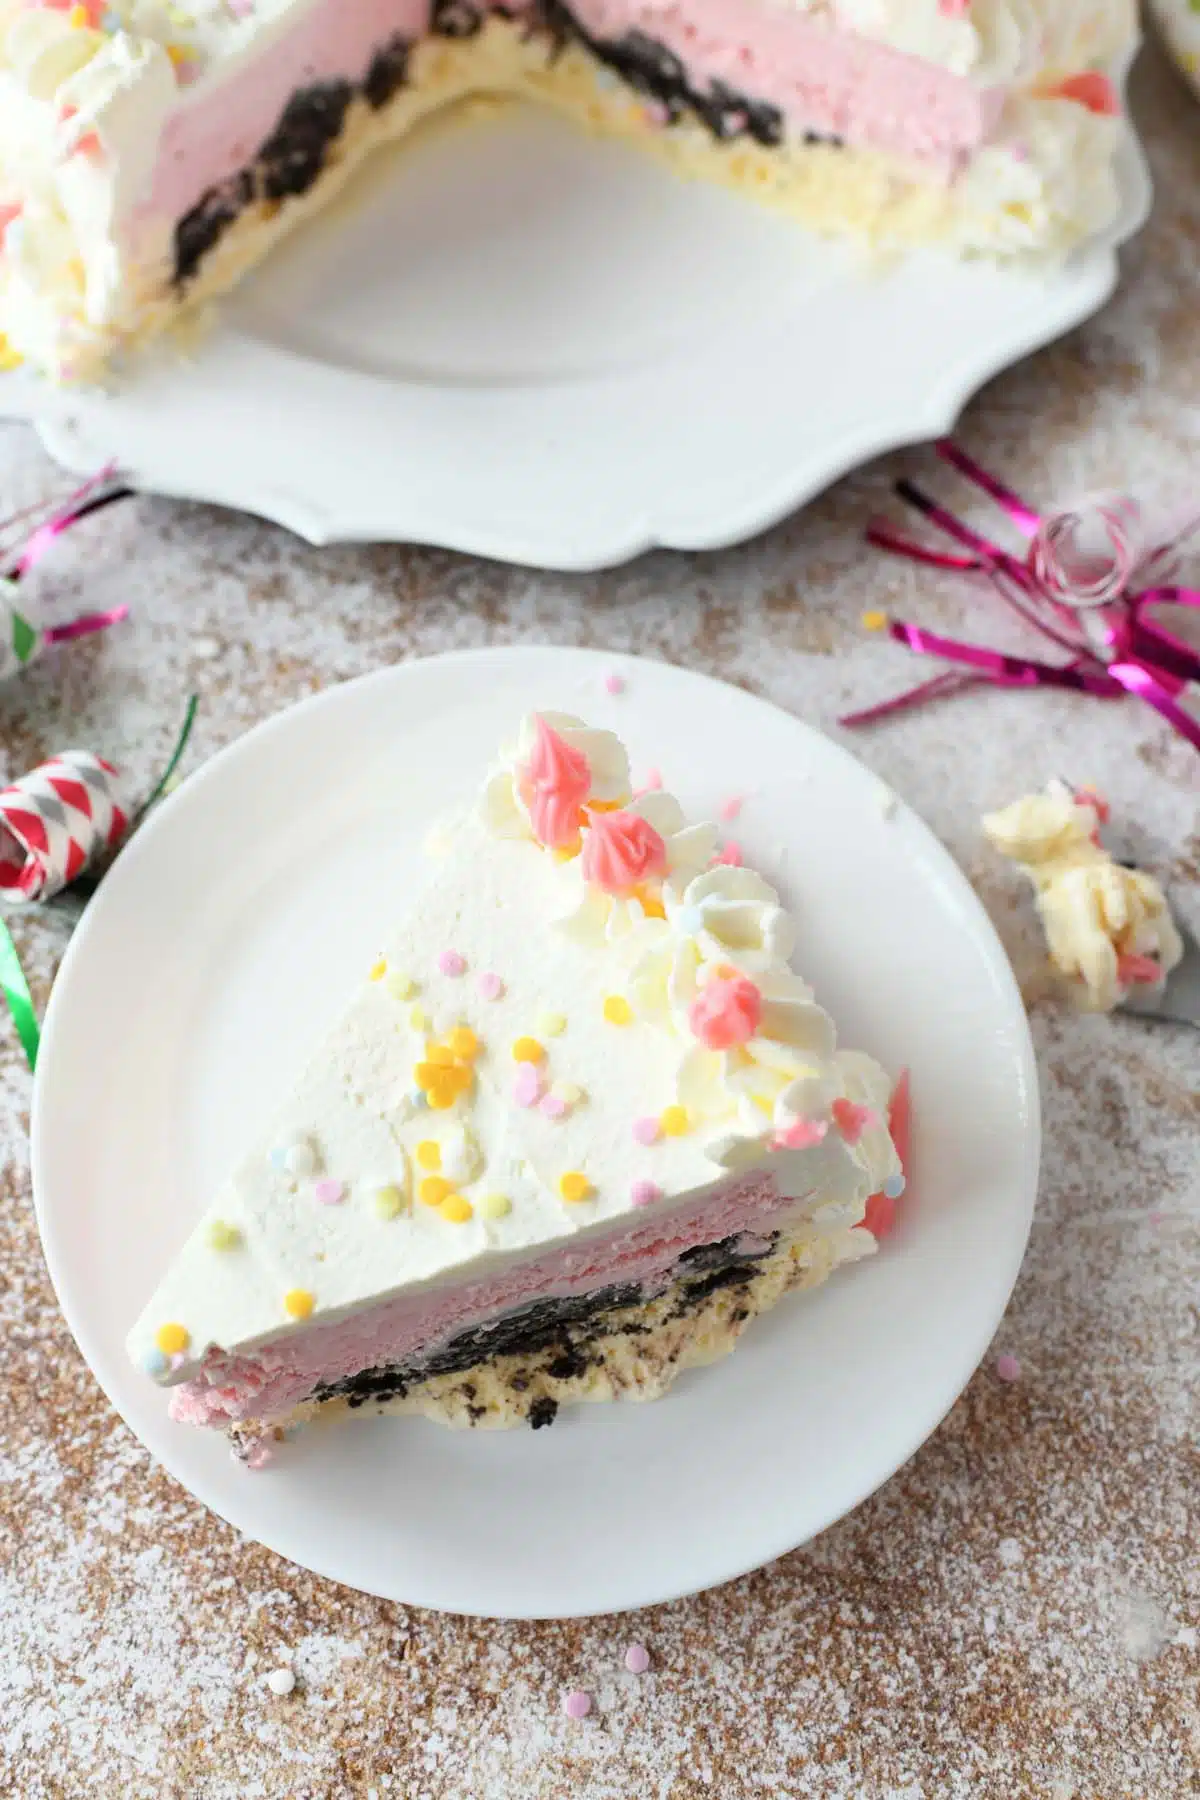
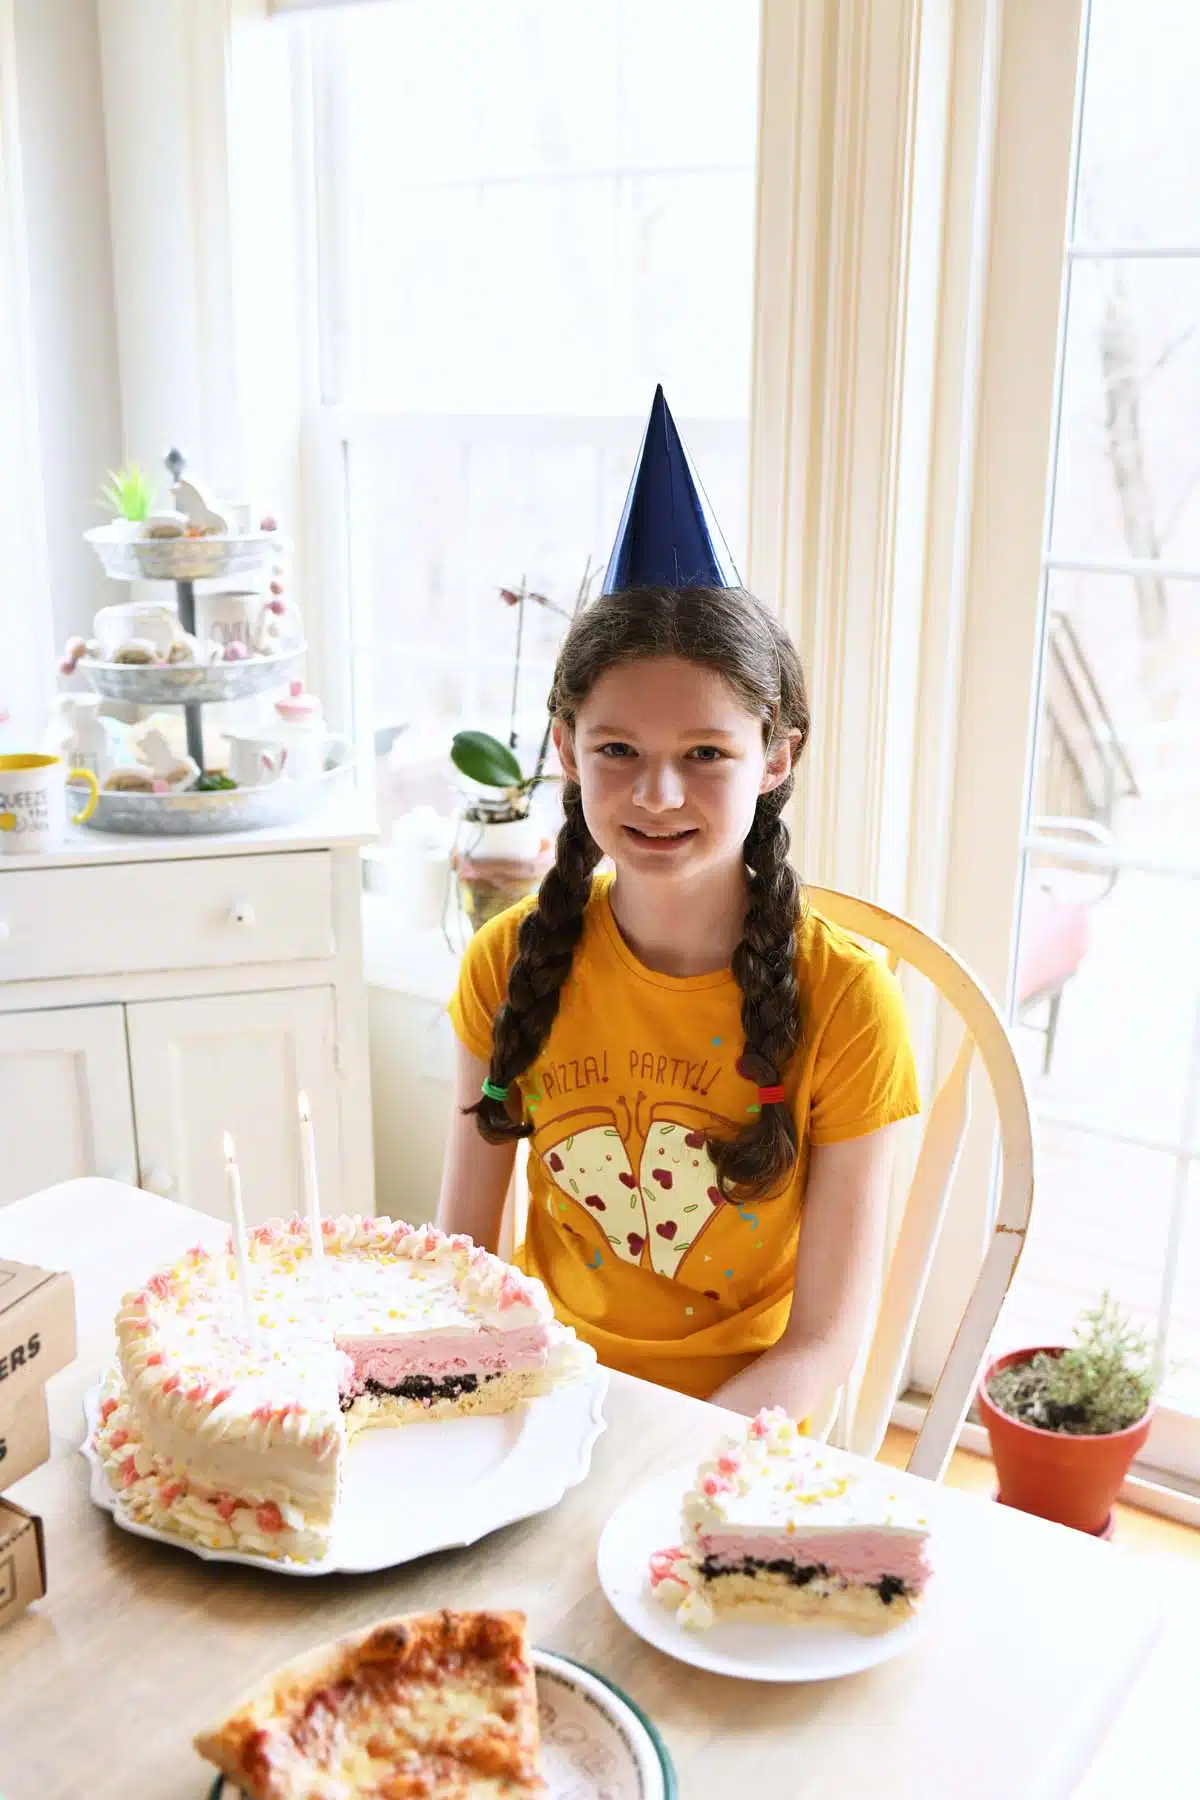
Homemade Ice Cream Cake with Crunchies is a delicious and refreshing dessert that is perfect for any occasion. It is made with layers of vanilla and strawberry ice cream, sandwiched between crunchy cookie crumbs, and frosted with whipped cream and sprinkles. The cake is then frozen until firm and sliced to serve.
In this post, we’ll show you how to make homemade layered ice cream cake that is similar to the store-bought brands (but tastes even better!) You’ll love how easily customizable this ice cream cake is since you can change the ice cream flavors so easily. Ready in about 12 hours, this cake will feed 16 people. Serve it at your next birthday party, or event for a fun and easy party cake for people of all ages.
It only made sense to also make an ice cream cake featuring her favorite ice cream flavors which are vanilla and strawberry.
Ice Cream Cake Ingredients
Before starting this recipe, you’ll want to verify that you have the following ingredients:
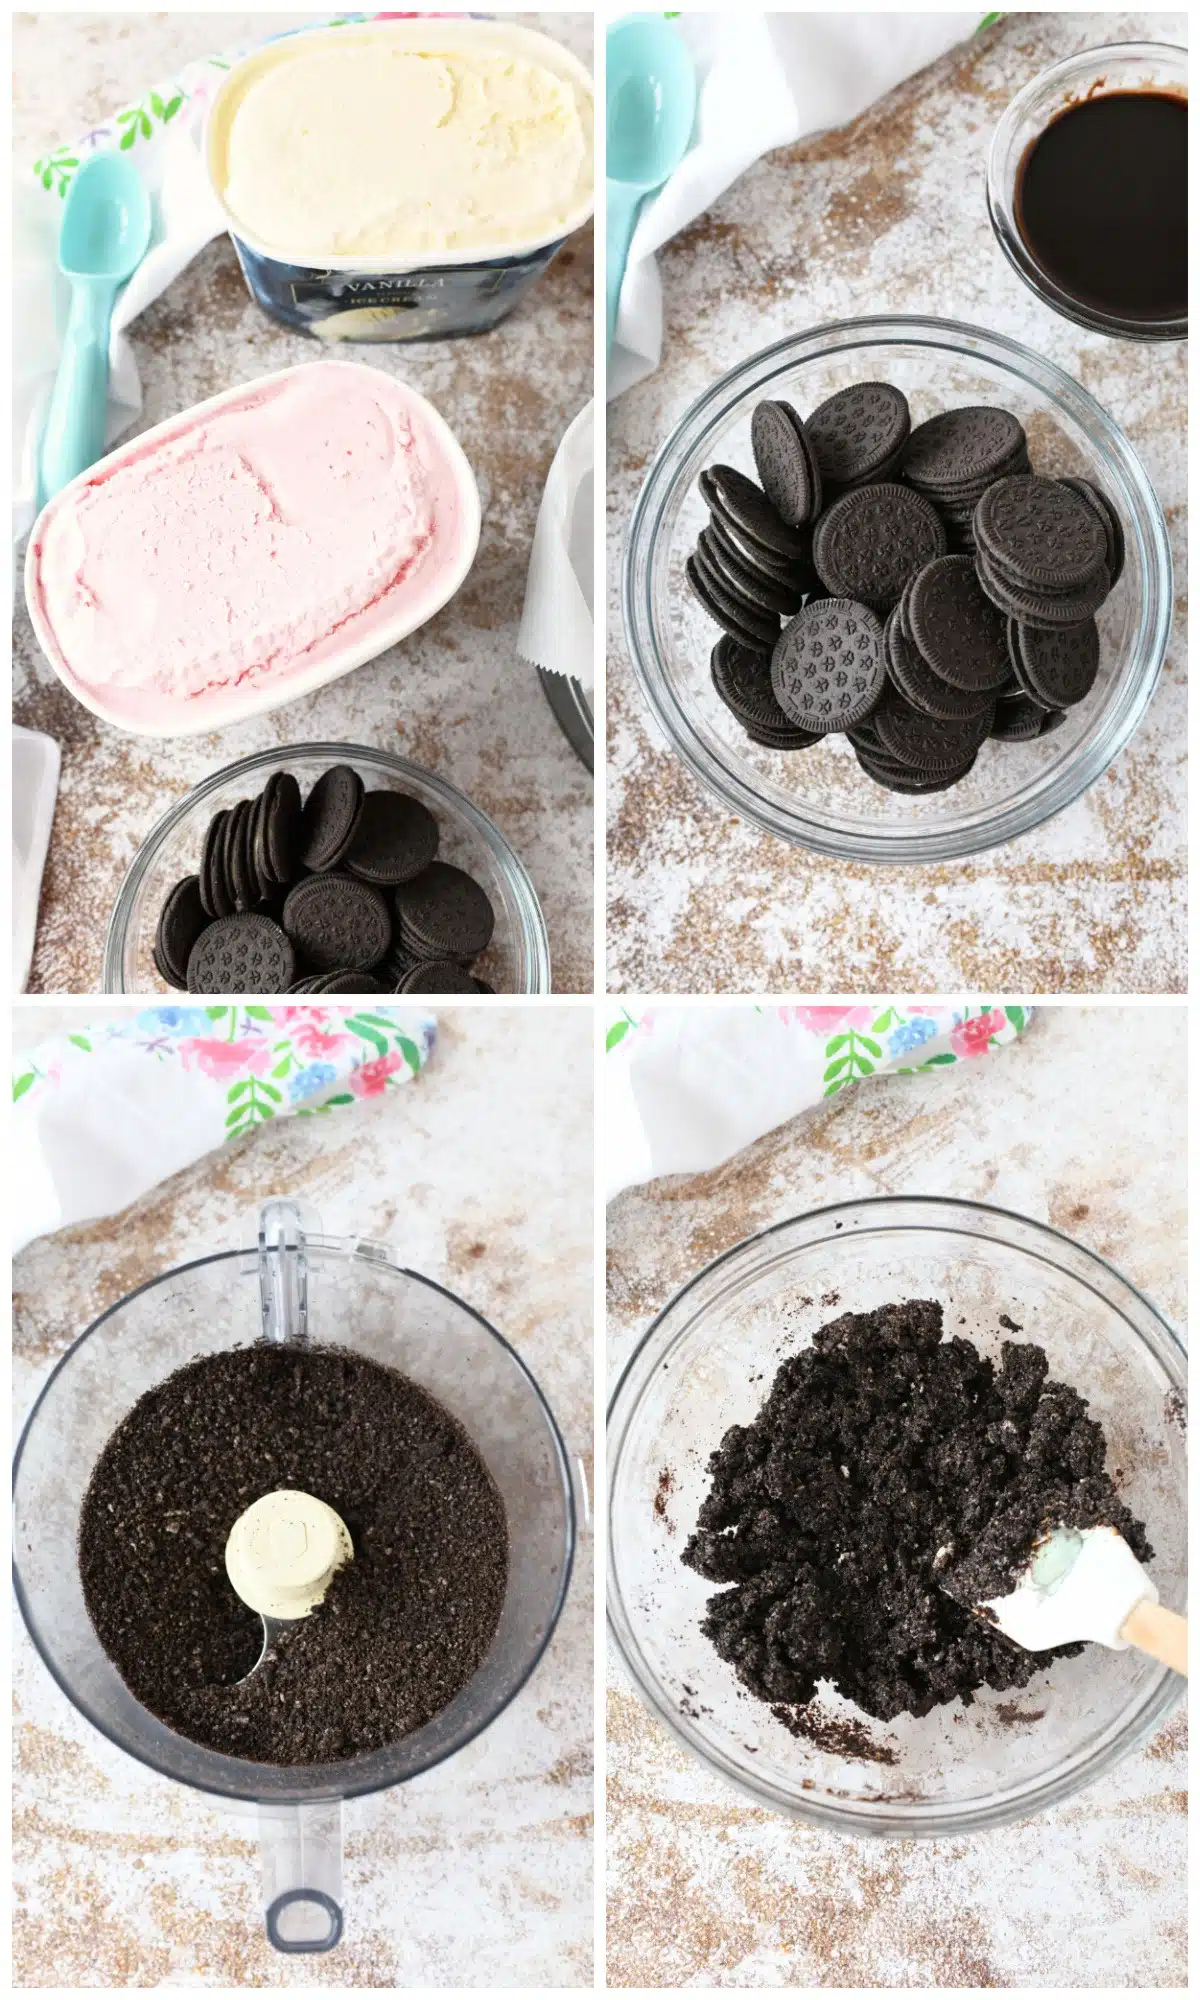
- Vanilla ice cream – We used 1.5 quarts of store-brand ice cream. You can use whatever variety you like as long as you are strict to the 1.5 quarts measurements.
- Strawberry ice cream – We used 1.5 quarts of store-brand ice cream. You can use whatever variety you like as long as you are strict to the 1.5 quarts measurements.
- Chocolate sandwich cookies – You will need to leave the icing in-between these sandwich cookies. Process them until coarsely ground.
- Hot fudge sundae sauce – This will mix with the cookie crumbs to create the “crunchies” in-between the ice cream center.
- Heavy whipping cream – This dairy-based liquid is used to make the real whipped cream frosting.
- Powdered sugar – Used to sweeten the whipped cream frosting.
- Sprinkles – We tried to get ours as close to the famous ice cream cake brand as possible. You can use whatever types you prefer.
- Pink frosting – This bagged icing comes with a small star piping tip and is perfect for detail work.
Ice Cream Cake Equipment and Supplies Needed
We used the following equipment and supplies to make this recipe. Items that are optional or can be substituted will be noted.
- Food processor – You will need this to finely process your cookie crumbs for the “crunchies” middle layer.
- Parchment paper – This will make removing your ice cream cake from the springform pan a breeze.
- 10″ Springform pan – By far the best size and method for making homemade ice cream cake. The edge of this pan opens up for easy access to the cake.
- Rubber Spatula – Used to smooth the real whipped cream frosting onto the frozen cake base.
- Plastic wrap – To wrap the cake up in when storing in the freezer.
- Large spoon – To add the icing to the piping bag.
- Stand mixer (whisk attachment) – While you could use a handmixer, a stand mixer with the whisk attachment makes making real whipped cream icing a breeze.
- Piping Bag – This will hold the real cream frosting used to pipe the cake.
- Large star tip – To pipe the accents on the cake.
- Freezer with ample space – To freeze the cake and store any leftovers.
How to Make Homemade Ice Cream Cake
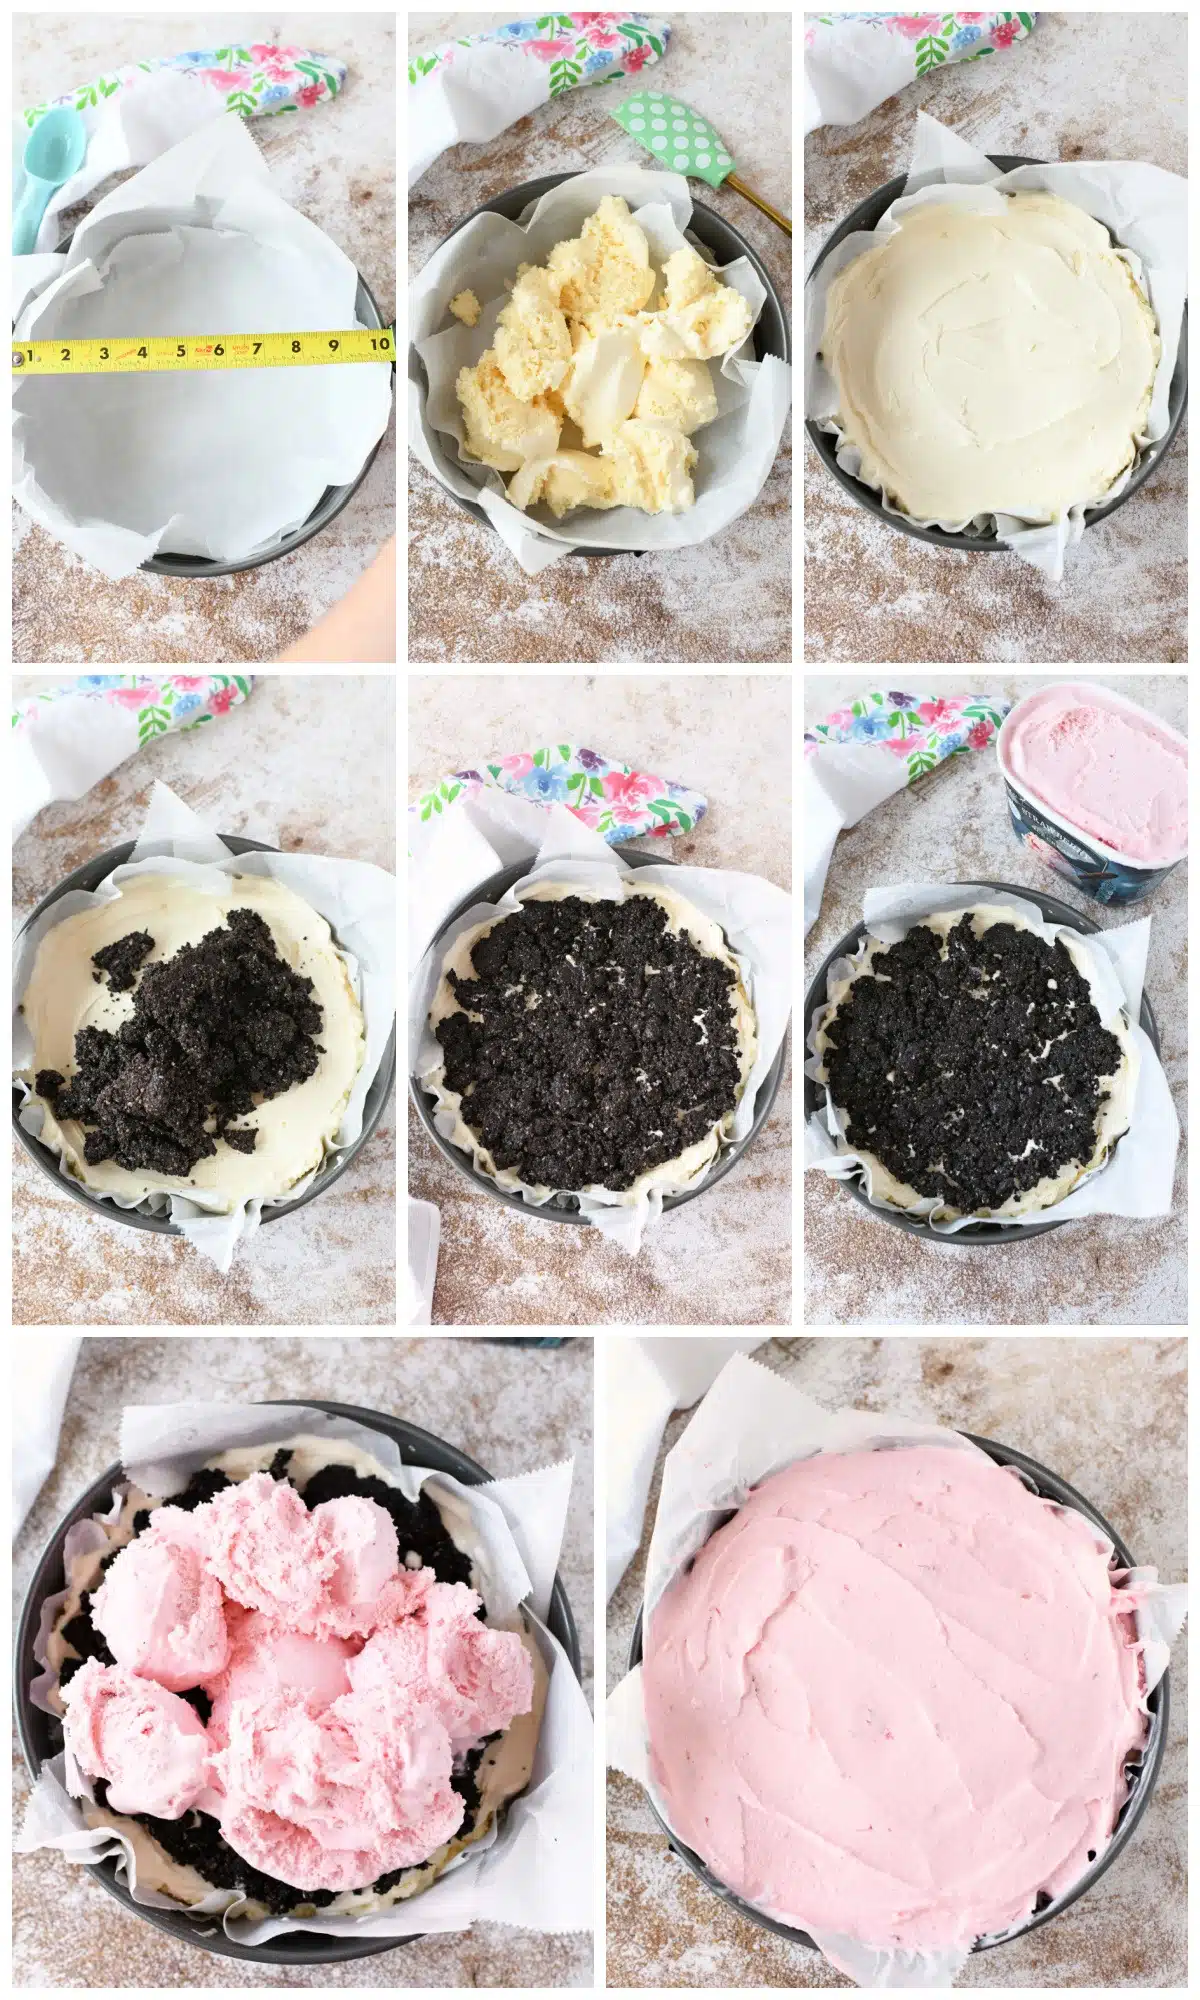
- Line springform pan with 3 layers of parchment paper to create an even overhang of paper over the pan.
- Once the vanilla ice cream has softened for about 20 minutes at room temperature, scoop out the contents and place them in the bottom of the parchment-lined springform pan. Use a rubber spatula to evenly smooth the layer. Place the pan in the freezer for about 2 hours.
- Add cookies to a food processor and process until coarsely ground; mix cookie crumbs with the sundae sauce and set aside.
- Remove the pan from the freezer and spread the cookie layer evenly. Return the pan to the freezer for 2 hours.
- Remove the pan from the freezer and add the softened strawberry ice cream layer. Use a rubber spatula to evenly smooth the layer. Cover the pan generously with plastic wrap and freeze for at least 8 hours.
- Once the cake has been frozen for 8 hours, it is time to frost it. Add heavy whipping cream and powdered sugar into the stand mixer bowl. Whip on medium-high speed for 4-6 minutes or until thick, fluffy peaks form in the whipped cream bowl. Fill a piping bag with half of the frosting.
- Add a hefty scoop of frosting to the center of the cake and smooth it over with a rubber spatula. Continue this process until the top and sides of the cake are frosted.
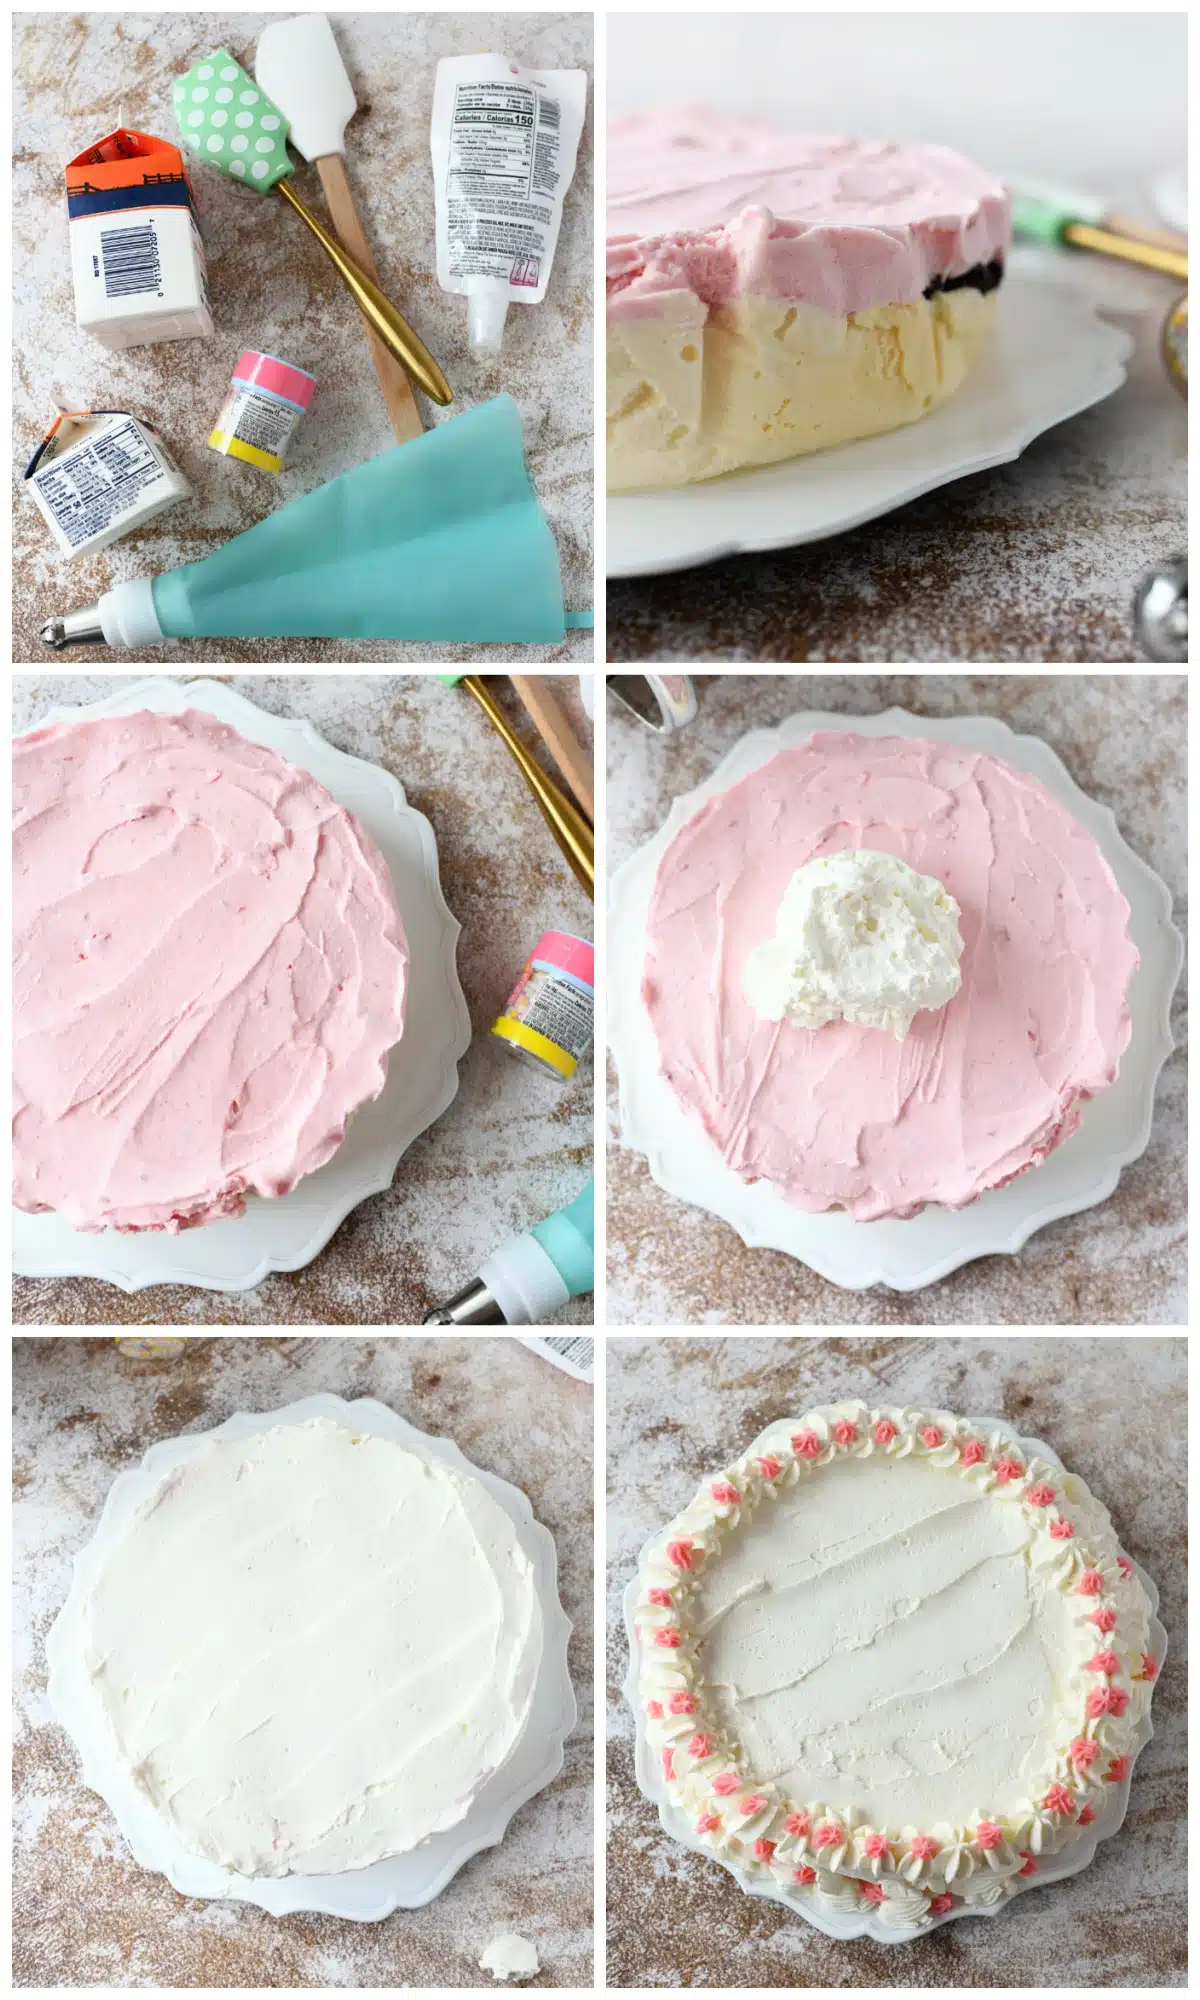
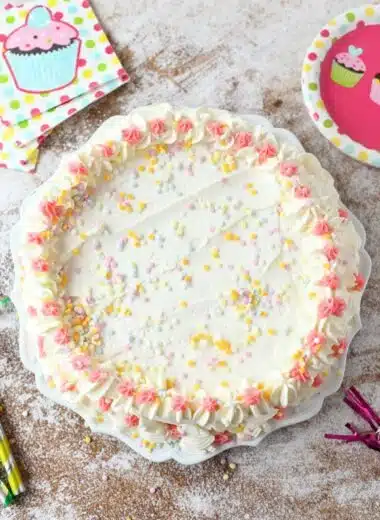
- Using your filled pastry bag, pipe the edges of the cake and the top circumference. Add sprinkles to the cake and return it to the freezer for at least 30 minutes, or until you are ready to eat it. I suggest preparing this for consumption within the hour unless you have a cake holder that can cover this cake in the freezer.
- To serve, slice the cake and serve.
Recipe Tips
This recipe is easy to make if you know the right tips and tricks! Here are my tips for ensuring your Homemade Ice Cream Cake comes out perfectly.
Ice Cream Flavors
The beauty of this ice cream cake recipe is that you can use whatever flavors of ice cream you prefer or may have gotten on sale. The more premium the ice cream, the better tasting, and firmer this cake will be. We used a store-brand and it did take the full suggested freeze times since it is not a premium blend.
You can also mix up the crunchies and try golden sandwich cookies mixed with caramel or peanut butter sauce. This step is pretty versatile so you can use the flavors you prefer.
Frosting
We really love the way the real whipped cream worked with our cake flavors. It froze beautifully and tasted wonderful. You can mix up your frosting if you prefer. To make cocoa frosting, skip the powdered sugar mixed with the real whipped cream and use one standard packet of hot cocoa powder mix. You can also opt to use whipped topping which you will need 24 ounces of.
Storage
If you want to store your Homemade Strawberry-Vanilla Ice Cream Cake, just follow these easy steps.
This cake will last up to 5 days when wrapped tightly with plastic wrap in the freezer. I do suggest avoiding freezing it in a freezer that is storing fish, onions, or other strong-smelling foods as it may pick up any odors in its taste. Wrapping leftovers may also ruin the decorative integrity of the cake. If you have smaller portions leftover, consider using a plastic food storage container.
Recipe
Follow the recipe below to make Homemade Ice Cream Cake! This recipe makes 16 SERVINGS, but you can adjust the recipe card for other serving sizes.
Homemade Strawberry-Vanilla Ice Cream Cake Recipe
Equipment
- food processor
- parchment paper
- 10" Springform pan
- Rubber Spatula
- Plastic wrap
- Large spoon
- Stand mixer (whisk attachment)
- Piping Bag
- Large star tip
- Freezer with ample space
Ingredients
- 1.5 quarts vanilla ice cream softened (at room temperature for 20 minutes)
- 1.5 quarts strawberry ice cream softened (at room temperature for 20 minutes)
- 10.5 ounces chocolate sandwich cookies coarsely processed
- ¾ cup hot fudge sundae sauce cooled
- 24 ounces heavy whipping cream chilled
- 3 tablespoons powdered sugar
- 2 tablespoons sprinkles flat, pastel sprinkles
- 4 tablespoons pink frosting store-bought in a bag with a star tip.
Instructions
- Line springform pan with 3 layers of parchment paper to create an even overhang of paper over the pan.
- Once the vanilla ice cream has softened for about 20 minutes at room temperature, scoop out the contents and place them in the bottom of the parchment-lined springform pan. Use a rubber spatula to evenly smooth the layer. Place the pan in the freezer for about 2 hours.
- Add cookies to a food processor and process until coarsely ground; mix cookie crumbs with the sundae sauce and set aside.
- Remove the pan from the freezer and spread the cookie layer evenly. Return the pan to the freezer for 2 hours.
- Remove the pan from the freezer and add the softened strawberry ice cream layer. Use a rubber spatula to evenly smooth the layer. Cover the pan generously with plastic wrap and freeze for at least 8 hours.
- Once the cake has been frozen for 8 hours, it is time to frost it. Add heavy whipping cream and powdered sugar into the stand mixer bowl. Whip on medium-high speed for 4-6 minutes or until thick, fluffy peaks form in the whipped cream bowl. Fill a piping bag with half of the frosting.
- Add a hefty scoop of frosting to the center of the cake and smooth it over with a rubber spatula. Continue this process until the top and sides of the cake are frosted.
- Using your filled pastry bag, pipe the edges of the cake and the top circumference. Add sprinkles to the cake and return it to the freezer for at least 30 minutes, or until you are ready to eat it. I suggest preparing this for consumption within the hour unless you have a cake holder that can cover this cake in the freezer.
- To serve, slice the cake and serve.
Leave a Reply