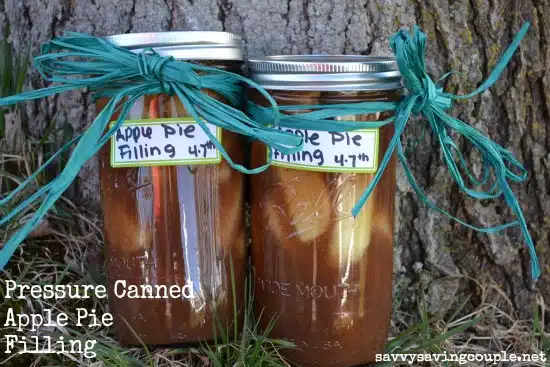
It’s that time of year when you are thinking about what to make for the holidays. One thing that is always on my list is apple pie filling. It just doesn’t seem like Thanksgiving without it! The only problem with apple pie filling is that it takes a lot of work and time to can your own apples, but not anymore! I’m going to show you how easy it is to make canned apple pie filling from scratch in no time at all. If you’re interested, keep reading below!
This recipe uses fresh apples, lemon juice, nutmeg, and cinnamon to make 3 quarts of apple pie filling. Three quarts of filling is enough to make two apple pies. The canning process uses a pressure canner and glass canning jars.
Before diving into the recipe, I believe it’s important to discuss some facts about pressure canning.
What’s a Pressure Canner?
A pressure canner is a large pot that has a special lid that locks and seals onto the pot. Pressure canners have a pressure gauge on the lid to indicate what pressure is inside and are large enough to fit several jars at once.
Pressure canners are different from pressure cookers in the fact that they’re usually larger than pressure cookers and are specifically designed for canning foods. Their pressure gauges are usually more accurate and are made to pressure can up to pressures of 25 psi (pounds per square inch).
Since steam is hotter than boiling water, pressure canning is a hotter canning process than conventional canning. Therefore, it’s more effective at killing dangerous bacteria like Clostridium botulinum (a bacteria that produces botulism toxin) that could be thriving on low acidic foods.
What Types of Food Work Best in a Pressure Canner?
Any kind of food that you want to preserve by canning that is low in acid needs to be pressure canned. That means anything with a pH of more than 4.6 must be pressure canned. This includes all meats, vegetables, poultry, and seafood.
Apples have a pH of 3 – 4. However, the addition of the sauce and spices may bring the pH higher. Therefore, it’s safer to pressure can apple pie filling.
You can’t go wrong with pressure canning. Therefore, when in doubt whether a food requires pressure canning vs. conventional canning, I would choose pressure.
Equipment and Supplies
In order to make this apple pie filling and pressure can it, you’ll need the following equipment and supplies:
- 10-quart or larger Pressure Cooker / Canner – This can be electric or stovetop powered.
- Canning Rack – Optional
- Stainless Steel Funnel – Optional but recommended
- Stainless Steel Ladle – Optional but recommended
- Jar Lifter – Optional but recommended
- One-quart Canning Jars, Lids, and Rims – You can use another size if you wish.
- Large Mixing Bowl
- Stockpot
- Stovetop
Canning Tips
- Investing in a stainless steel ladle and funnel will help the sweet, sticky apple pie filling cleanly enter the canning jar.
- A jar lifter is a big help with lifting the hot jars out of the pressure cooker when they’re finished. You can also use large tongs, but something designed specifically for canning cars works much better.
These tools aren’t required, but definitely help the process go smoother and cleaner.
Clean the Jars and Lids
Before getting started, take the time to clean your tools and supplies.
Thoroughly clean the canning jars, lids, and rims with soap and water and place them upside down on a wine drying mat or paper towels.
In addition, if you’re using a funnel and ladle, clean those too.
Now to the fun part, my actual apple pie filling recipe! I am all about simplicity so this recipe reflects that!
Homemade Apple Pie Filling
Apple pie is a classic American dessert, but if you’ve never made it from scratch before, the process can seem daunting. With this recipe for apple pie filling, you’ll be able to whip up your favorite home-cooked dessert in no time at all!
A basic apple pie filling consists of sliced apples, water, a thickener like ClearJel powder, sugar, cinnamon, nutmeg, and ginger.
The best apples to use for apple pie are slightly tart and not too sweet. We like Granny Smith due to their tartness and the robust flesh that holds up to the canning and baking process. Honeycrisp is another good choice due to its sweetness and crispness. Pink Lady and Gala are also great in pies.
If you want the best of both worlds, try mixing two varieties together. That way, you end up with a perfect balance of sweetness and tartness in your final product!
Making the Apple Pie Filling
Make sure to wash the apples and dry them first. Peel the apples, core them, and slice them in the size you want for your pies. We like to slice our apples into wedges. Some people like them in cubes or small slices. Since you’re making your own pie filling, you can slice them however you’d like!
Set the sliced apples in a large glass bowl. Toss them with lemon juice to prevent excess browning. Lemon juice is an antioxidant, so it slows down the process of oxidation, which causes the apples to turn brown.
On the stovetop, heat the water, lemon juice, sugar, cinnamon, nutmeg, and Clear Jel® in a stockpot.
Stir the mixture regularly when heating. It will start to thicken into a syrupy consistency. Once the mixture starts to boil, remove it from heat.
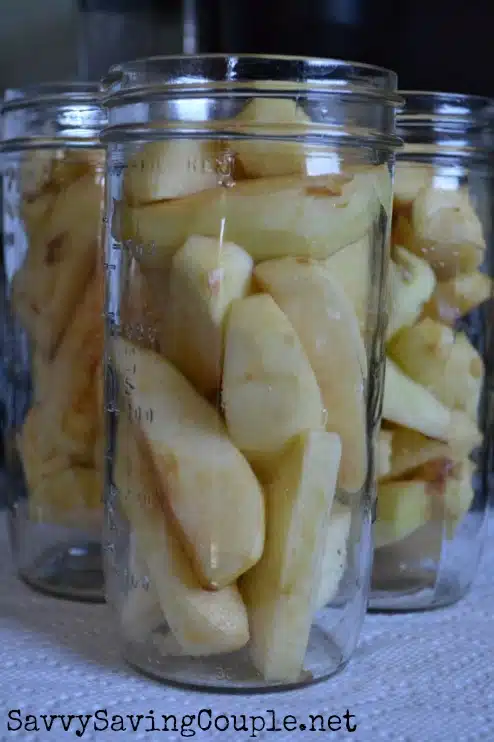
Now’s the time to start filling your jars. Grab your clean jars and pack them with apple slices.
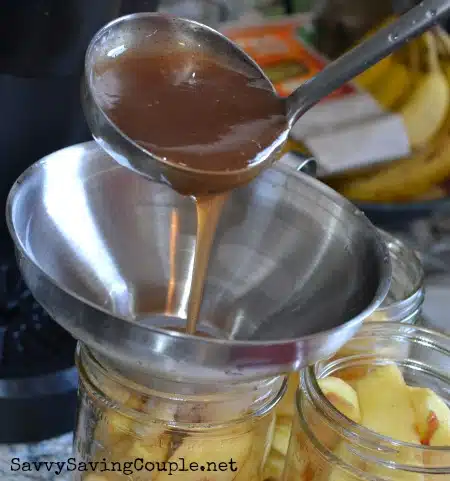
Place your funnel over the top of the jar. Using a ladle scoop the syrup into your jars, wait a few seconds until the mixture settles to the bottom before adding more. Do not fill above the jar’s fill line!
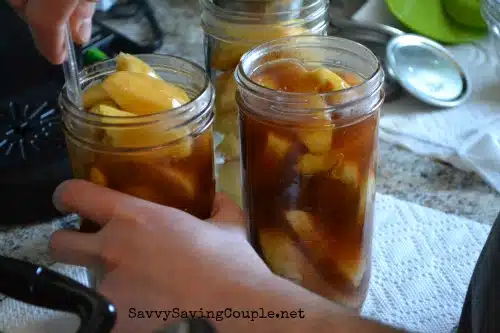
Use a bubble freer or butter-knife to go around the edges of the inside of your jars to free any unnecessary air-the less air the better
Wipe the jar rim with a clean paper towel. Place the lid on the jar and screw the cap tight snugly, but do not over-tighten it.
Repeat this process for the remaining jars.
Pressure Canning Instructions
Make Sure the pressure canner is clean.
Insert a rack on the bottom of the pot. This keeps the jars off the bottom of the pot and allows the steam to fully surround the jars.
Fill the pot with 2-3 inches of water and place the jars inside the pot.
Seal the pressure canner with its lid and turn your stovetop on high heat.
Close the pressure valve so the pressure cooker pressurizes.
Start timing once the pressure indicator rises and a steady stream of steam comes out of the operating valve for the first time.
Let it cook the cans under a pressure of 10 psi for 8 minutes.
Turn off the heat. Allow the pressure canner to de-pressurize naturally. Once the pressure indicator drops, you can open it up.
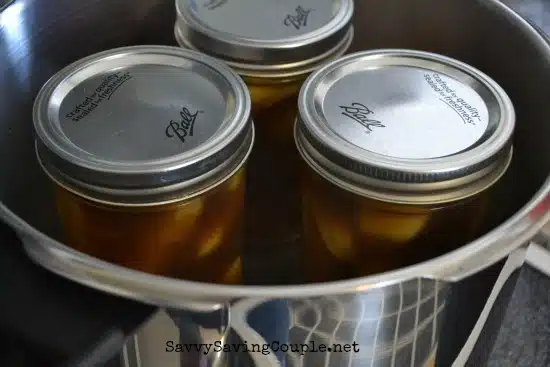
Remove the jars using tongs, and place them on towels, or a cooling rack.
Once the jar lids cool, they’ll suck in indicating that a full seal has been made.
*Warning these will be super hot so keep them out of reach from pets, and small kids!!
I hope you enjoy your pressure-cooked apple pie filling!
Recipe
Canned Apple Pie Filling
Equipment
- 10-Quart or larger Pressure Cooker / Canner
- Canning Rack (optional)
- Stainless Steel Funnel (optional)
- Stainless Steel Ladle (optional)
- Jar Lifter (optional)
- One-quart Canning Jars with Lids and Rims (you can use a different size if you wish)
- large mixing bowl
- stockpot
- Stovetop
Ingredients
- 12 cups tart apples About 18 medium size apples
- ½ cup lemon juice
- 3 ¾ cups purified water Avoid chlorinated tap water because it can affect the taste of your finished apple pie filling.
- ¾ cup ClearJel® powder Safely thickens the mixture.
- 2 ½ cups granulated sugar
- 1 tbsp cinnamon
- ½ tsp nutmeg
- ½ tsp ginger
Instructions
Clean and Sanitize the Canning Jars and Lids
- Thoroughly clean the canning jars, lids, and rims with soap and water. If you're using a funnel and ladle, clean those too.
- Place them upside down on a wine drying mat or paper towels until ready to use.
Make the Apple Pie Filling
- Wash the apples. Peel, core, and slice them in the size you want for your pies.
- Set apples in a large glass bowl. Toss them with lemon juice to prevent excess browning.
- On the stovetop, heat the water, lemon juice, sugar, cinnamon, nutmeg, and ClearJel® in a stockpot.
- Stir the mixture regularly when heating. It will start to thicken into a syrupy consistency. Once the mixture starts to boil, remove it from heat.
Adding Apples and Mixture to Jars
- Pack the canning jars with the diced apples.
- Starting with one jar at a time, place your funnel over the top of the jar.
- Using a ladle, scoop the syrup into the jar over the apples. Wait a few seconds until the mixture settles to the bottom before adding more. Do not fill above the jar’s fill line!
- Use a bubble-freer or butter knife to go around the edges of the inside of your jars to free any unnecessary air. The less air the better.
- Wipe the jar rim clean with a clean paper towel.
- Place the lid on the jar and screw the cap tight until snug, but do not over tighten it.
- Repeat this process for the remaining jars.
Pressure Canning
- Insert a rack on the botton of the pressure cooker pot.
- Fill with 2-3 inches of water.
- Place jars inside the pot.
- Seal the pressure cooker with its lid and turn on high heat.
- Close the pressure valve to seal the cooker and allow it to pressurize.
- Once the pressure indicator rises and a steady stream of steam comes out of the operating valve for the first time, start timing.
- Allow the jars to be "pressure cooked" for 8 minutes.
- Turn off the heat and allow the pressure canner to naturally depressurize.
- Once the pressure indicator drops and the lid unlocks, remove the pressure canned jars from the pot.
- Place them on towels and allow them to cool. You should see the lids suck in, indicating that you have an air-tight seal.
My scanner is not like yours. Mine f nets then you have to put the pressure gage on. How many pounds of pressure and f o r how life by?
Have you ever tried to can meat or soups with meat and if so what pressure did you use. 8psi or 15psi
Sorry we have not. Wish I could have helped more!
When I can venison it is 11 psi for 1.5 hours.
did i miss it or where is the amts of ingredients?
½ cup lemon juice
3 ¾ cups purified water Avoid chlorinated tap water because it can affect the taste of your finished apple pie filling.
¾ cup ClearJel® powder Safely thickens the mixture.
2 ½ cups granulated sugar
1 tbsp cinnamon
½ tsp nutmeg
½ tsp ginger
if youadd maple syrup to syrup for apple pie filling, what is processing? time with water bath? can it cause botulism?
Hi Laura,
I cannot safely advise since I have no experience with that.
Thank you for your recipe. I was trying to find a recipe that didn’t cook the apples before processing. Your syrup is hot but your apples are cold. It looks like your jars may not have been hot The canning rule of thumb I thought was all hot or all cold. So do I have to wait for the syrup to cool in the jars before processing them so the jars don’t break?
Hi Karen,
We added hot (not boiling, but hot) syrup to our room temperature apples and room temperature jars and had no issues with the jars cracking. Ball jars are thick and tempered well, so I wouldn’t anticipate having any issues adding the hot syrup. If you feel more comfortable, just let the syrup cool down a bit before pouring it into the jars.
Can you use something in place of the clear gel?
Other common thickeners break down due to the heat and pressure of the canning process.
Once the liquid started to boil it I took it off heat, but it became very thick, not like a syrup, it did not flow into the packed apples without pushing it in with the handle of a wooden spoon. More water? Less clear jel, I used Hoosier Hill Farm clear jel powder non gmo cook type? It just doesn’t seen right.