What is the Worm Factory 360 Vermicomposting System?-Check out Our Review!
I recently received my brand new Worm Factory 360. In a few short months, I’ll have some of the best type of organic compost available to any garden… “worm castings”. Since I began gardening a few years ago, I’ve known about the incredible benefits of amending soil with worm castings (AKA vermicompost or worm humus).
Worm castings are the end-product of the organic matter that a worm eats. Basically, worm castings are worm poop! Don’t get grossed out though, because finished worm castings look and smell like really rich organic soil; which is basically what it is.
Worm castings are nutrient rich, and retain moisture better than regular soil. They keep soil aerated allowing for oxygen flow and greater root development. I never purchased any pre-made casting mixture because it always seemed to be too pricey for the amount you actually get.
Thanks to my savvy saver and DIY nature, I began researching how to make my own Worm Castings. For home vermicompost systems, you should use Red Wiggler worms because they are best suited for small home setups. Rather than building my own vermicompost bin I searched the net to find companies that made pre-made systems.
By doing it myself, I would have needed to find a way to keep the finished compost separate from the unfinished organic matter. I decided that a pre-made bin with a tried and true design would be the way to go; my research led me to the Worm Factory 360 sold by Naturesfootprint.com.
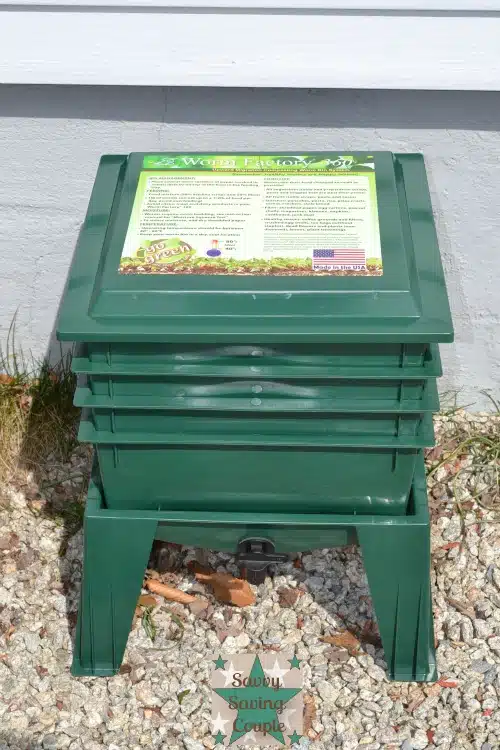
The Worm Factory 360 that I received includes 4 trays. Each tray is designed to allow air flow through the system, which speeds up composting. The base, which is also called the collection tray, collects liquid produced during the composting process. This liquid, or worm tea, as some call it can easily be transferred into another container by opening the spigot attached to the base of the system.
Worm tea is a great organic liquid fertilizer for your garden or potted plants. As each tray is filled to capacity, you just prepare another tray with some worm bedding, stack it onto the filled tray, and start adding kitchen scraps to it. Once the food supply runs out in the working tray below, the worms migrate up to the new tray. This process continues; so you basically have yourself an endless supply of worm castings.
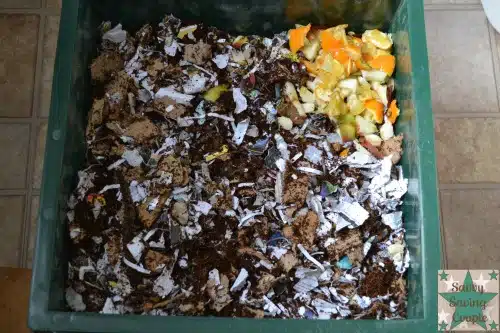
It took me about 1/2 hour to setup the Worm Factory 360. Setup was really easy, but takes a few steps. This setup involves preparing the first tray for the worms’ use. I’ll briefly describe the steps, so you know what to expect. First, you need to add a few sheets of dry newspaper to the bottom of the tray, then soak 1/2 of the included choir brick in water so it expands (and boy does it!).
The choir is then squeezed out to remove excess water, and is mixed with a cup of compost from outside. This mixture is placed over the dry newspaper sheets in the tray.
Next, you add the included shredded paper, and place a couple of handfuls of kitchen scraps into one corner of the tray. Everything is then covered with about 2-3 inches of dry shredded paper. This is your bedding. Finally, you add 4 sheets of moist paper to the top of the bedding, place the lid on top of the tray and you’re done.
Now once the worms arrive, you just add them to the prepared tray. You need to make sure you setup your system before the worms arrive, because once they do, you want to add them to the Worm Factory immediately.
My worms wanted to escape for the first 8-12 hours. I was constantly finding them on the floor, attached to the inside of the lid, and in the bottom collection tray (base). By the next morning, however, they began to calm down and stopped escaping. As stated in the included instructions, the worms take about 3 days to adjust to their new home. From my account, 3 days was accurate, because after 3 days, they finally started handing around the food, and STOPPED ESCAPING!
Currently, my Worm Factory 360 has been operating for about 1 week. I’m eagerly awaiting my first batch of worm castings, but it will likely take around 3 months. After that, each additional tray should take less time. The Red Wigglers will procreate over time and eventually my worm supply will increase exponentially. The more worms you have, the faster you’ll have compost.
I’m very happy with the Worm Factory 360 so far. The setup was a breeze, mostly because the included instructions were very easy to follow. They even include a great deal of tips and useful information regarding vermicomposting, and how Red Wigglers make vermicompost.
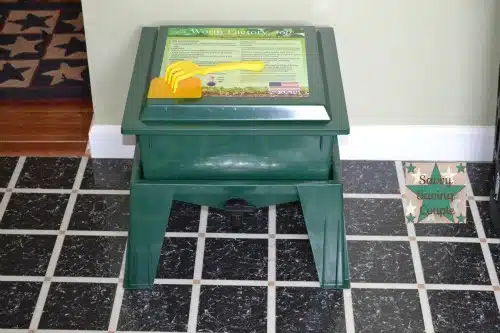
The Worm Factory 360 is inside my home and doesn’t smell a bit. I can honestly recommend this system to anyone looking for an easy, and neat looking vermicomposting system for their home.
Making your own worm castings is an easy way to get rid of kitchen waste, and other organic materials naturally. Instead of throwing your garbage away, where it ends up in an over-utilized landfill, you’re helping the environment and generating some of natures most valuable compost.
Want to check out the Worm Factory 360? I suggest heading over to Nature’s Footprint. They have an wonderful assortment of gardening products for every sized household.


This is awesome!! We were thinking of getting one of these for the kids at Christmas, but ran out of time. This will remind me to talk to hubby. Can’t wait to hear an update.
This is very very good information. Thanks.
use woodchips instead of paper. much better size of castings/more microbes in castings
Would you know if someone now makes a compostable bin? I do not want to buy more plastic.
Thank you for a great description!