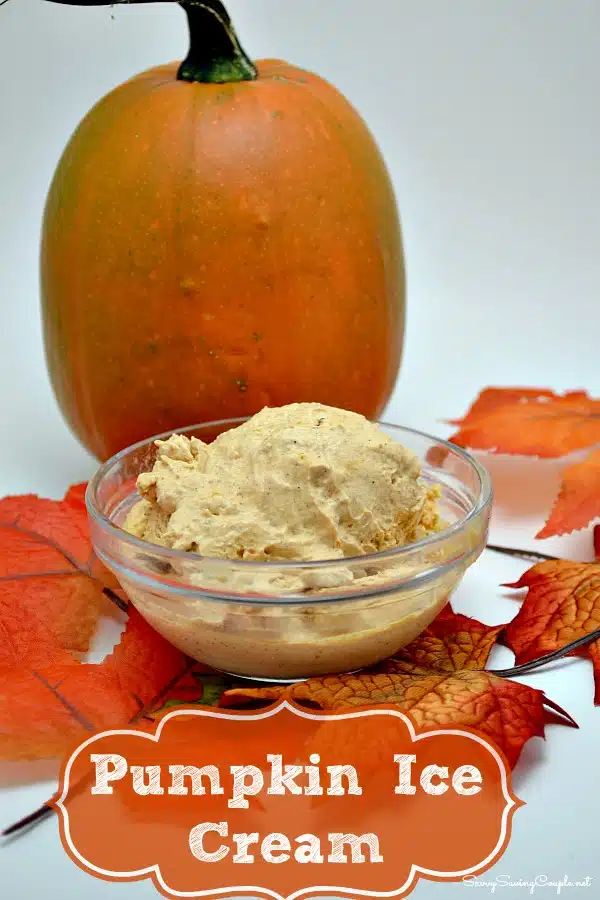
The fall season is all about the warm flavors of pumpkin. Why not try your hand at making this creamy, rich, and delicious no-cook Pumpkin Ice Cream made in the KitchenAid Ice Cream Maker. It will make for the ultimate fall dessert recipe.
We also have a Vanilla Ice Cream recipe made in the KitchenAid for you to possibly enjoy!
Now that Fall is fast approaching, I thought it would be appropriate to make some sort of creamy pumpkin ice cream recipe.
I am such a sucker for pretty much anything pumpkin, so harvest recipes have been in full swing. So far, I have found some great gluten-free pumpkin desserts, and cannot wait to share them with you.
Tools for Ice Cream Making
When it comes to making your own ice cream, having the proper tools is essential. Sure, you could do the jar, or bag method, but that is such a work out! I cannot tell you how much I love my KitchenAid Ice Cream attachment because it makes the process of making homemade ice cream a breeze.
- KitchenAid Ice Cream Maker attachment- Frozen only* We store ours in our extra freezer so it is always ready to go when we are. If you cannot store yours in the freezer, freeze for 24+ hours before making any ice cream dessert.
- Rubber spatula
- Ice cream storage container (freezer-safe)
No-Cook Pumpkin Ice Cream Ingredients
While there is nothing wrong with the stove top versions of pumpkin ice cream, I wanted a no-cook recipe because I didn’t have too much time to make it. Below are the ingredients to make this ice cream recipe.1 can of pumpkin-not pumpkin pie filling
- 15 ounce can of pumpkin (not pumpkin pie filling)
- 1 & 2/3 cups heavy whipping cream
- 1 teaspoon of vanilla extract
- 1 teaspoon of ground cinnamon
- 1/4 teaspoon ground clove
- 1/4 teaspoon nutmeg
- 2/3 cups of brown sugar
Make Ice Cream in the KitchenAid Stand Mixer
Using your regular stand mixer bowl, add all your pumpkin ice cream ingredients. Mix until combined thoroughly.
Place your ice cream bowl and attachment to your KitchenAid.
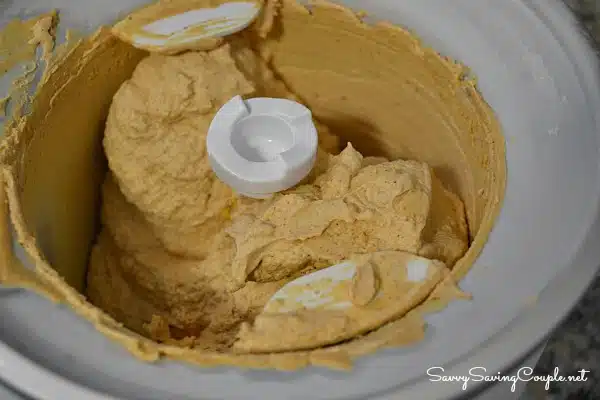
Add the mixture to your ice cream machine, and blend until you reach a soft serve consistency. This can take up to 30 minutes time.
Once it is thick, and soft-serve like add it to a freezer-safe ice cream container, and freeze until enjoying.
This pumpkin ice cream recipe serves 8 people, and would make a wonderful addition to a slice of pumpkin pie.

Pumpkin Ice Cream Made in the KitchenAid
Equipment
- KitchenAid Stand Mixer
- Stand Mixer Ice Cream Attachment
- Stand Mixer Bowl
- whisk attachment
- Measuring cups and spoons
Ingredients
- 15 ounces canned pumpkin puree *not pumpkin pie filling
- 1 ⅔ cups heavy whipping cream
- 1 teaspoon vanilla extract
- 1 teaspoon ground cinnamon
- ¼ teaspoon ground clove
- ¼ teaspoon nutmeg
- ⅔ cup brown sugar
Instructions
- Using your regular stand mixer bowl, add all your pumpkin ice cream ingredients. Mix until combined thoroughly.
- Remove the KitchenAid Ice Cream maker bowl from the freezer and affix it to the mixer.
- Pour the ice cream batter into your ice cream bowl, and blend on low speed until you reach a soft serve consistency. This can take up to 30 minutes time.
- Once it is thick and has a soft-serve consistency, add it to a freezer-safe ice cream container, and freeze until enjoying (about 4 hours).
Notes
Making this without a KitchenAid Mixer
If you don’t own a Kitchenaid Ice Cream Maker, you can use your own ice cream maker just as easily.- Mix all the ingredients in a large bowl using a hand mixer.
- Add pumpkin mixture to your ice cream maker and churn until soft-serve consistency.
- Place ice cream in a freezer-safe container until desired hardness is achieved.
I love this idea! Ice Cream and pumpkin together! I want some!
Thanks for adding this to my Halloween Linky! I really appreaciate it!
Hi, I was just wondering what size can of pumpkin you use for this recipe?
Hi the 15 ounce can