There is nothing quite like the comforting aroma of a warm apple pie baking in the oven. But let’s be honest—peeling, chopping, and making pie dough from scratch can sometimes feel like an all-day commitment. This post contains Amazon affiliate links.
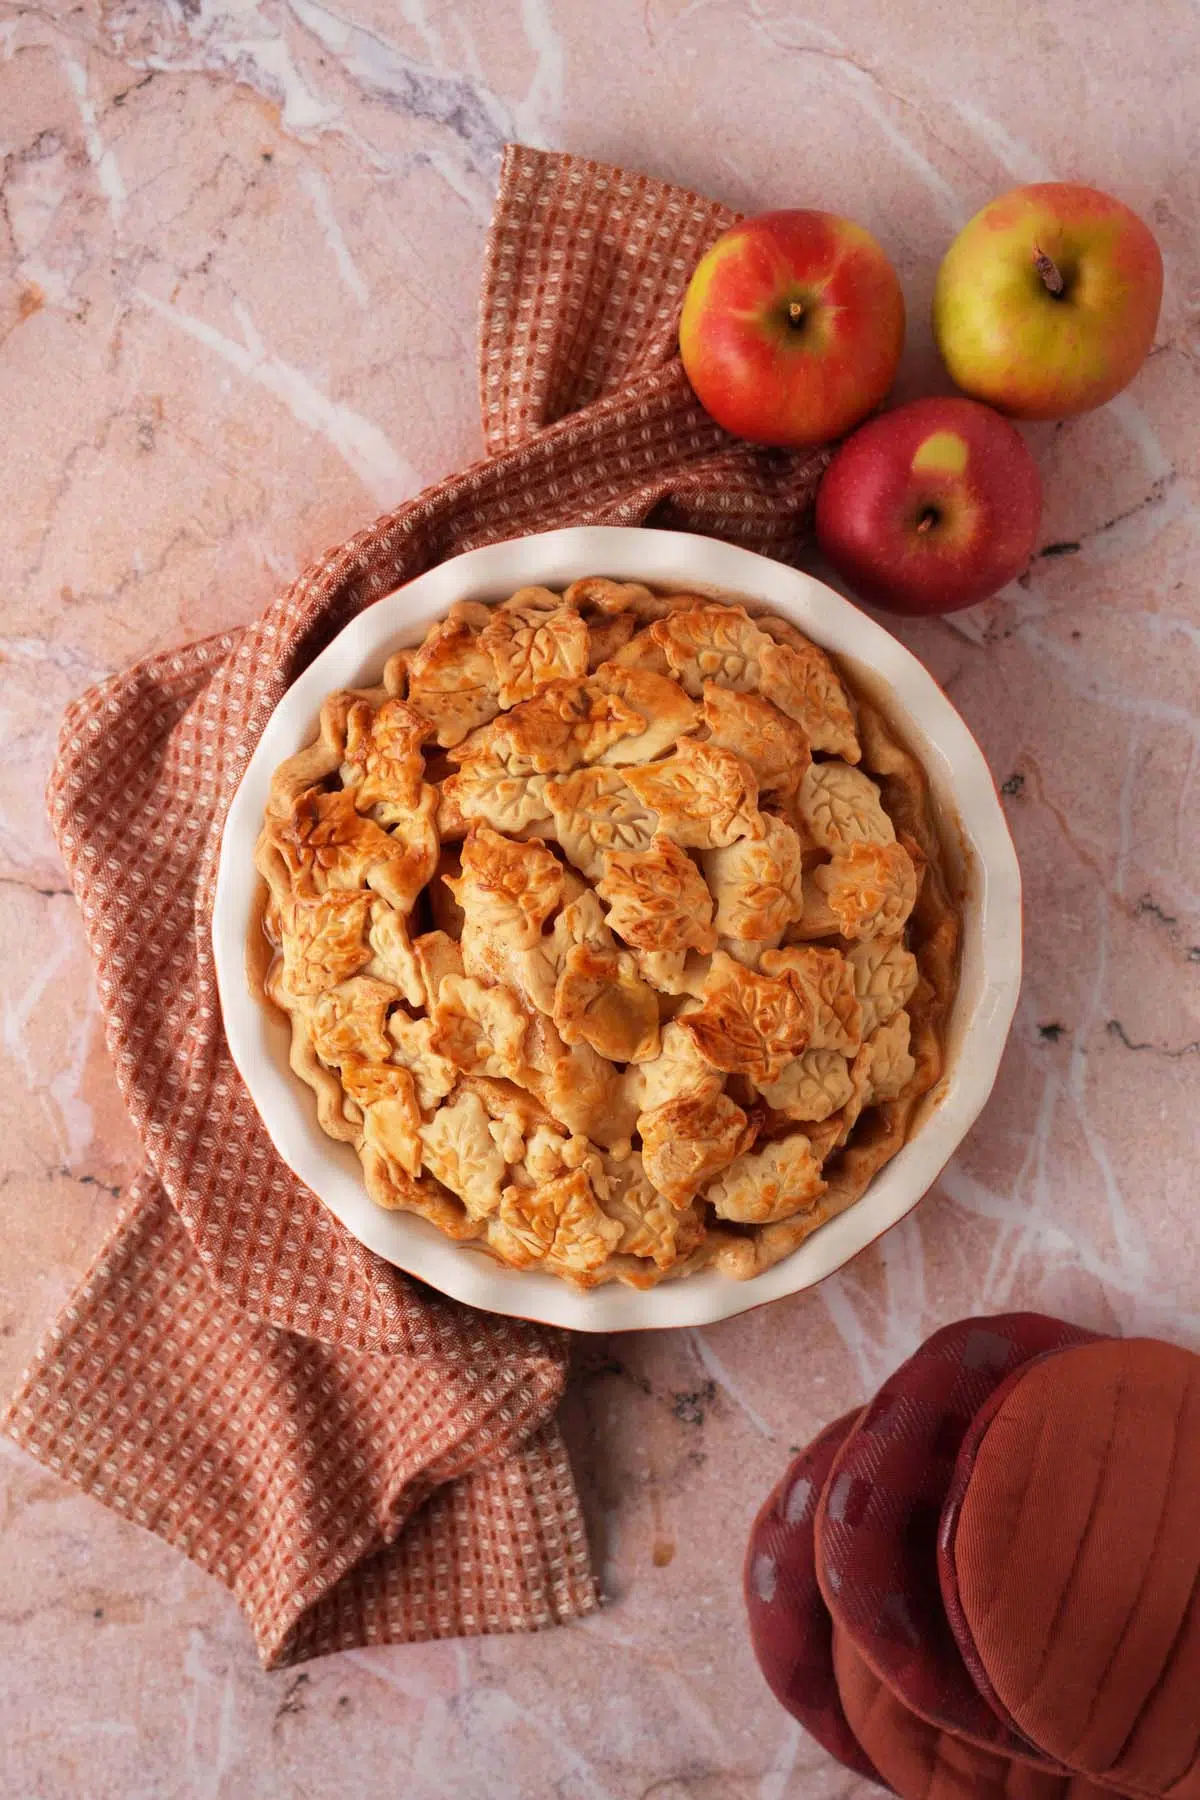
What if you could get the look and taste of an artisanal, bakery-quality pie with a fraction of the effort? By using reliable store-bought Pillsbury refrigerated pie crusts, crisp, tart apples, and some fun decorative leaf cookie cutters, you can whip up a jaw-dropping dessert that looks like it came straight out of a magazine.
Why You’ll Love this Recipe
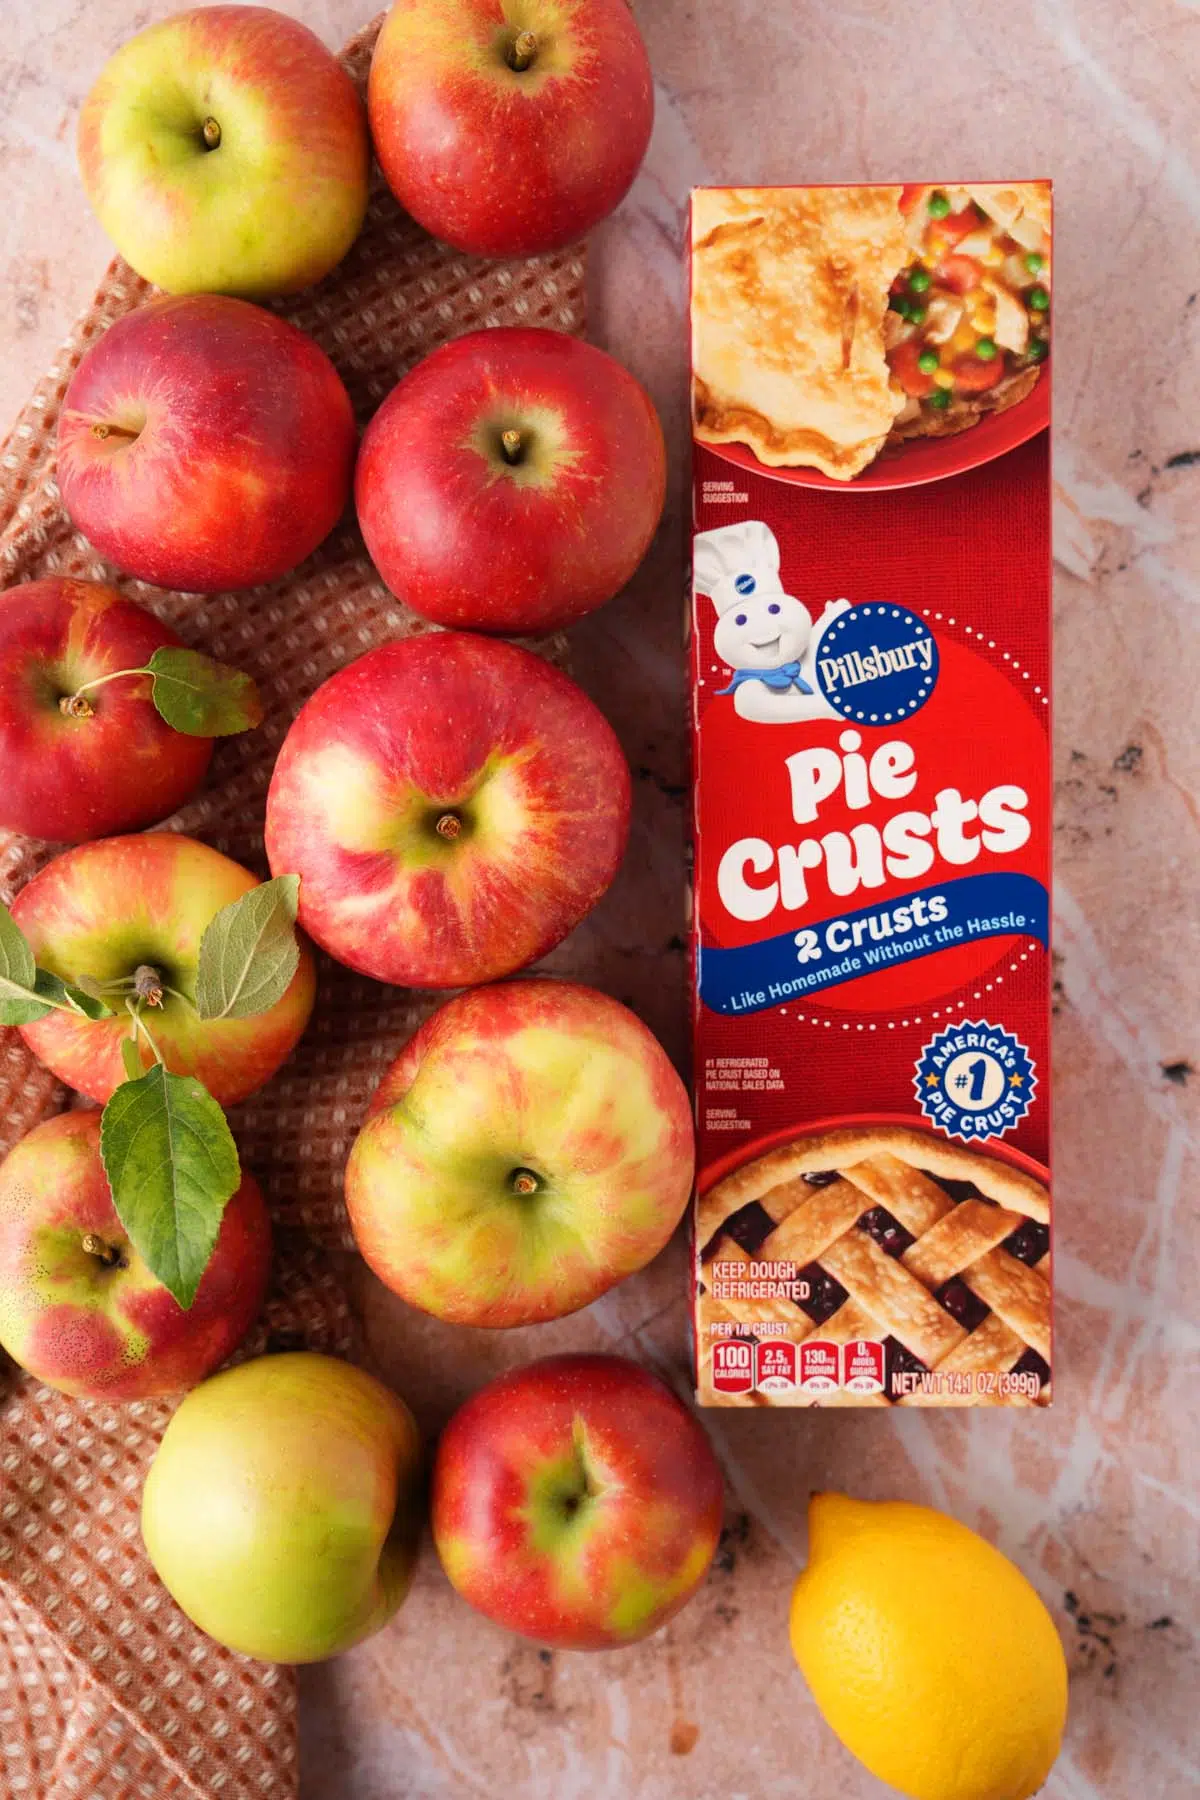
- The Ultimate Crust Cheat Code: By letting store-bought Pillsbury crusts do the heavy lifting, you magically shave off 45 minutes of kitchen labor…homemade pie crust is delicious, but it is a TON of work!!
- Major Cookie-Cutter Flex: Ditching boring old knife slits and using fall leaf cookie cutters to blanket the top turns a standard dessert into total Pinterest-worthy deliciousness.
- Pie Dome: Stuffing a full 10 apples into one pie means it won’t awkwardly sink in the middle. It bakes up with this gorgeous, high-domed mountain of fruit!
- Sweet-Tart Magic: Pairing crisp, tart apples with a blend of white and brown sugar gives you a filling that is deeply caramelized and cozy, but not overly sweet.
- No soggy bottom: Tossing those apple slices in just the right ratio of flour and lemon juice locks in all the flavor and turns the natural juices into a glossy syrup instead of a watery pool.
Best Leaf Shaped Cookie Cutters
When you’re using store-bought crust for a towering apple pie, the right tool makes all the difference. Here’s why the 2-inch R&M International Leaf Stampers are completely worth it for cookies and pie crust cutouts. I have had this set for 4 years and it is still going strong and being sold which says a lot! You can find them on Amazon (affiliate link)
- Instant Detail: They cut and stamp gorgeous leaf veins all at once. When the egg wash browns in the oven, it looks like you spent hours on it.
- The Perfect Size: At 2 inches, they are big enough to cover your apple mountain quickly, but small enough to overlap naturally.
- No Dough Drama: The spring-loaded plunger lets you pop the dough out cleanly without stretching or tearing your Pillsbury crust.
- Built-In Steam Vents: Overlapping the leaves leaves tiny, natural gaps so your pie bakes evenly without getting soggy.
- Zero Stress Art: It takes two minutes to arrange them, but it instantly turns a simple pie into a showstopper.
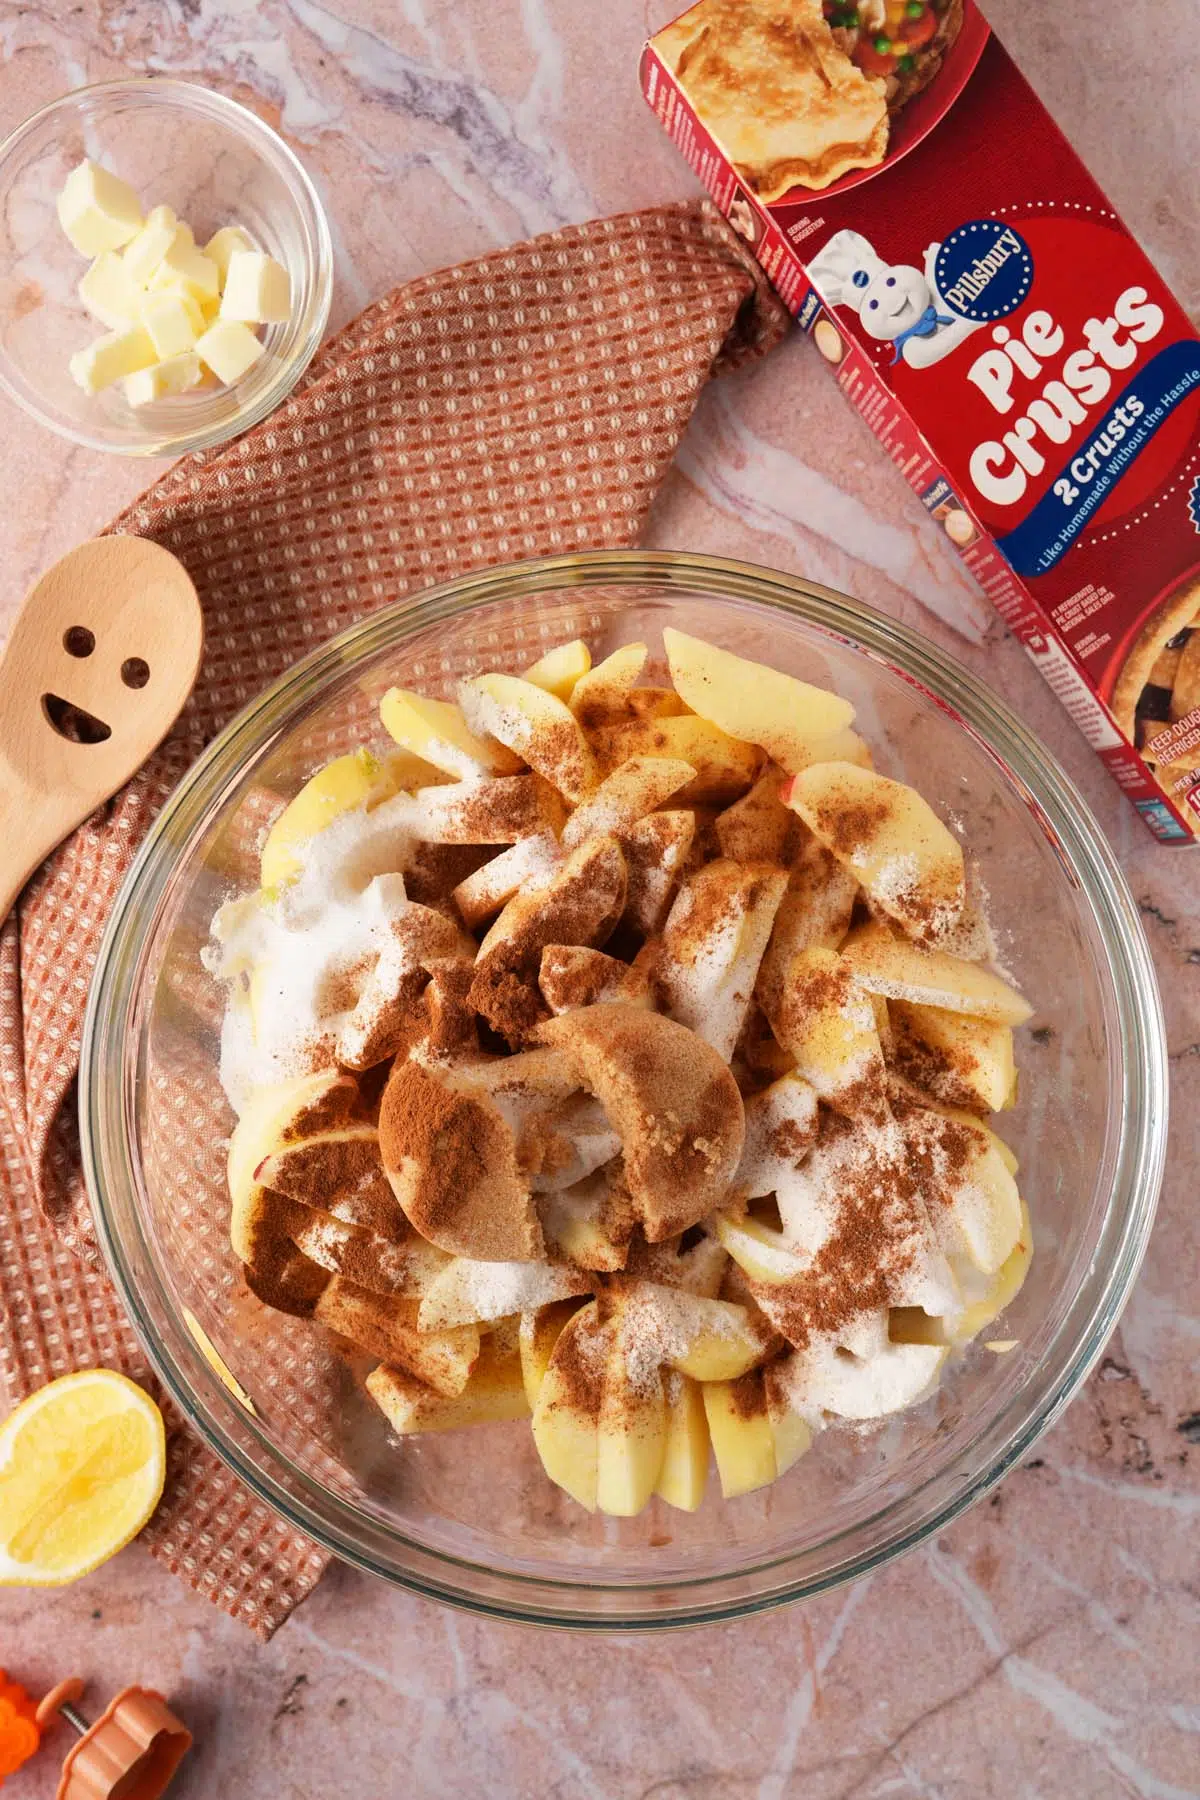
Ingredients You’ll Need
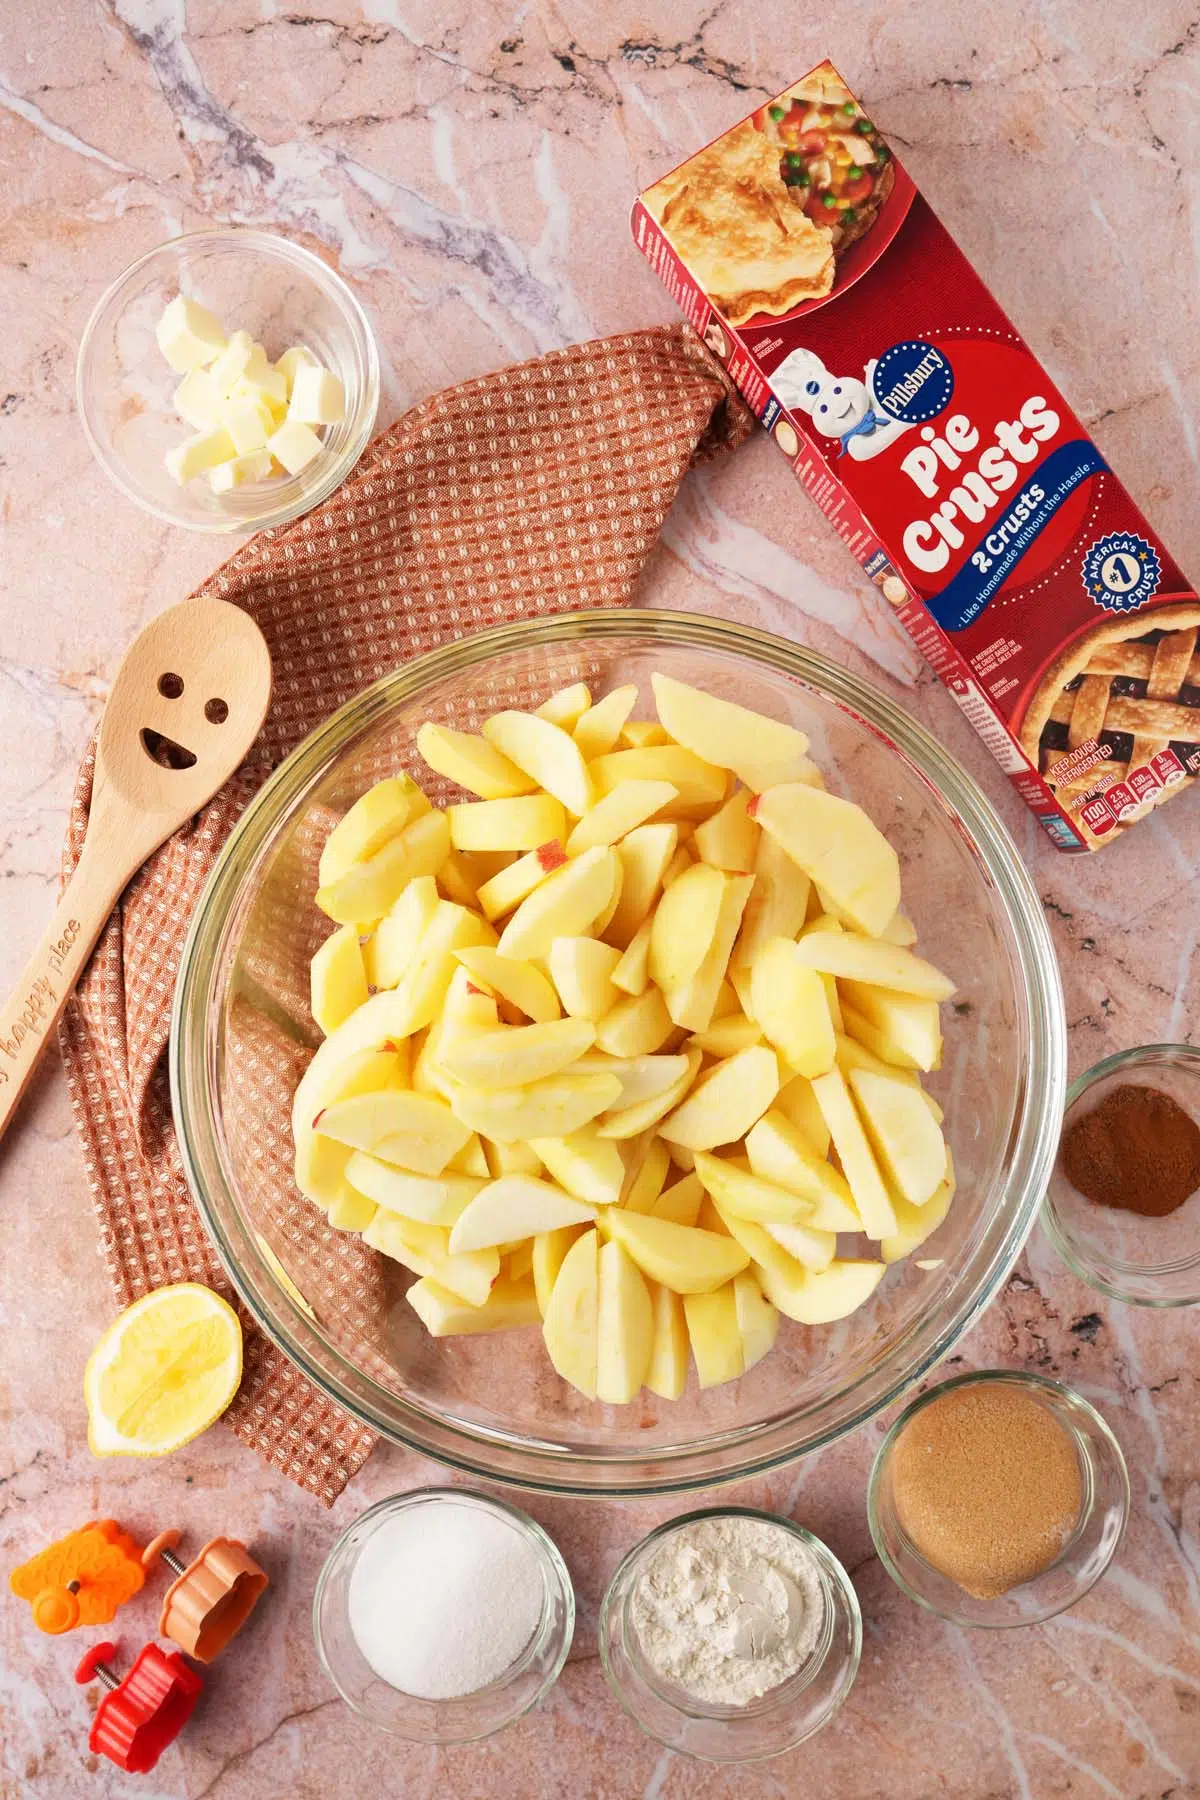
The Filling & Crust:
- Tart apples – cored, peeled, and cut into wedges (Granny Smiths, and Macintosh hold their shape brilliantly and offer that classic sweet-tart balance).
- Store-bought pie crust – One box containing 2 refrigerated crusts.
- All-purpose flour – to thicken the juices.
- Cinnamon – warm flavor
- Nutmeg – spicy, warm flavor
- Lemon juice – brightens the flavor and stops the apples from browning.
- White sugar – sweetness
- Light brown sugar – adds a rich, caramel-like depth.
- Butter – cubed for richness
- Egg – whisked, for that gorgeous golden-brown egg wash.
Step-by-Step Instructions
Step 1: Prep Your Oven and Crust
- Preheat your oven to 425°F (220°C).
- Let your Pillsbury pie crust pouches sit at room temperature for about 15 minutes so they unroll smoothly without cracking.
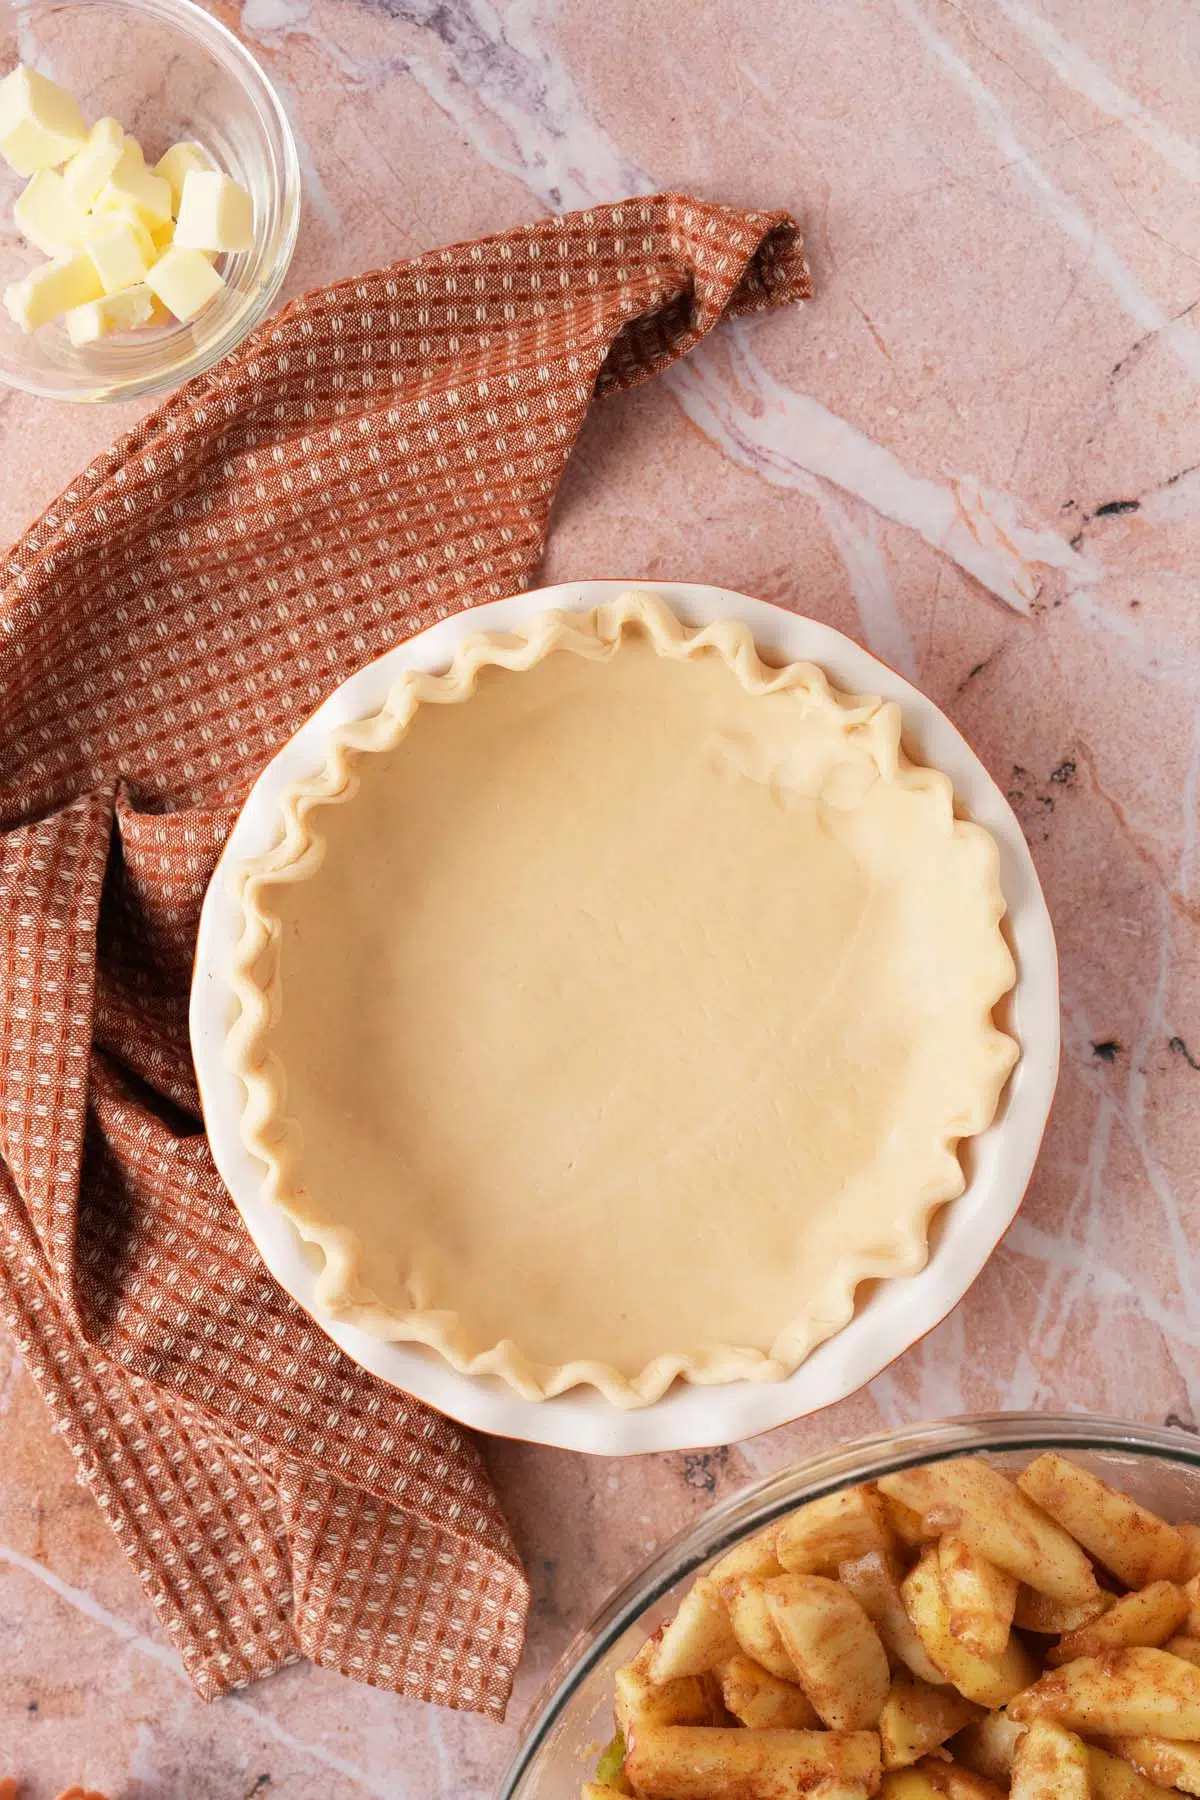
- Unroll your first pie crust and gently press it firmly against the bottom and sides of a standard 9-inch glass pie plate. Flute (crimp) the edges; set aside.
Step 2: Toss the Apple Filling
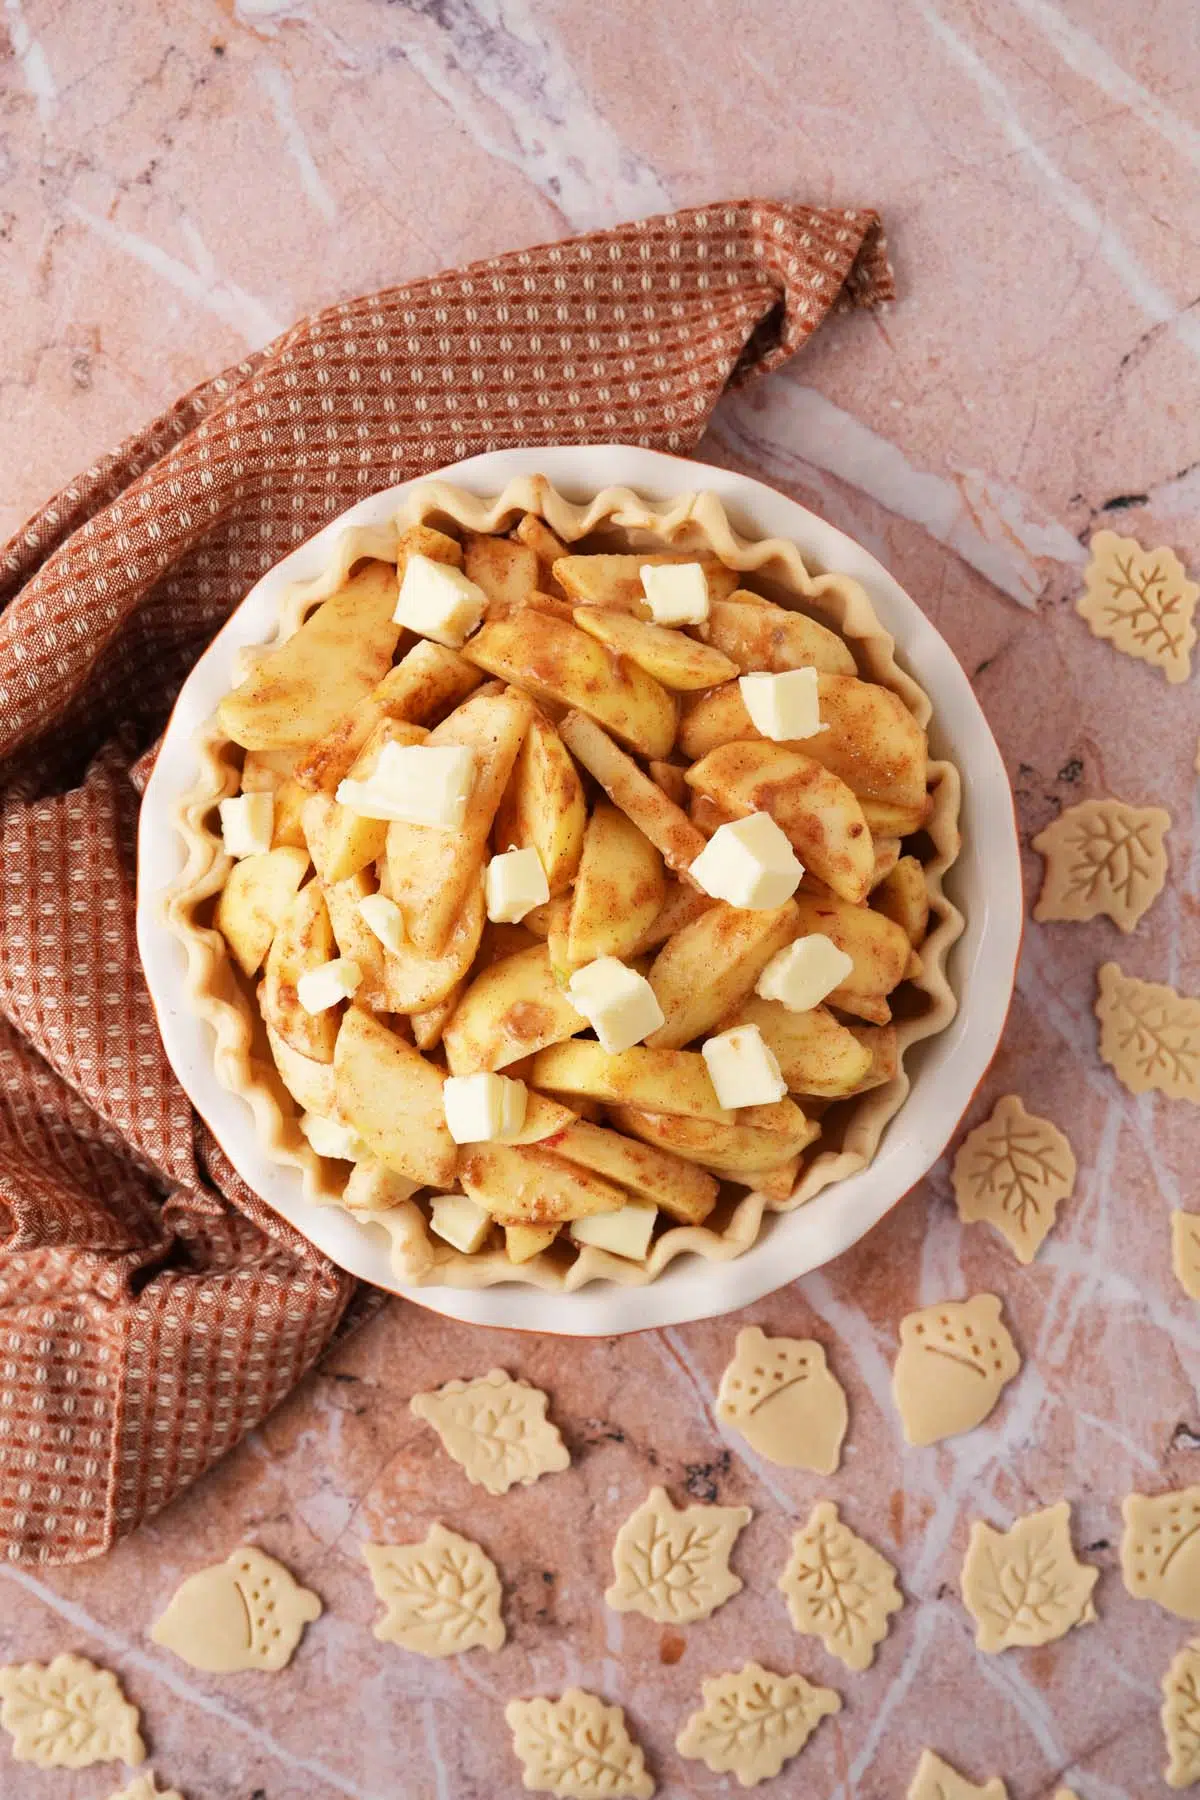
- In a massive mixing bowl, combine your 10 cored apple wedges.
- Add the fresh lemon juice, white sugar, light brown sugar, all-purpose flour, cinnamon, and nutmeg.
- Toss everything together thoroughly until all the apple slices are evenly coated in the sweet, spiced mixture.
- Spoon the apples tightly into your crust-lined pie plate. Tip: Pack them down gently to minimize air pockets. Dot the top of the apples with your 3 tablespoons of cubed butter.
Step 3: Get Creative with Your Cookie Cutters!
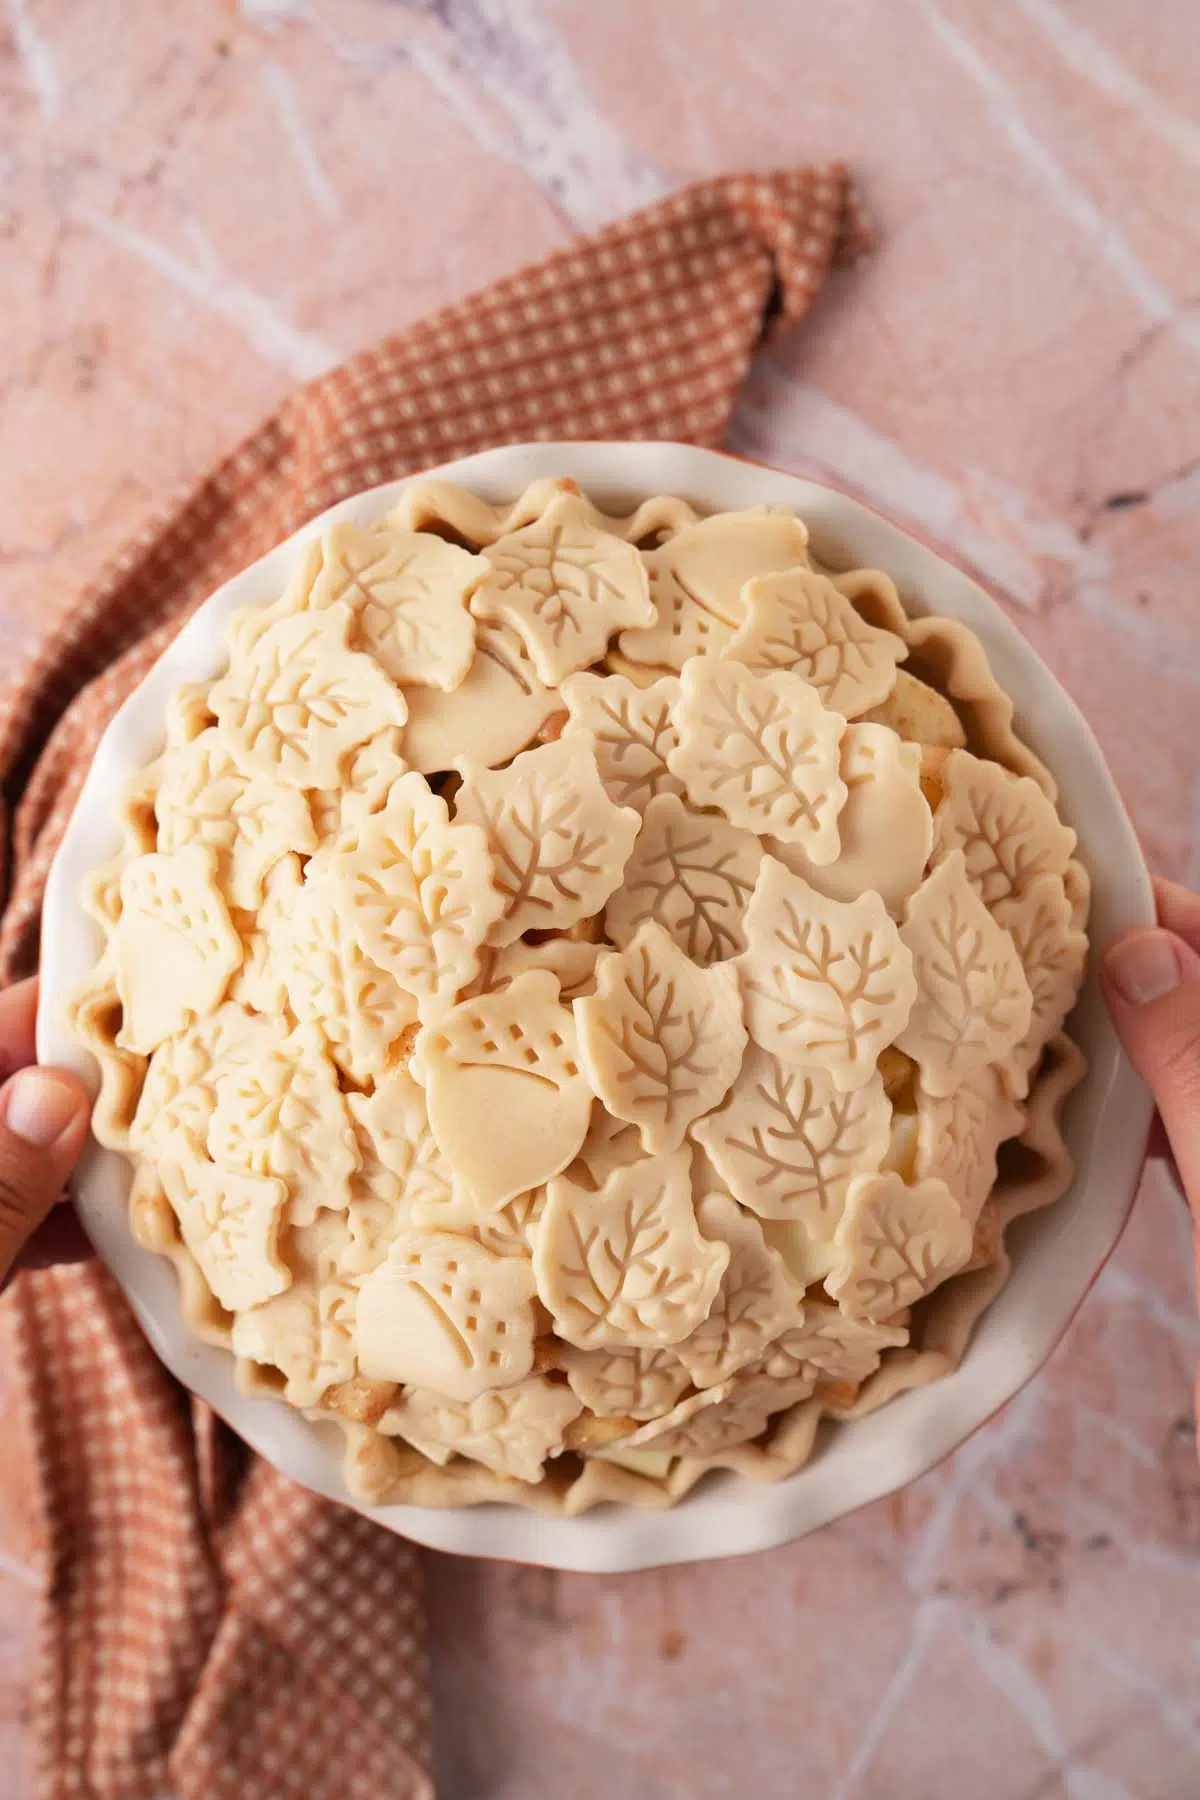
Instead of a standard top crust with knife slits, let’s use your cookie cutters to make a statement piece:
- Unroll your second pie crust onto a lightly floured clean surface.
- Use your leaf cookie cutters to cut out cute dough shapes.
- Layer or arrange these cutout shapes overlapping each other directly on top of the mound of apples, ensuring there are still small natural gaps for steam to vent. (Alternatively, you can place a solid top crust down, cut a few center shapes out of it, and scatter extra cutout shapes around the fluted edges!)
Step 4: Seal, Wash, and Bake
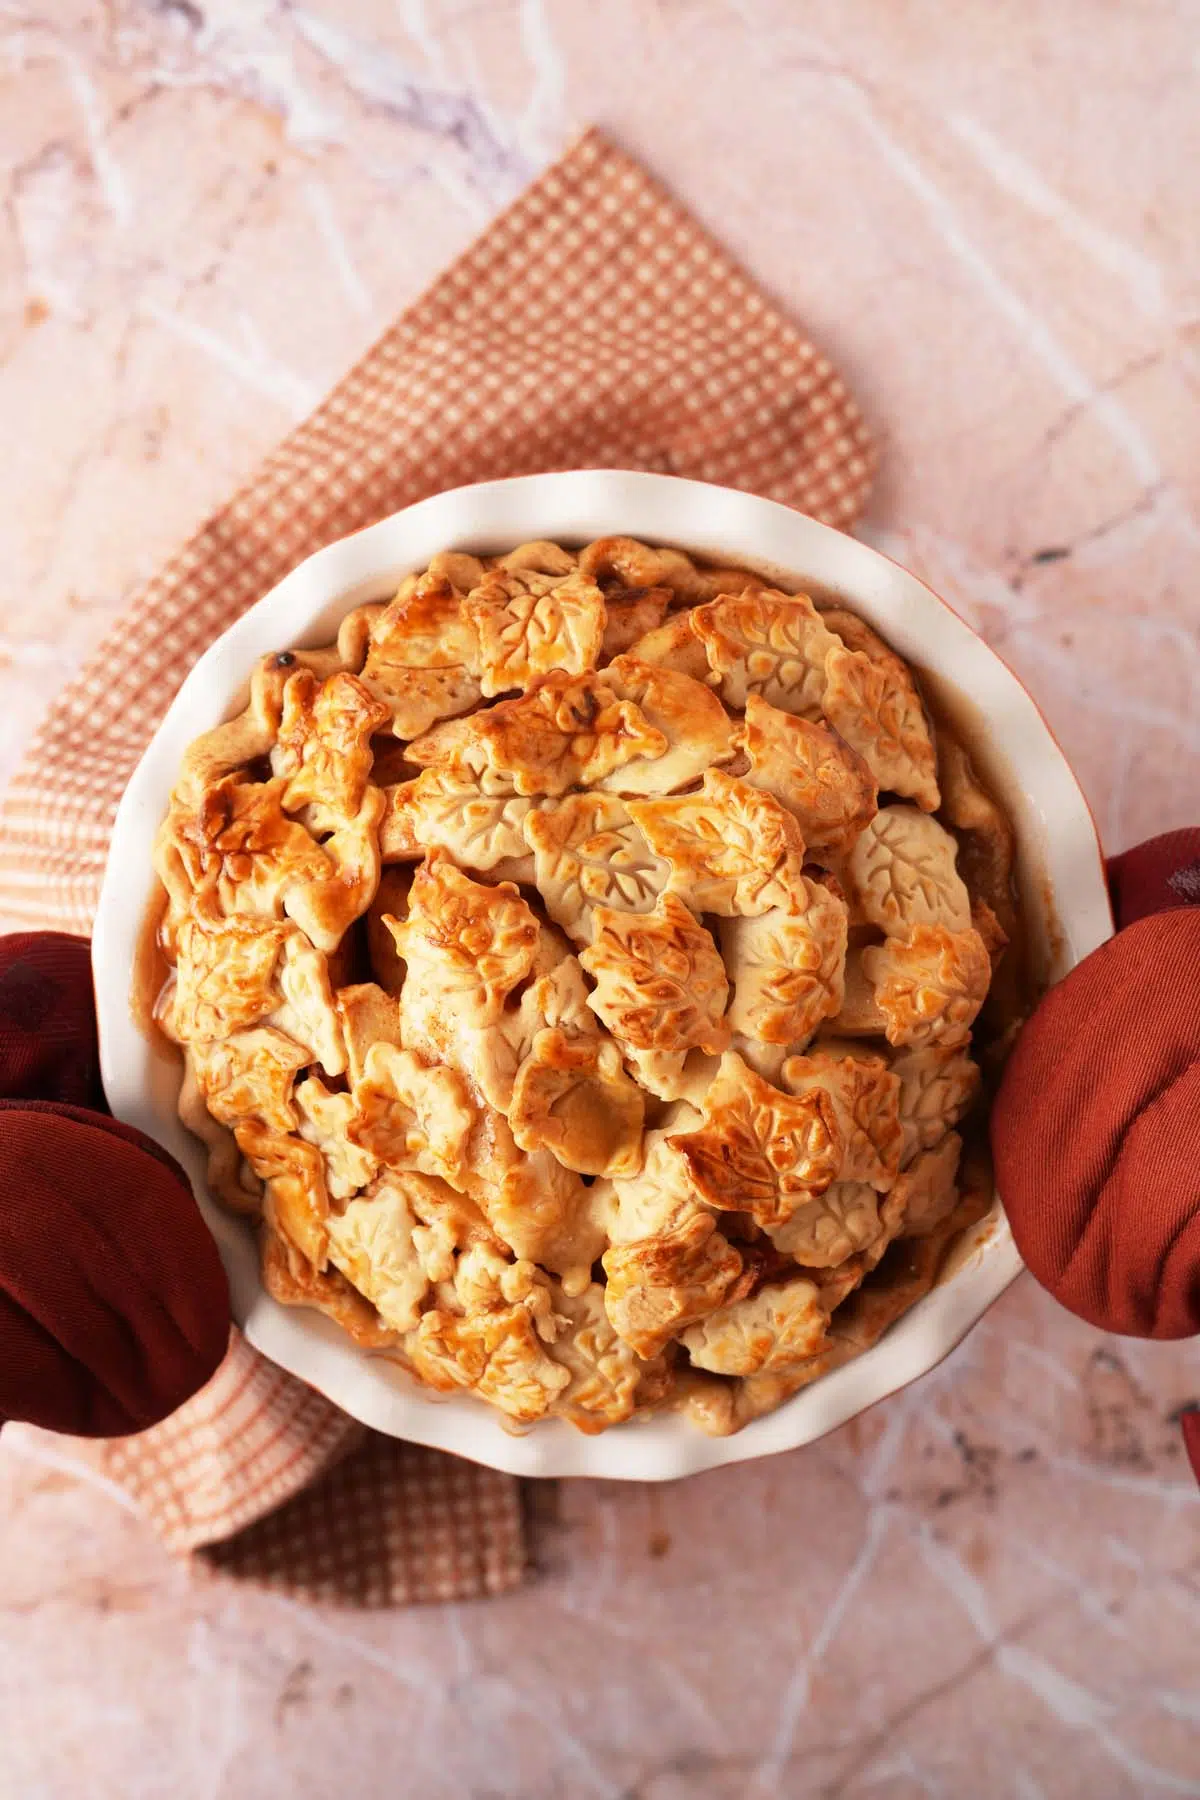
- Using a pastry brush, gently brush your whisked egg over the top crust and cutouts. This gives the pie an incredible glossy, golden finish.
- Place your pie onto a baking sheet (to catch any bubbling juices) and bake at 425°F for 15 to 20 minutes.
- Reduce the oven temperature to 350°F (175°C). To prevent your pretty cookie cutouts and crust edges from burning, loosely tent the pie with a sheet of aluminum foil. Bake for another 30 to 40 minutes, or until the apples are fork-tender and the juices are bubbling thick.
Step 5: Cool and Serve
As tempting as it is to cut into a hot pie, let it cool completely on a wire rack for at least 2 hours. This allows the flour and natural apple starches to cool and set the filling so your slices hold their shape.
Serve warm with a massive scoop of vanilla bean ice cream or a drizzle of caramel sauce!
Baker’s Note: Using 10 whole apples creates a gorgeous, high-domed bakery look. Don’t worry if the apple mountain looks too tall at first—Granny Smiths will shrink down slightly as they roast and soften in the oven!
More Tasty Apples Desserts
- Apple Pie Wontons
- Apple Pie Turnovers
- Apple Puff Pastries in a muffin tin
- Apple Pie Eggrolls
- Slow Cooker Apple Pie Dump Cake
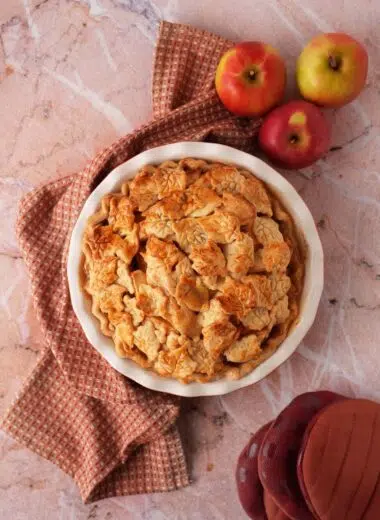
Apple Pie with Leaf Cutouts Using Store Bought Crust
Equipment
- 9" pie dish To bake pie
- large mixing bowl You'll need a roomy bowl to toss all 10 apple wedges easily
- R&M International 4-Piece Leaves Cookie Stamper Set (2-Inch) For cutting and stamping your gorgeous leaf crust
- pastry brush Crucial for brushing that egg wash on for a golden finish
- baking sheet Placed underneath the pie plate to catch any bubbling fruit juices
- Aluminum foil For tenting the pie halfway through baking
- wire cooling rack To cool pie
Ingredients
- 10 whole tart apples cored and cut into wedges
- 14.1 ounces pre-made pie crusts One box 2 crusts
- 1/4 cup all-purpose flour
- 1 teaspoon cinnamon
- 1/2 teaspoon nutmeg
- 1/2 tablespoon fresh lemon juice
- 1/2 cup white sugar
- 1/3 cup light brown sugar
- 3 tbsps. butter cubed
- 1 egg whisked
Instructions
- Preheat your oven to 425°F (220°C).
- Let your Pillsbury pie crust pouches sit at room temperature for about 15 minutes so they unroll smoothly without cracking.
- Unroll your first pie crust and gently press it firmly against the bottom and sides of a standard 9-inch glass pie plate; flute (crimp) edges and set aside.
- In a massive mixing bowl, combine your 10 cored and sliced apple wedges. Add the fresh lemon juice, white sugar, light brown sugar, all-purpose flour, cinnamon, and nutmeg.
- Toss everything together thoroughly until all the apple slices are evenly coated in the sweet, spiced mixture.
- Spoon the apples tightly into your crust-lined pie plate. Tip: Pack them down gently to minimize air pockets. Dot the top of the apples with your 3 tablespoons of cubed butter.
- Unroll your second pie crust onto a lightly floured clean surface.
- Use your favorite seasonal cookie cutters (such as leaves, stars, or apple shapes) to cut out cute dough shapes.
- Layer or arrange these cutout shapes overlapping each other directly on top of the mound of apples, ensuring there are still small natural gaps for steam to vent. Alternatively, you can place a solid top crust down, cut a few center shapes out of it, and scatter extra cutout shapes around the fluted edges!
- Using a pastry brush, gently brush your whisked egg over the top crust and cutouts. This gives the pie an incredible glossy, golden finish.
- Place your pie onto a baking sheet (to catch any bubbling juices) and bake at 425°F for 15 to 20 minutes.
- Reduce the oven temperature to 350°F (175°C). To prevent your pretty cookie cutouts and crust edges from burning, loosely tent the pie with a sheet of aluminum foil. Bake for another 30 to 40 minutes, or until the apples are fork-tender and the juices are bubbling thick.
- As tempting as it is to cut into a hot pie, let it cool completely on a wire rack for at least 2 hours. This allows the flour and natural apple starches to cool and set the filling so your slices hold the shape.

Leave a Reply