Making butter at home is easy, and it only requires two ingredients: heavy cream and salt. Plus, it’s potentially a great way to save money since store-bought butter can be expensive. All you need is a stand mixer, a few kitchen supplies, and about 20 minutes of your time.

Homemade butter is one of the most delicious things you can make yourself at home. A stand mixer makes the process so much easier than the old-fashioned shake method. This butter would be ideal on these 2-Ingredient Cream Biscuits, Herbed Butter Board, or these Sweet Corn Muffins.

Homemade Butter Ingredients
- Heavy cream (has at least 36% milkfat) – I used 2 1/4 cups because that is how much I hand on-hand.
- Pinch of sea salt (optional), but makes this butter POP!
Homemade Butter Supplies
- Stand mixer with the both the whisk and flat paddle attachment
- Fine mesh strainer or cheesecloth
- Kitchen towel
- Bowl
- Measuring cup
- Rubber spatula
How to Make Butter at Home
First, pour the heavy cream into the bowl of your stand mixer fitted with the whisk attachment. Then, turn your mixer on low speed, and gradually increase the speed to medium. Let it run until the mixture thickens and becomes lumpy. This will take about 3-4 minutes.

Once the mixture has thickened, increase the speed of your mixer to high and continue mixing until the mixture becomes even thicker and forms soft peaks. This will take an additional 5 minutes or so. This is the whipped cream stage.
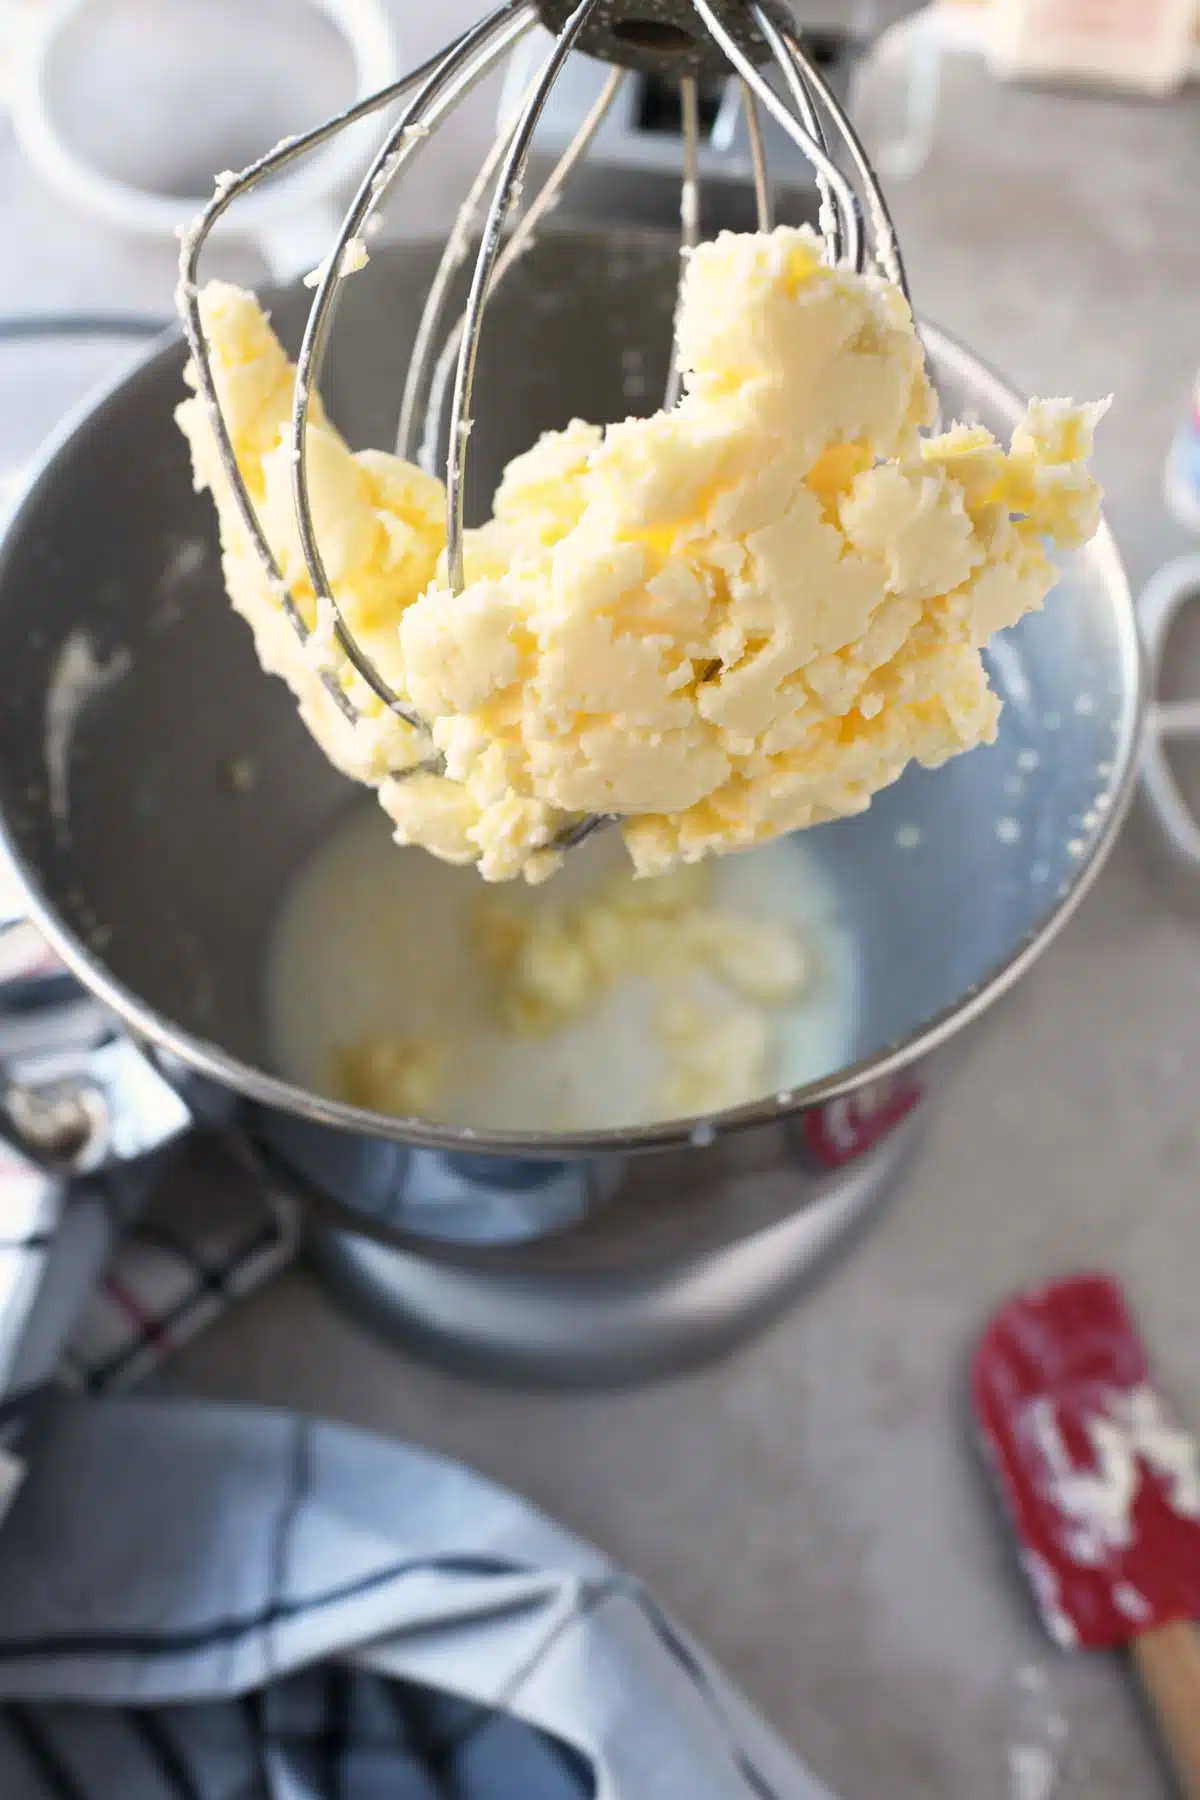
Cover the stand mixer with a kitchen towel and increase the speed. The color of the cream will start to yellow and become lumpy. Since the mixture will begin to splash, reduce the speed until you have about 1 cup of liquid in the bowl. The cream with be separated from yellow butter, and buttermilk.

At this point, you’ll need to strain the mixture to separate the butter from the buttermilk. To do this, line a strainer with cheesecloth (this is optional, but helps to remove any small pieces of butter that might get through), and then pour the mixture into the strainer. Use a spatula or spoon to press down on the mixture so that all the buttermilk is strained out.

Once all the buttermilk has been strained out, transfer the butter back to the mixer, and pour ¼ cup of ice water over it. Mix for 10 seconds to manipulate the butter. The water will be cloudy. Repeat this step until the butter water is clear. If you plan on eating the butter within a day or two it is not as important to remove it all.

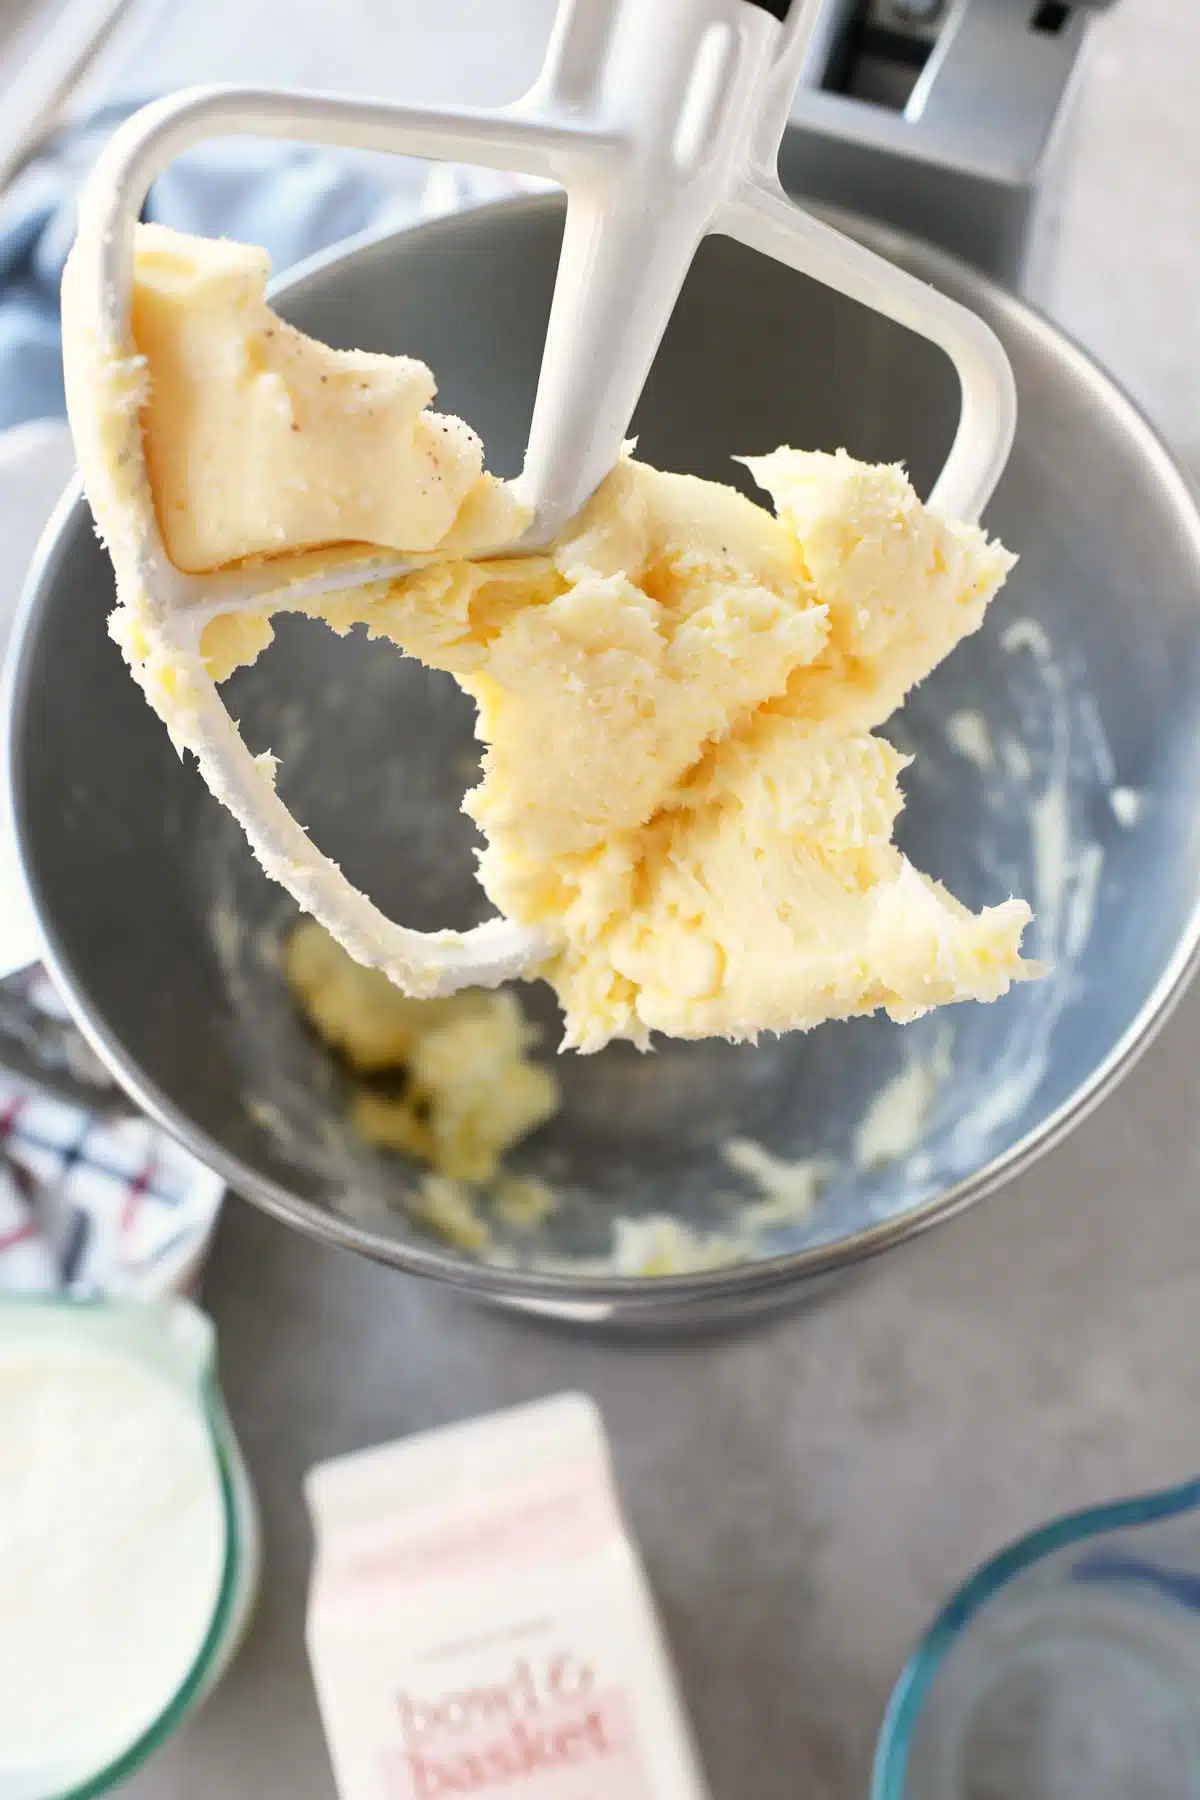
Pat dry the stand mixer bowl and return the clean butter to it. Add about ¼ teaspoon of sea salt or Redmond’s salt to it. Using the paddle attachment mix for 15 seconds. Then, transfer the butter to wax or parchment paper and wrap it tightly. Store it in an airtight container until you’re ready to enjoy it!
Making butter at home is easy, fun, and delicious! Plus, it’s a great way to save some money. So why not give it a try? With this step-by-step guide, you’ll be churning out homemade butter in no time at all.
This recipe made 7.2 ounces of clean, soft, salted butter.

How Long Does Homemade Butter Last?
This depends on how much buttermilk you left behind in the butter. That is why it is very important to rinse and manipulate and rinse your butter with ice water to remove the milky substances.
With proper storage, homemade butter can last in the fridge for up to two weeks. To prevent your butter from going bad, be sure to store it in an airtight container at 40°F or below. If your kitchen is particularly warm, you may want to consider storing your butter in the freezer—just be sure to thaw it in the fridge overnight before using it.
To check the freshness, make sure it still smells fresh and is not cheesy or sour smelling. If it smells, discard it in the trash.
Tasty Recipes that Use Butter
- Peppermint White Chocolate Chip Cookies
- Muffin Tin Meatball Calzones
- Air Fried Crab Meat Stuffed Mushrooms
- Cheesy Ricotta Corn Dip
- Cinnamon Sugar Pound Cake
How to Make Butter at Home
Equipment
- Stand Mixer
- flat paddle attachment
- whisk attachment
- kitchen towel
- Rubber Spatula
- measuring cup
- fine mesh sieve
- cheesecloth optional
Ingredients
- 2¼ cups heavy whipping cream
- ¼ teaspoon sea salt I used Redmond's Salt
Instructions
- First, pour the heavy cream into the bowl of your stand mixer fitted with the whisk attachment. Then, turn your mixer on low speed, and gradually increase the speed to medium. Let it run until the mixture thickens and becomes lumpy. This will take about 3-4 minutes.
- Once the mixture has thickened, increase the speed of your mixer to high and continue mixing until the mixture becomes even thicker and forms soft peaks. This will take an additional 5 minutes or so. This is the whipped cream stage.
- Cover the stand mixer with a kitchen towel and increase the speed. The color of the cream will start to yellow and become lumpy. Since the mixture will begin to splash, reduce the speed until you have about 1 cup of liquid in the bowl. The cream with be separated from yellow butter, and buttermilk.
- At this point, you'll need to strain the mixture to separate the butter from the buttermilk. To do this, line a strainer with cheesecloth (this is optional, but helps to remove any small pieces of butter that might get through), and then pour the mixture into the strainer. Use a spatula or spoon to press down on the mixture so that all the buttermilk is strained out.
- Once all the buttermilk has been strained out, transfer the butter back to the mixer, and pour ¼ cup of ice water over it. Mix for 10 seconds to manipulate the butter. The water will be cloudy. Repeat this step until the butter water is clear. If you plan on eating the butter within a day or two it is not as important to remove it all.
- Pat dry the stand mixer bowl and return the clean butter to it. Add about ¼ teaspoon of sea salt or Redmond’s salt to it. Using the paddle attachment mix for 15 seconds.
- Transfer the butter to wax or parchment paper and wrap it tightly. Store it in an airtight container until you’re ready to enjoy it!


Leave a Reply