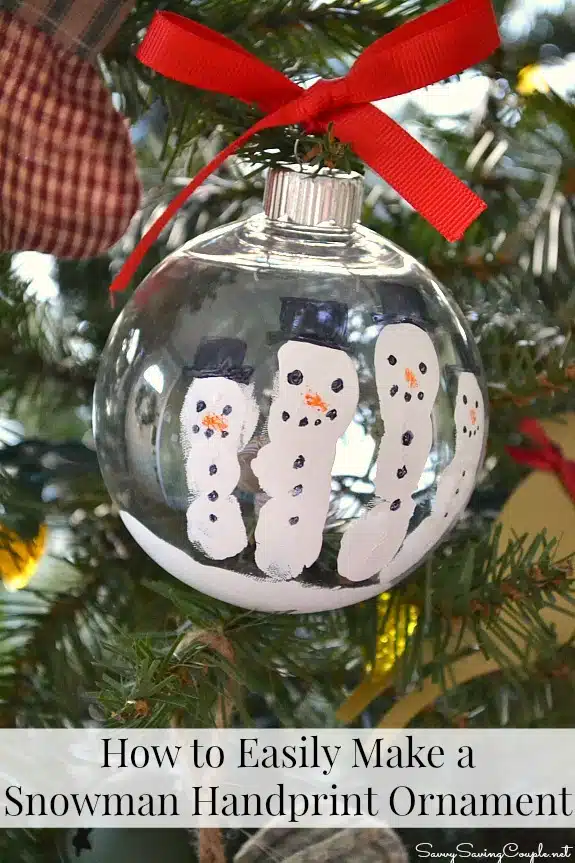
How to Easily Make a Snowman Hand Print Ornament

For the past few days, I have really been enjoying my Christmas Tree. Call me early, nuts, whatever you’d like but the fact is I love Christmas time. Each year it is a family tradition that we make a personalized ornament and a homemade one to cherish throughout the years. This year’s homemade ornament was made possible by the folks at OneStepAhead. Their Snowman Handprint Ornament Kit made my job as a mom so much easier.
Sure, I could have made this Snowman Handprint Kit with supplies from another store, but with the hustle and bustle of life I wanted something easier. The Snowman Handprint Ornament Kit contained everything I needed to make a one of a kind handprint snowman family in about 30 minutes total-that includes drying time.

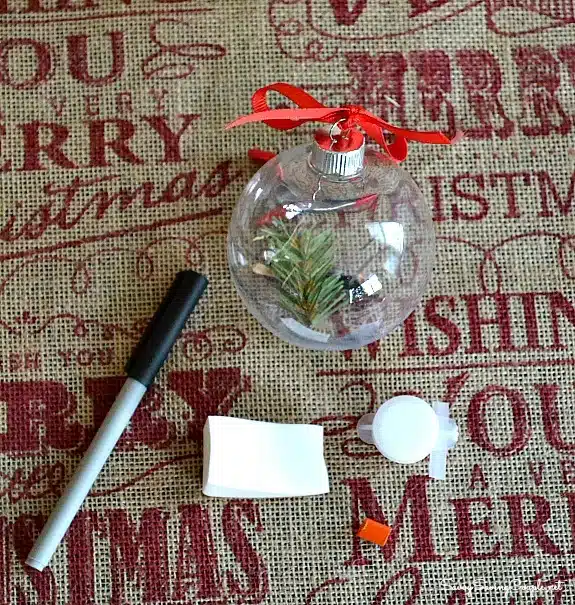
Here is what the Snowman Handprint Ornament Kit from OneStepAhead consists of:
- White latex Paint
- Black Marker
- Orange Crayon piece
- Sponge applicator
- Shatterproof ornament with pine tree accents inside
- Red Ribbon bow

Directions:
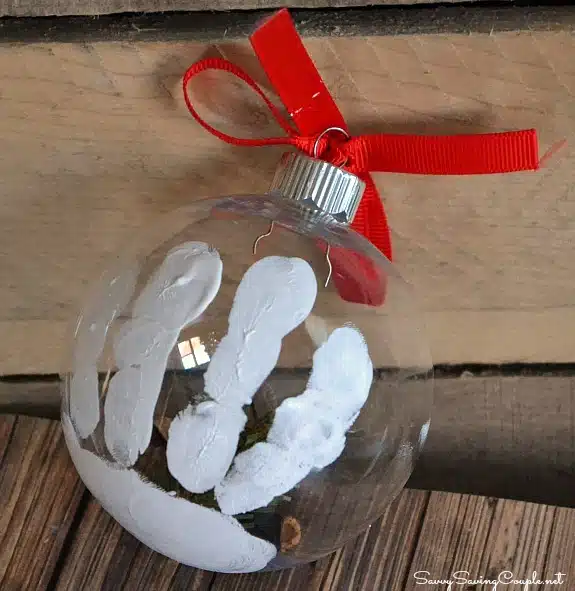
Using the white latex paint, and sponge applicator, apply the white paint to your child’s palm and fingertips.
Have child grab ornament bottom so that their fingers would be the main item showing on the face of the ornament. If they mess up there is enough paint to start over, and the paint wipes clean quickly.
Once the handprint is in place allow the ornament to dry for around 30 minutes.

Draw on the hats, eyes, and buttons
Draw on the carrot nose, and voila–you are done and have a special keepsake that will last forever with care.
You can purchase the Snowman Handprint Ornament Kit from OneStepAhead for $12.95 on their site. This would make a great pre-Christmas gift idea!

I have done this project but am curious what to put over handprint so the paint doesn’t chip?
Hi, I have wondered that too! I try to not scratch mine. I think a clear coat spray would work!