If you are looking for a nostalgic, melt-in-your-mouth candy that requires zero time in the oven, these Old-Fashioned Cream Cheese Mints are the perfect treat. Also known as baby shower mints or wedding mints, these sweet, pastel-colored candies are a staple at holiday gatherings and special occasions alike.
Made with just a handful of simple ingredients, this no-bake recipe yields a beautifully creamy, peppermint-infused candy that looks stunning on a dessert tray. The best part? You do not need any special candy molds to make them look elegant!
This recipe was orginally published 12/13/21 and had been updated with improved tips and tricks.

Why You Will Love This Recipe
Completely Customizable: You can easily swap the food coloring and extract flavors to match any holiday, wedding theme, or baby shower.
No-Bake & Beginner-Friendly: There is no boiling sugar or checking candy thermometers. If you can use a mixer, you can make these.
Make-Ahead Magic: These mints actually need time to cure, and they freeze beautifully, making them the ultimate make-ahead dessert for busy holidays or parties.
Key Ingredients
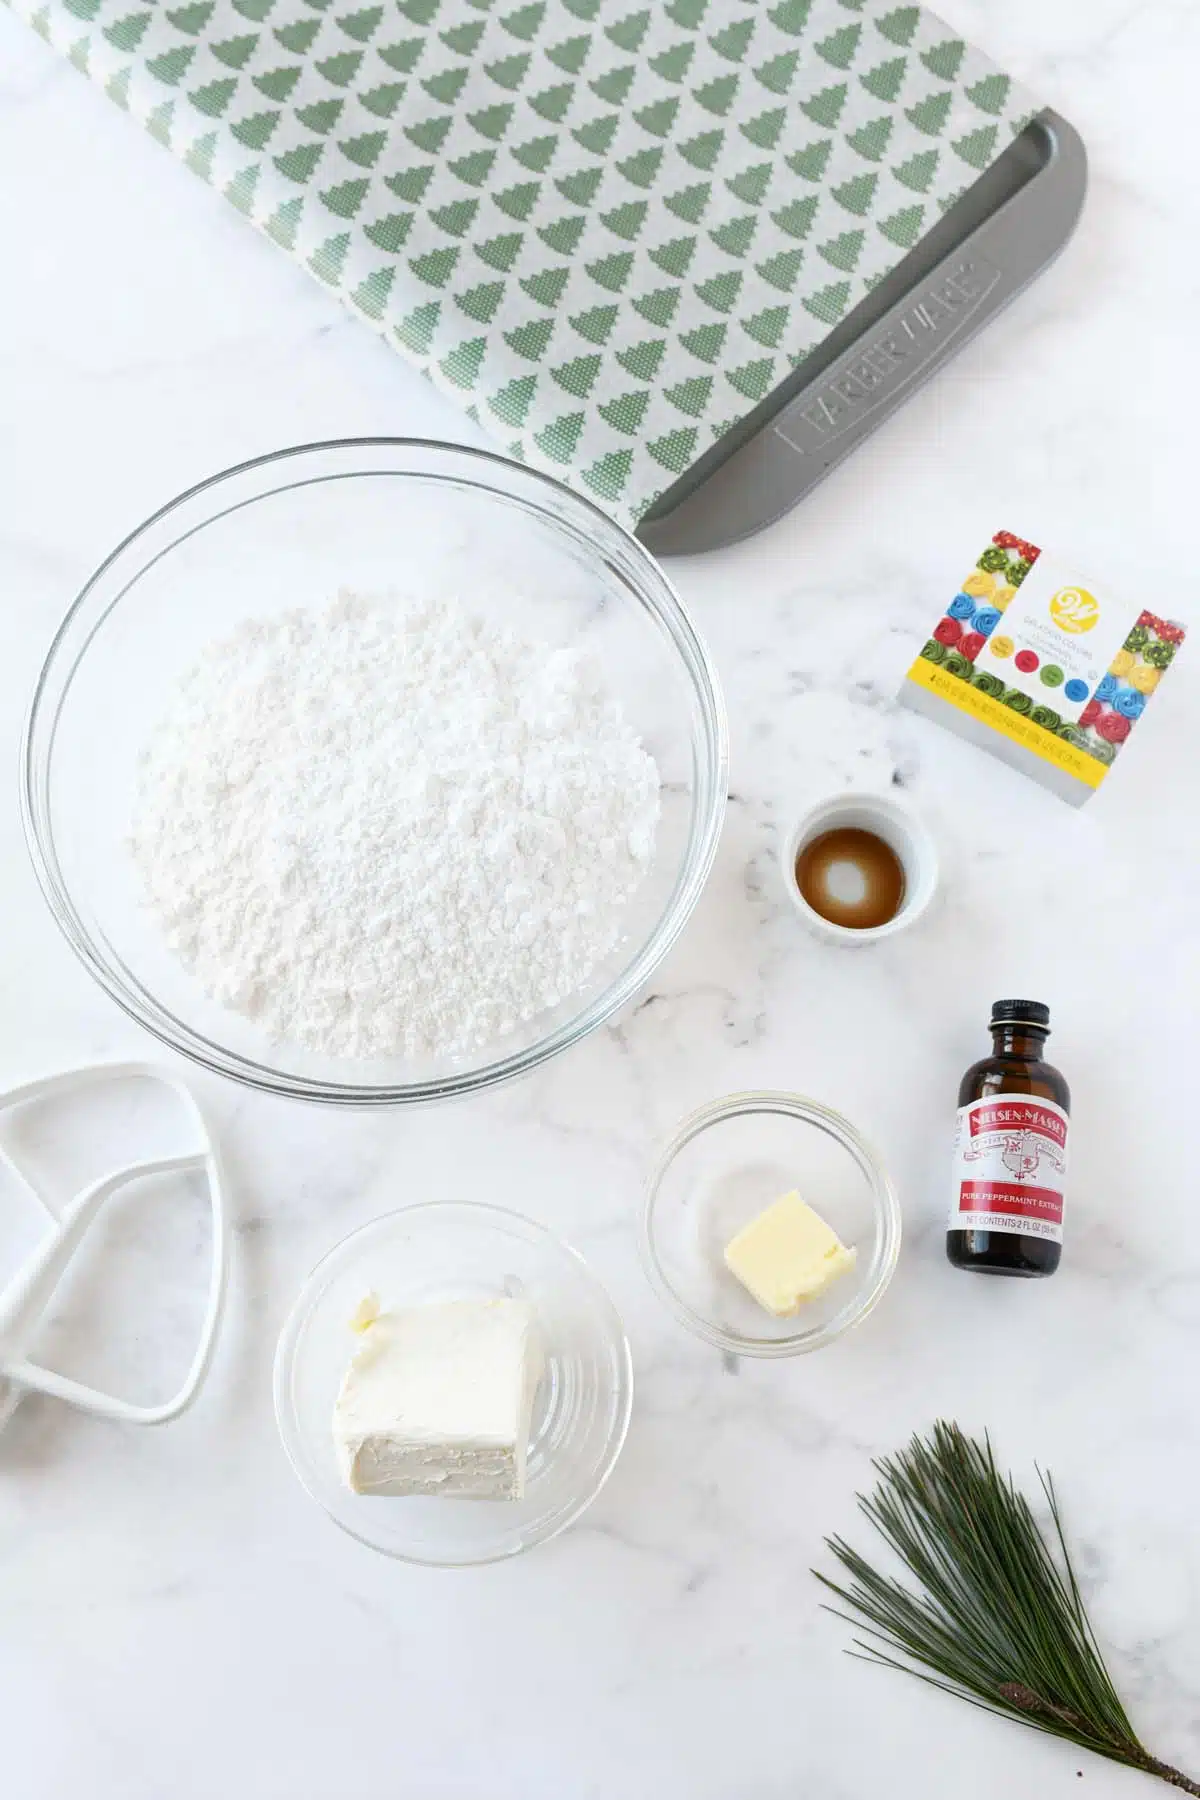
You only need 6 pantry staples to create this classic confection.
- Food Coloring: Traditional mints are tinted in soft pastel colors. Liquid or gel food coloring both work well.
- Cream Cheese: Make sure to use full-fat block cream cheese, not the spreadable tub variety. It must be softened to room temperature for a smooth dough.
- Salted Butter: Just a tablespoon of softened butter adds richness and helps cut the sweetness of the sugar. The touch of salt is essential for flavor balance!
- Powdered Sugar: This provides the structure and sweetness. You will need 4 cups to create that perfect “play dough” consistency.
- Extracts: A combination of peppermint extract and a splash of vanilla extract provides a smooth, balanced mint flavor that is not overly sharp.
How to Make Homemade Cream Cheese Mints
1. Cream the Base
Start by beating the softened cream cheese and butter in a stand mixer until completely smooth and creamy. Ensuring these are at room temperature prevents any lumps in your candy.
2. Form the Candy Dough
Turn your mixer to low and gradually add the powdered sugar and extracts. The mixture will transition from a frosting-like consistency into a firm dough that resembles children’s play dough. It should pull away from the sides of the bowl and be non-stick.
3. Knead in the Color
Divide the dough into three equal portions. Leave one portion white, and add one drop of red coloring to the second, and one drop of green to the third. Using food-safe gloves, knead the dough by hand until the color is completely uniform. Tip: If the heat from your hands makes the dough sticky, simply dust it with a little extra powdered sugar.
4. Shape and Press
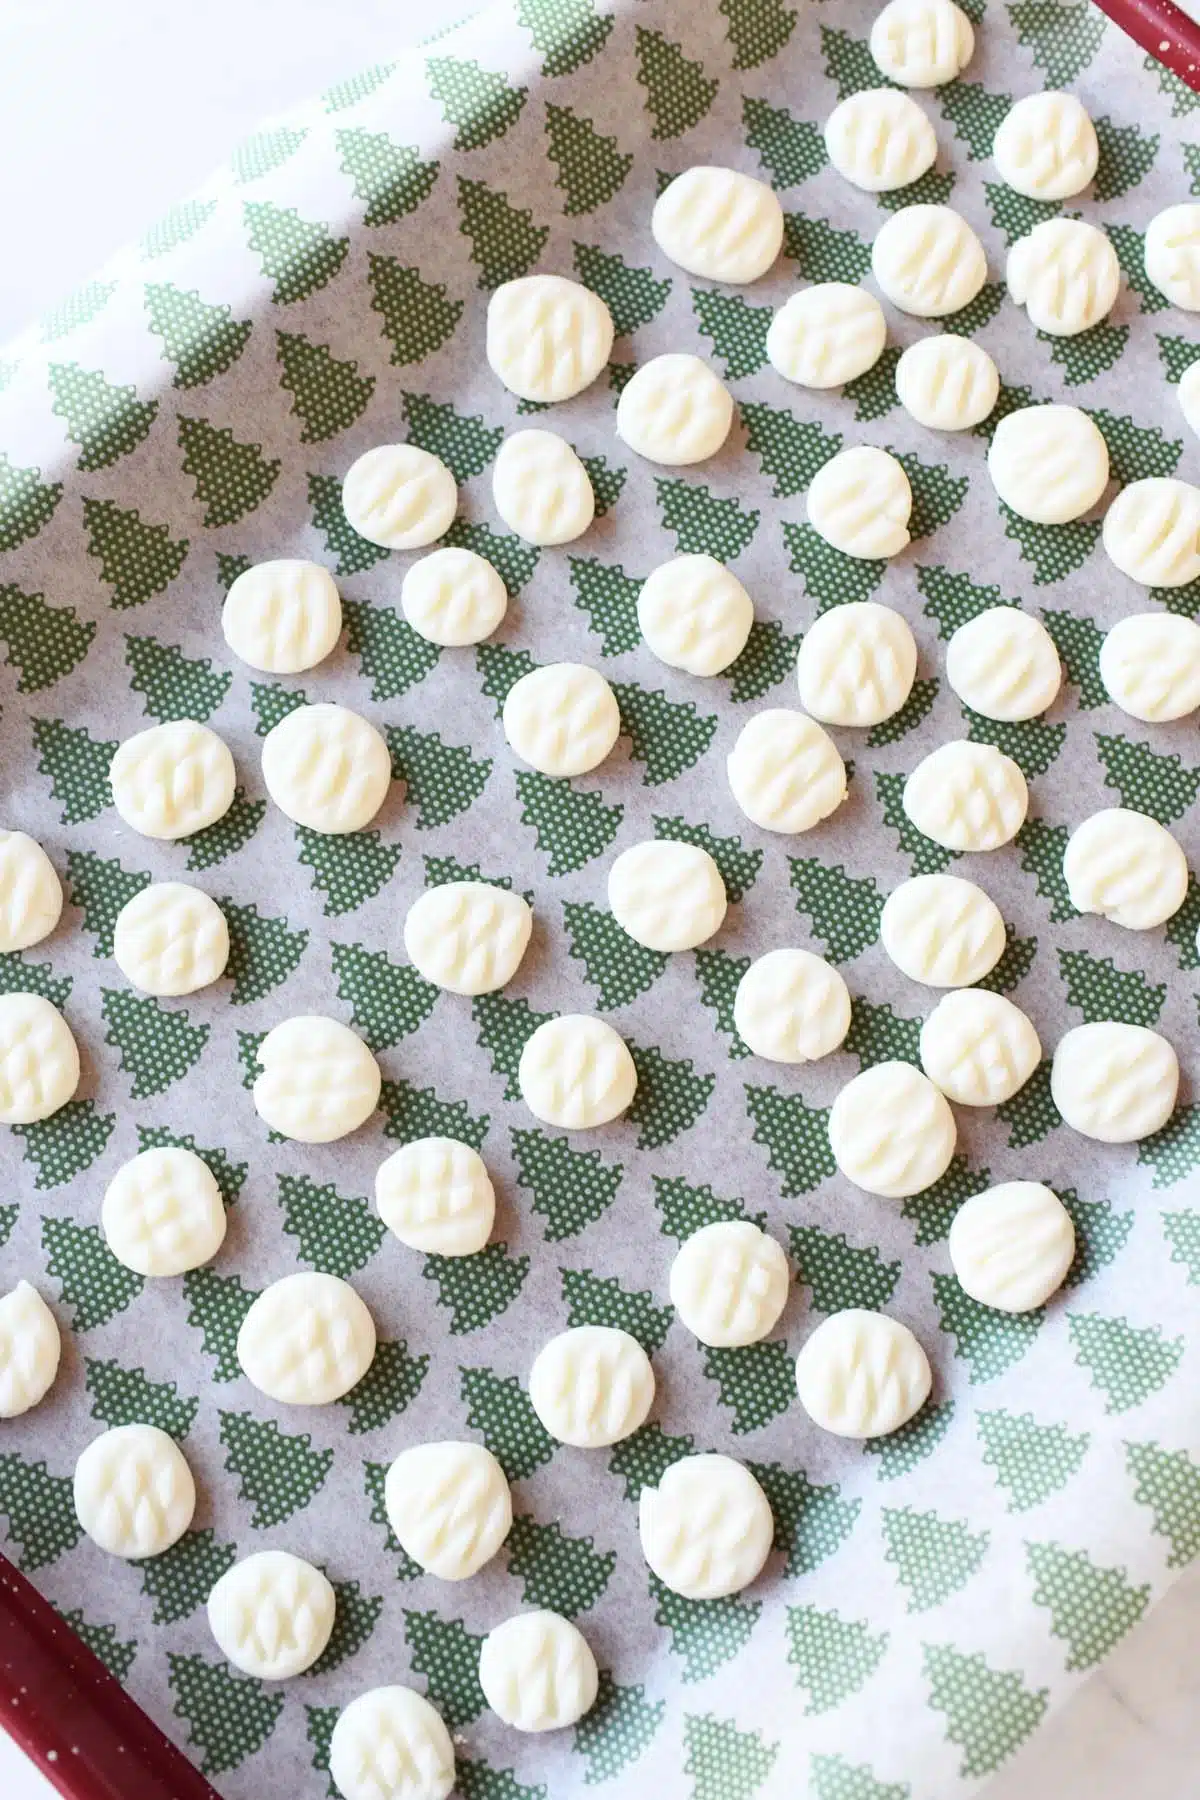
Pinch off small pieces of dough and roll them into small balls (about the size of a blueberry). Place them on a parchment-lined baking sheet. Dip the tines of a fork in powdered sugar and gently press down on each ball to flatten it and create a classic cross-hatch pattern.
5. Let Them Cure
This is the hardest part—waiting! Leave the baking sheets in a cool, dry place for about 3 hours so the mints can air-dry and firm up.

Expert Tips for the Best Candy
- Sift your sugar: If your powdered sugar has hard lumps in it, sift it before adding it to the mixer to ensure a silky-smooth candy texture.
- Do not skip the curing time: Letting the mints sit out for a few hours is crucial. It forms a slight crust on the outside while keeping the inside soft and creamy.
- Use gel coloring for vibrant colors: If you want deep, rich colors instead of pastels, use gel food coloring. Liquid coloring adds extra moisture, which can make the dough too sticky if you use a lot of it.

Frequently Asked Questions
Can I use candy molds instead of a fork?
Absolutely! If you prefer shaped mints, lightly dust flexible silicone candy molds with granulated sugar or powdered sugar, press the dough in, and pop them out immediately onto parchment paper to cure.
Can I use different flavor extracts?
Yes! While peppermint is traditional for Christmas, you can customize the flavor for different events. Try almond extract, lemon extract, wintergreen, or even orange extract.
How long do cream cheese mints last?
Once fully cured, store the mints in an airtight container layered with parchment paper. Because they contain dairy, they must be stored in the refrigerator, where they will stay fresh for up to 2 weeks.
Can I freeze these mints?
Yes, they freeze exceptionally well! Place the cured mints in a freezer-safe, airtight container with parchment paper between the layers. Freeze for up to 2 months. Let them thaw in the refrigerator before serving.




More Classic Candy to Make at Home
Looking for some more old-fashioned candy recipes to make at home? Check out some tried and true recipes we’ve made!
The Best Holiday Cream Cheese Mints
Equipment
- 2 large baking sheets
- Stand Mixer
- Measuring cups and spoons
- parchment paper
- Fork
- (4) small bowl
- spoons
Ingredients
- 4 ounces cream cheese softened
- 1 tablespoon butter salted, softened
- ¾ teaspoon peppermint extract
- ¼ teaspoon vanilla extract
- 4 cups powdered sugar Set aside an additional tablespoon for forming mints.
- 1 drop green food dye optional
- 1 drop red food dye optional
Instructions
- Add the softened cream cheese and butter to the bowl of a stand mixer fitted with the paddle attachment. Mix until the butter and cream cheese are smooth and creamy.
- Reduce the speed of the mixer. Add half of the powdered sugar to the bowl, along with the peppermint and vanilla extracts.
- Slowly add in the rest of the powdered sugar and mix until a dough forms. It should have the consistency of children's play dough and be non-stick. (If your dough is too wet, add an extra 1-2 tablespoons of powdered sugar).
- Remove the dough from the mixer. On a parchment-lined surface, divide the dough into 3 equal balls. Place each ball into a separate small bowl.
- Add one drop of red food coloring to the first bowl, one drop of green to the second, and leave the third bowl plain white. Using gloved hands, knead the dye into the dough. This takes about 3 minutes of working the dough to get a uniform color. (If your dough gets too sticky from the heat of your hands, sprinkle some powdered sugar on your parchment paper and roll the dough in it to restore the non-stick texture).
- Once the coloring is uniform, pinch off small pieces of dough and roll them into balls about the size of a blueberry (or ¾ of a teaspoon).
- Dip the tines of a fork into your reserved powdered sugar (you will only need to re-dip every 10 mints or so). Gently press the fork onto each ball to flatten it and create a mini cross-hatch shape on your parchment-lined baking sheet. Continue until all the dough is formed.
- Place the baking sheets in a cool, safe place to firm up. These take about 3 hours to fully harden and cure.
Notes
- Storage: Once cured, place the mints in an airtight container with layers of parchment paper in between each level to prevent sticking. Store the container in the refrigerator for up to 2 weeks.
- Freezing: Cream cheese mints freeze beautifully! Layer them with parchment paper in a freezer-safe container and freeze for up to 2 months. Thaw them in the refrigerator before serving.
- Flavor Variations: You can easily swap the peppermint extract for almond, wintergreen, or orange extract depending on the holiday!

I don’t have a stand mixer. Is there another way to mix?
Hello,
Thank you for stopping by! Yes, you can use a hand mixer to combine the butter and cream cheese. You will likely need to switch to a spoon though once the second two cups of sugar are added.
Yourpeppermint recipe sounds good,,,going to try it.. think i actually have all the right ingredients….wish me luck
Hello! Good luck!
Can the peppermint be eliminated and replaced with a different flavor?
Hello, yes you can use other extracts like orange and lemon, etc.
Can these be made with a sugar substitute?
Hello Jane,
I do not believe so! Sorry!
I’m going to try making these tomorrow using monk fruit sweetener. I have granules which I put in food processor to get a powder. I’ve made several recipes using powdered monk fruit with great success. I’m using lemon extract as per reader suggestion. These sound yummy and great for a diabetic, my spouse.
I made these years ago along with orange and lemon flavors. They were out into rubber molds for different seasons.
These are so good. I’ve made these with all different flavors. The kids love the orange and the cherry, I love the spearmint.
can these be made in advance and frozen?
Hello Dawn,
Yes, they sure can be!
Put the candy mixture in a zip bag – add the colour and massage well – cut off one corner of the bag and squeeze out a small amount at a time – roll and put on paper.
Can these “cure” in the refrigerator instead of at room temp?
Hi Kata, You can! Just make sure your fridge has no foul or strong odors like onions. It will likely take 6 hours or so!
With this recipe using cream cheese, I am worried about leaving it out so long to dry out for fear of food poisoning. For sure will they still cure if done in the refrigerator? Thank you for the recipe.
Hello, this recipe has been around for years ( even before I was born). While they do not need to be refrigerated until hardened I would avoid making them if food poisoning is a fear as I cannot control your home’s temp. and conditions.