Love those crispy Italian bakery cookies? Learn how to make the best Lemon Pizzelle at home. Thin, buttery, and perfectly crunchy—no anise required! 🍋 Post contains Amazon affiliate links.
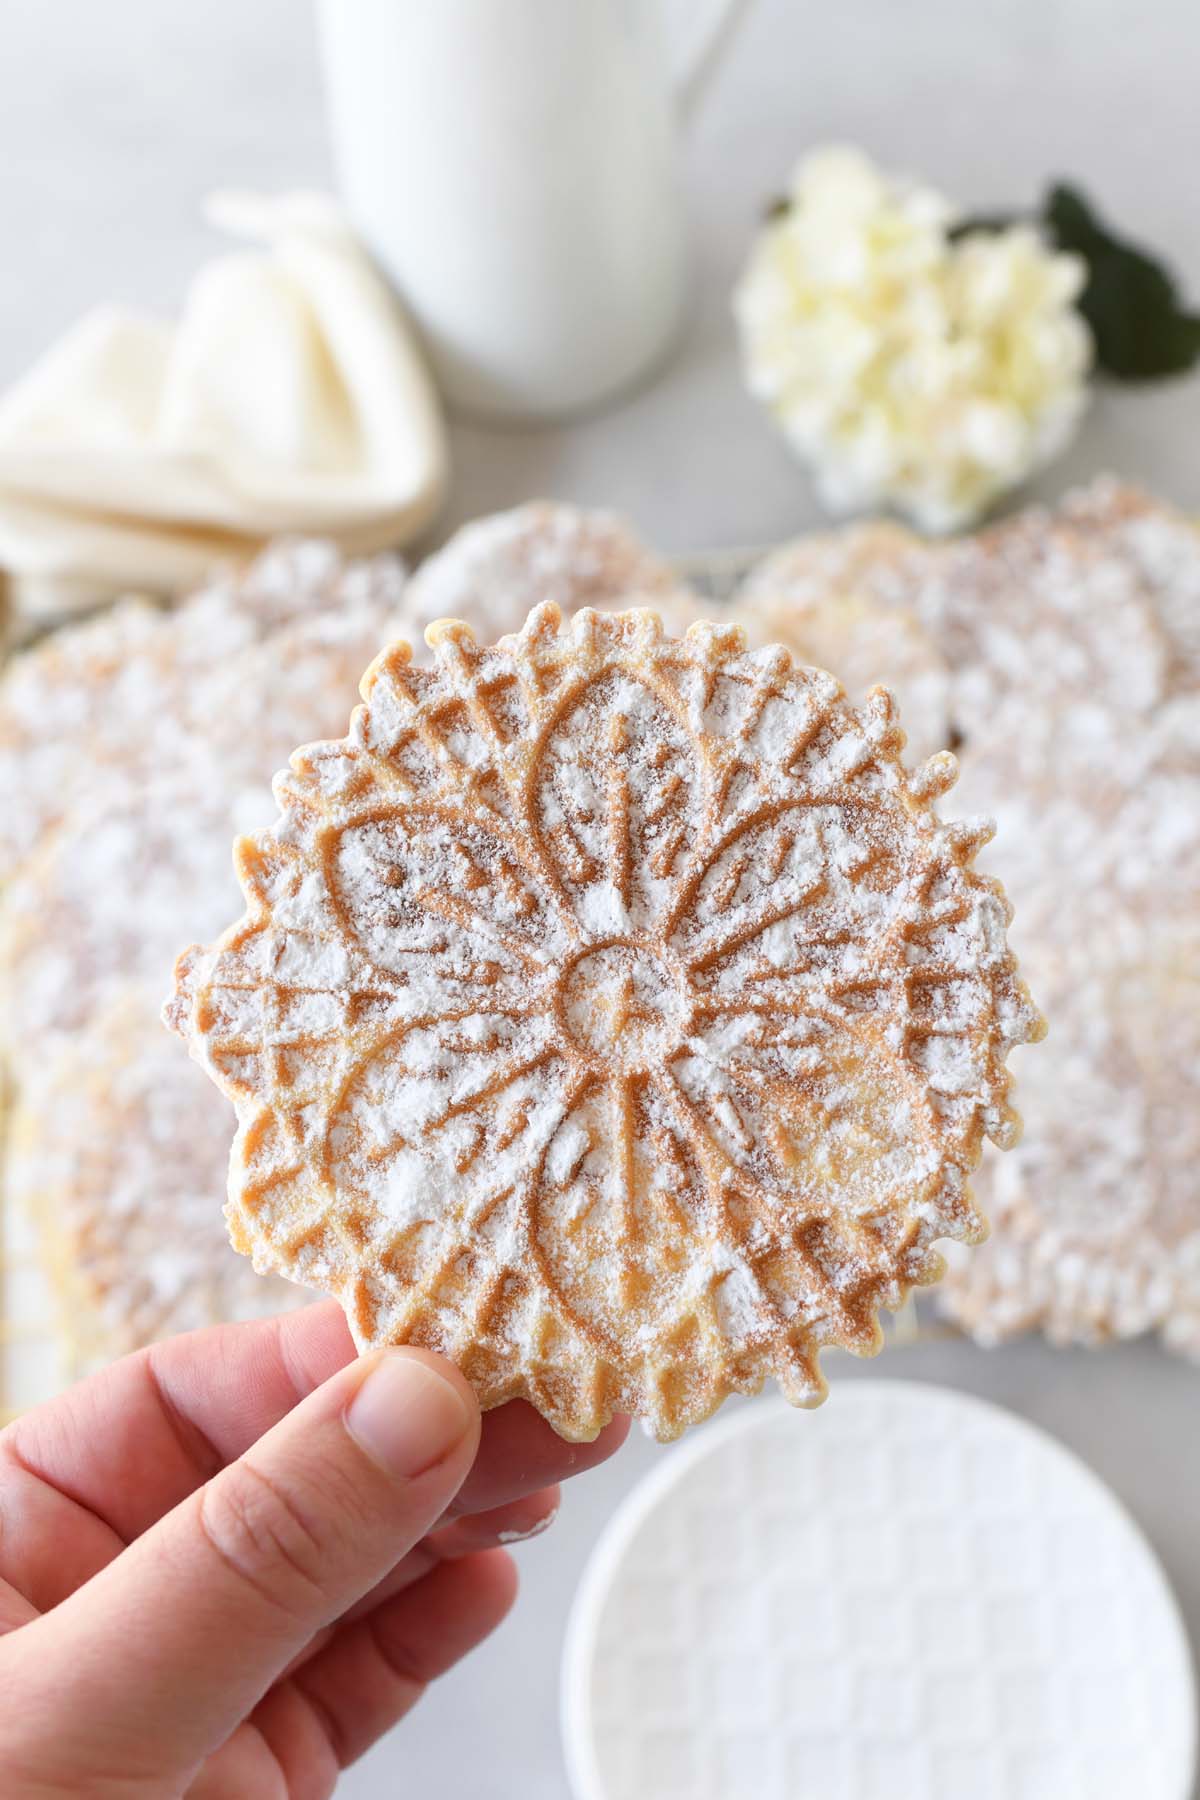
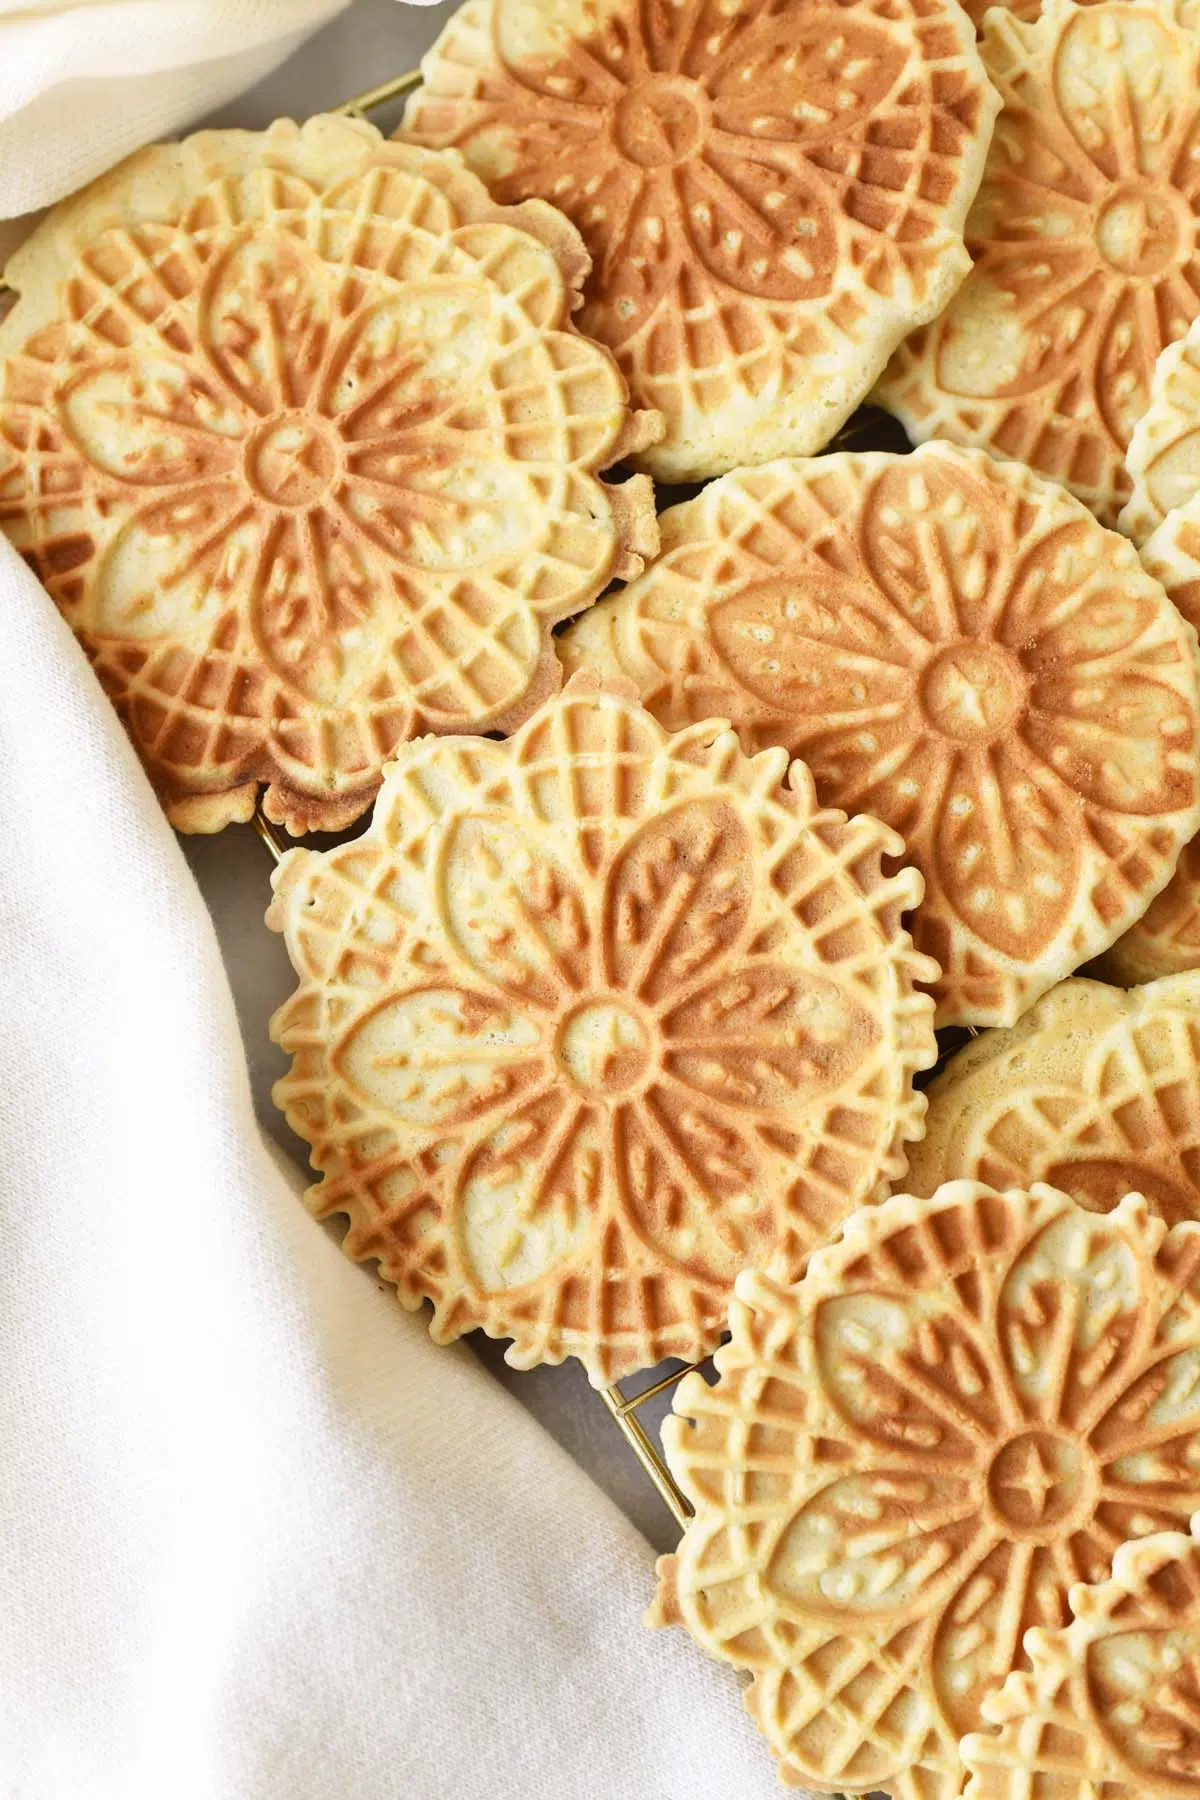
If you’ve ever wandered into a specialty grocer or an Italian bakery and walked out with a clear-wrapped stack of snowflake-shaped cookies, you know the magic of the pizzelle.
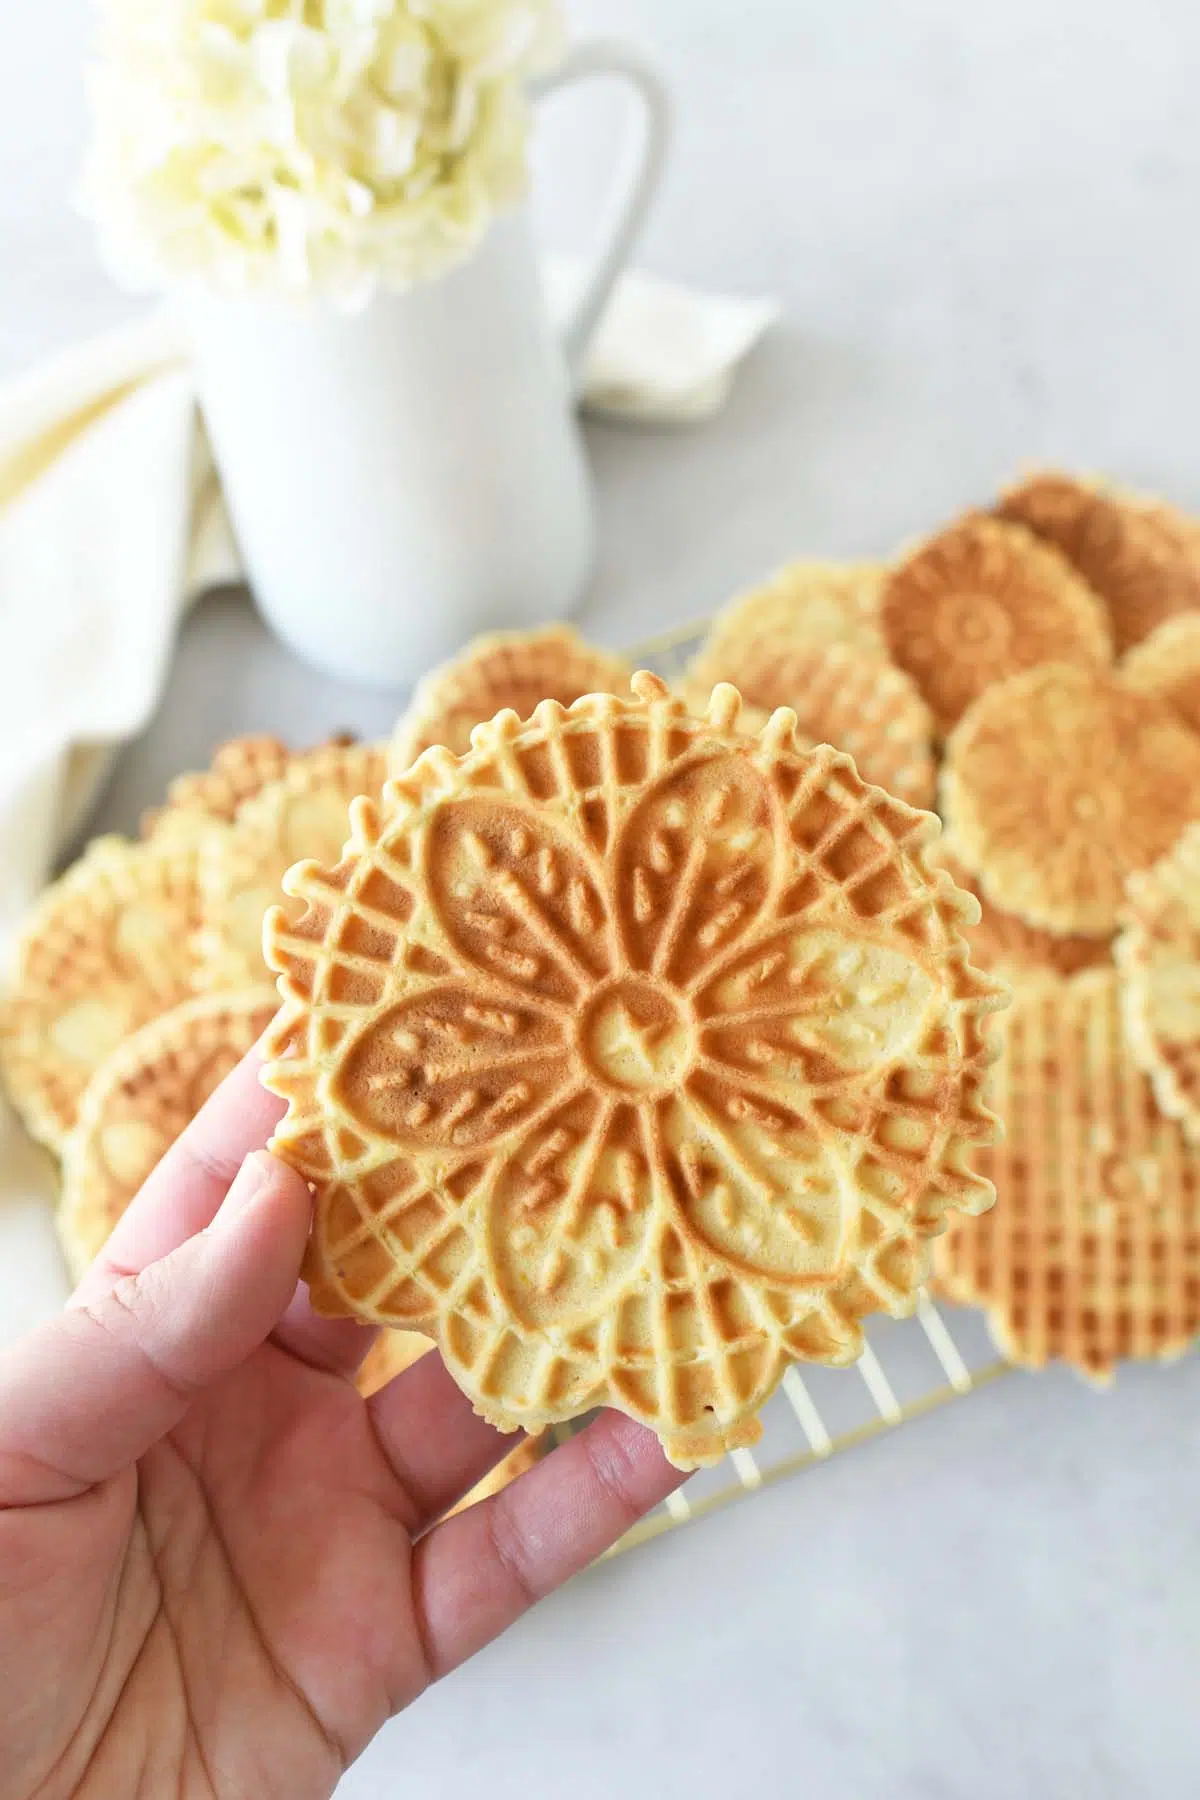
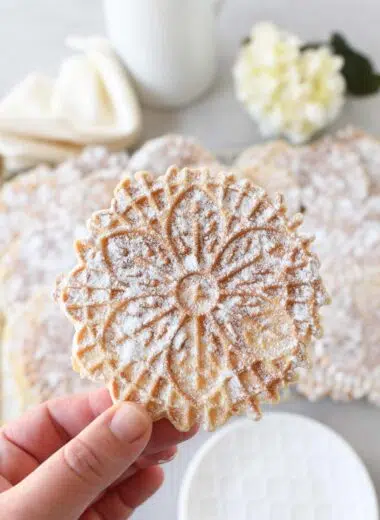
They are the ultimate “light” dessert—delicate, paper-thin, and satisfyingly crunchy. While many people only associate them with the strong black-licorice taste of anise, these Lemon Pizzelle are a complete game-changer. They taste like a sophisticated, citrusy shortbread wafer and are surprisingly easy to make at home.
If you just bought your first pizzelle iron and want to recreate that professional bakery “snap,” this is the recipe for you.
Ingredients: How the Magic Happens
The secret to a perfect pizzelle isn’t just the iron—it’s the chemistry of the batter. Here is what you’ll need and why each part matters:
- Eggs: These are your “glue.” They provide the structure that allows the cookie to be paper-thin without falling apart. Make sure you use room-temperature eggs for best results.
- Granulated Sugar: This provides the crunch. As the iron heats, the sugar melts and hardens into a crisp “shell.”
- Melted Butter: This gives the cookies that rich, buttery flavor you find in high-end imported brands. (Using oil makes them greasy; butter makes them gourmet).
- Lemon Zest & Extract: For the best flavor, use both. The zest provides the fresh, citrus scent, while the extract ensures the lemon flavor doesn’t fade during the high-heat baking process.
- All-Purpose Flour: This gives the cookie body. Be careful not to over-measure; too much flour makes them “cakey” instead of “crispy.”
- Baking Powder: This provides a tiny bit of lift so the cookie feels light and airy rather than dense and hard.
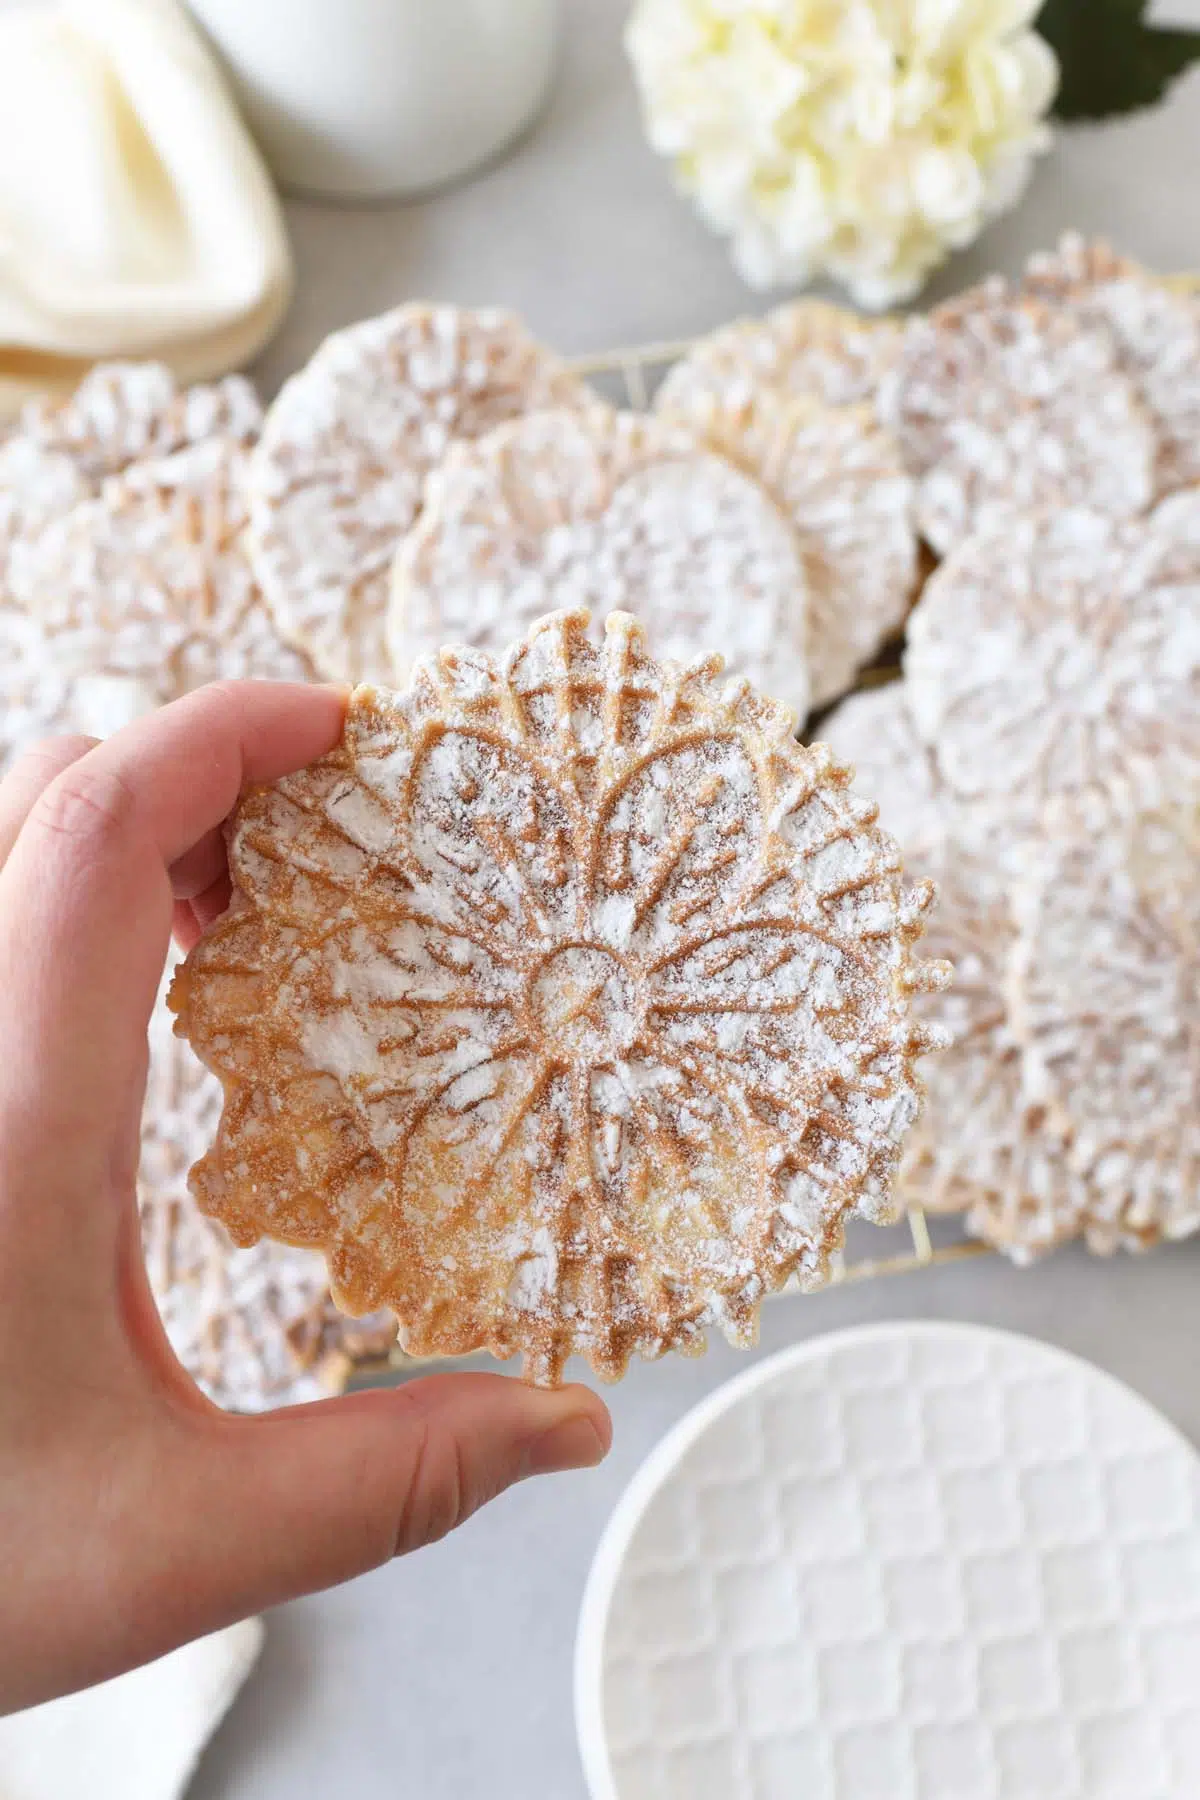
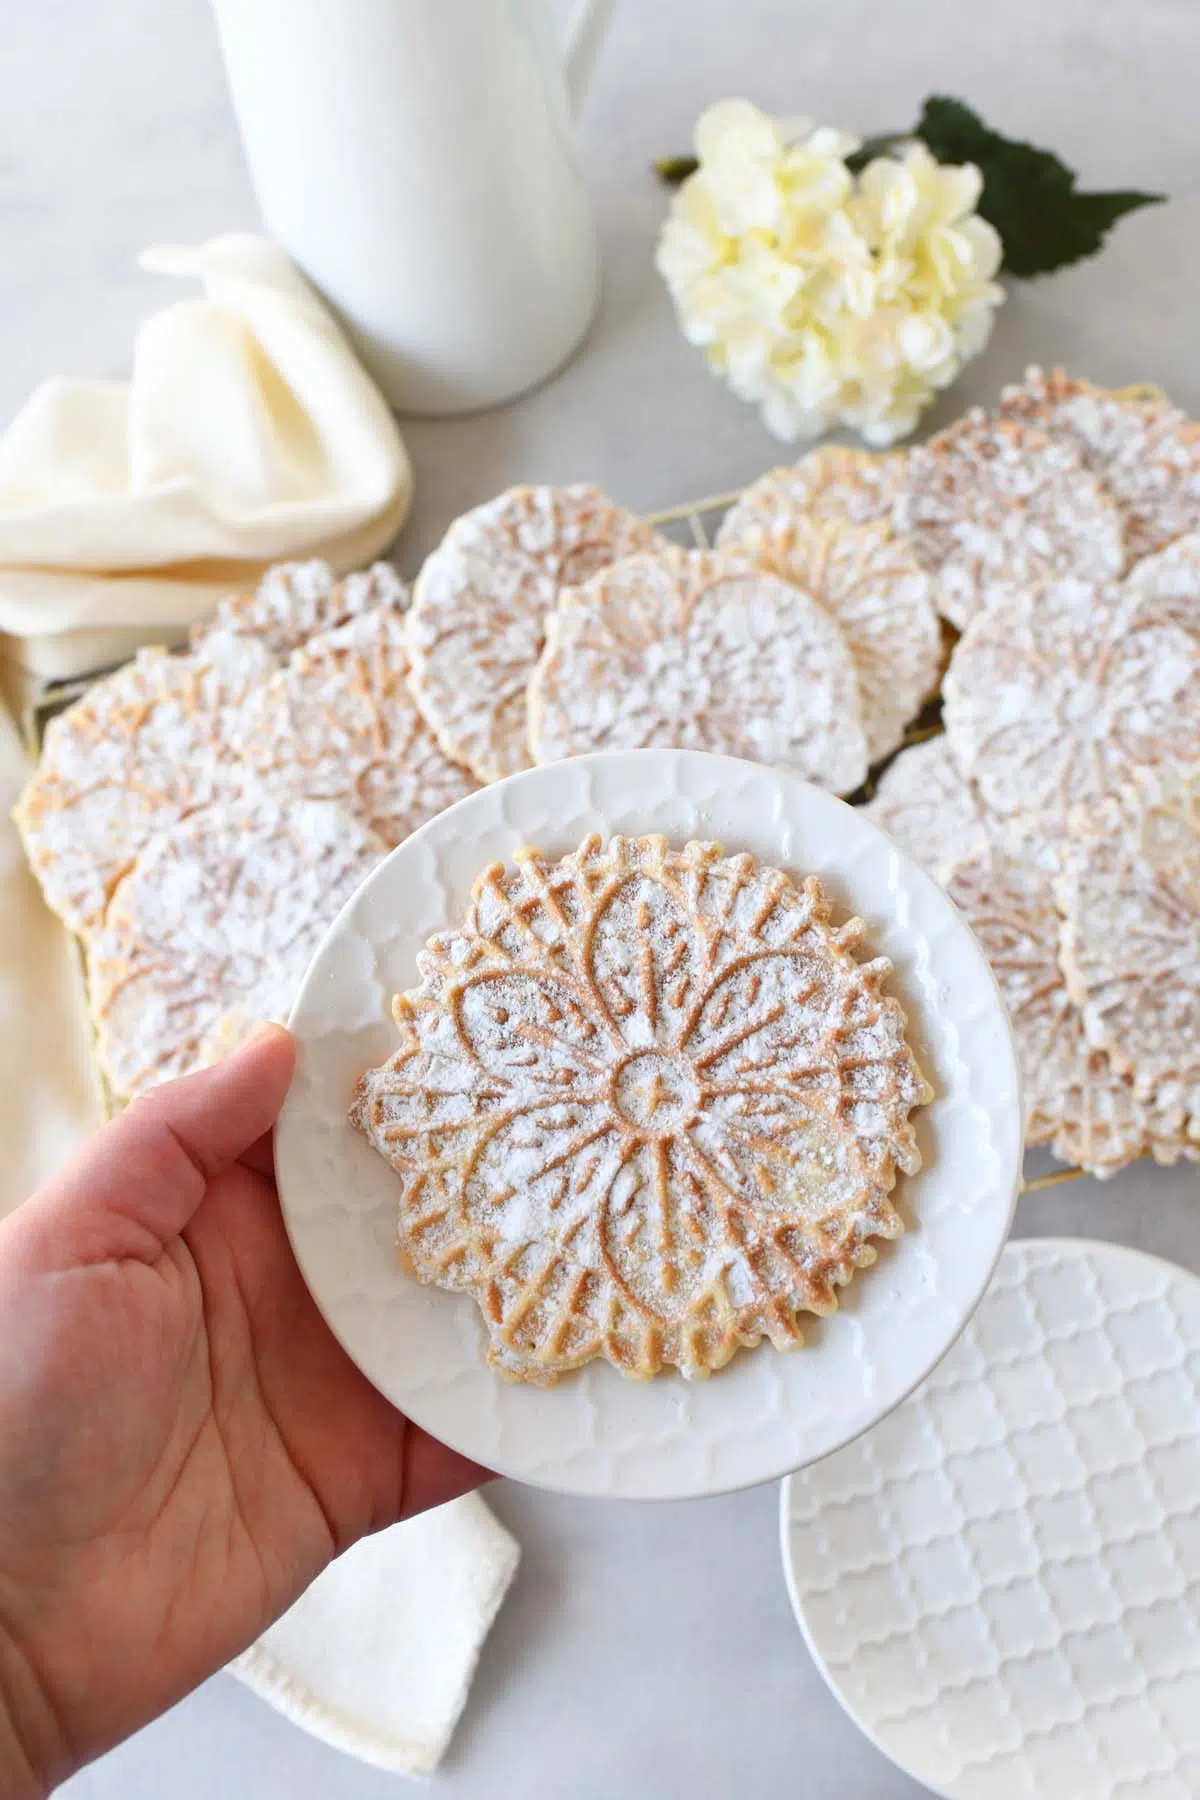
- Powdered Sugar: Optional but offers an added touch of sweetness and delicate look.
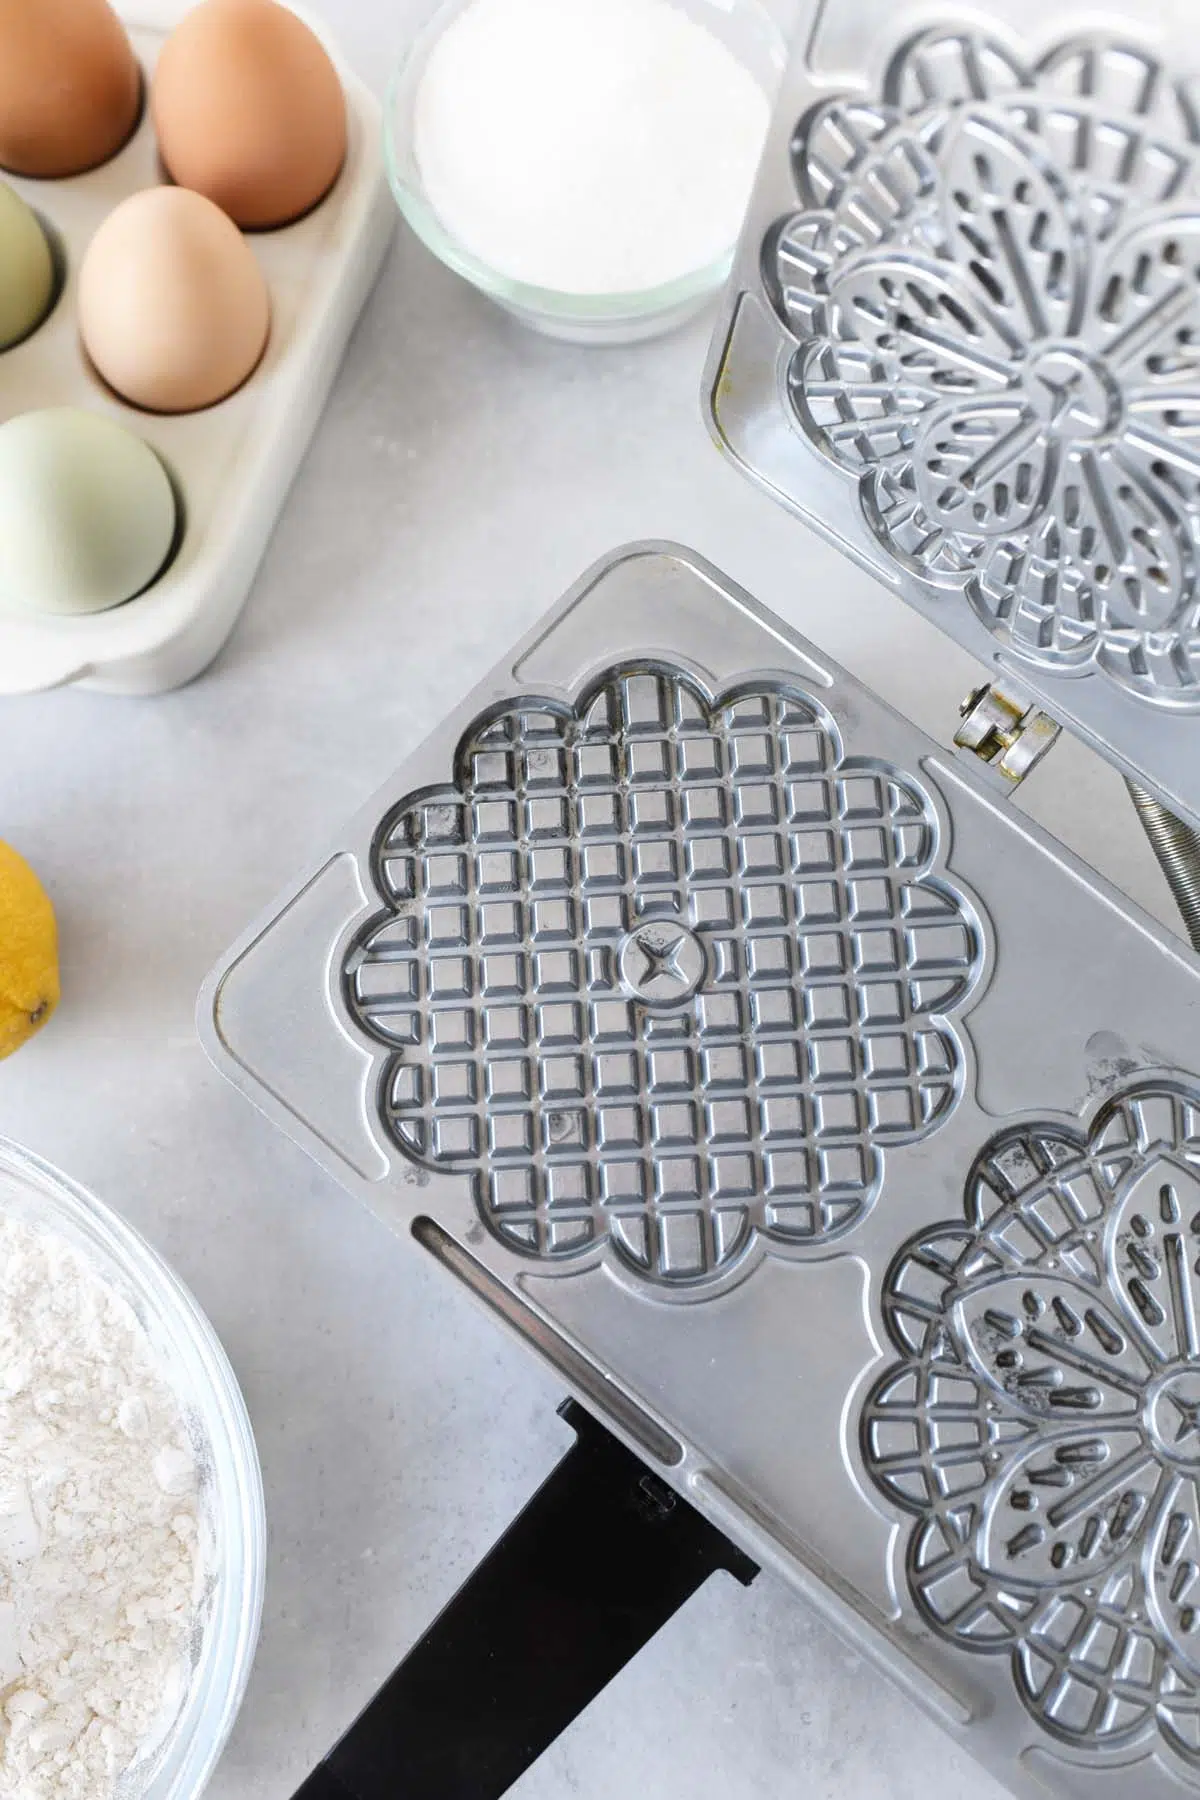
Mastering the Pizzelle Iron (For Beginners)
Using a pizzelle iron can be intimidating the first time, but think of it like a high-speed waffle maker.
- The “Spoon Test”: Your batter should be thicker than pancake batter but thinner than play-dough.
- The Placement Trick: You don’t need much! About one tablespoon of batter is enough. Place it slightly behind the center of the design (closer to the hinge). When you clamp the iron shut, it will push the batter forward to fill the edges. It’s okay if they aren’t perfect–mine sure aren’t-haha!
- The Steam Signal: Watch the sides of the iron. You’ll see steam puffing out. When that steam stops, the cookie is usually done (about 40 seconds). Most likely, your machine will have a light that turns off once done.
To make these even easier, you can let your stand mixer do the heavy lifting. Using the whisk attachment ensures those eggs get perfectly aerated, which is the secret to a light, store-quality crunch.
Step-by-Step Directions
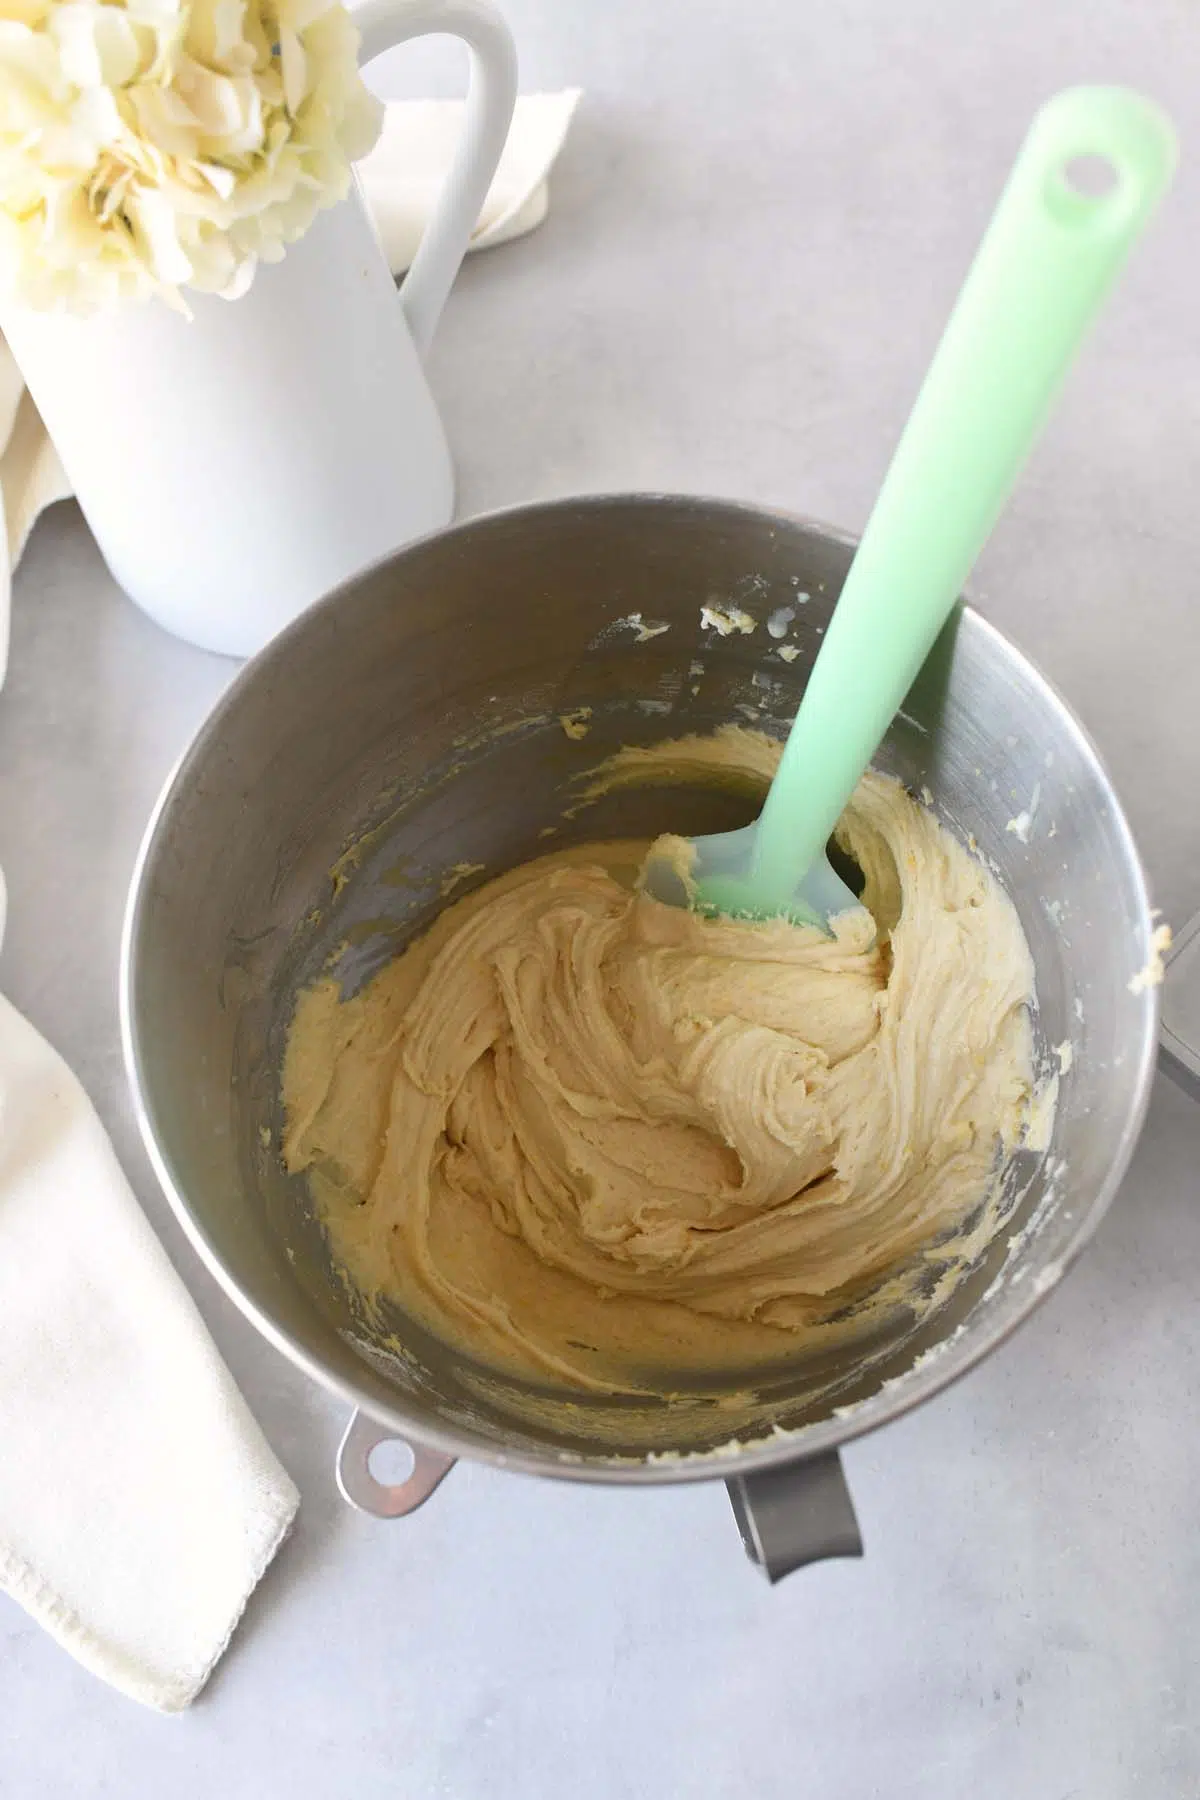
- Whisk the Bases: Attach the whisk attachment to your stand mixer. Add the eggs and sugar to the bowl and beat on medium-high speed for about 2–3 minutes until the mixture is pale, thick, and frothy.
- Add lemon: Turn the mixer to low and slowly pour in the melted (but cooled!) butter, lemon extract, and fresh zest. Mix just until combined.
- Add dry ingredients: Stop the mixer and sift in your flour and baking powder. Turn the mixer back to the lowest setting and mix until the flour just disappears. Do not overmix, or the cookies will lose their delicate snap!
- Prep the Iron: While the batter rests for a minute, heat your pizzelle iron. Even if it’s “non-stick,” I recommend a tiny spritz of cooking spray or a brush of oil for the very first batch to ensure a clean release. I used organic olive oil spray and once spray was all I needed for the entire batch.
- Bake: Drop about one tablespoon of batter slightly behind the center of each pattern. Lock the lid and bake for 30–45 seconds. A good rule of thumb: when the steam stops escaping the sides, they are usually ready.
- The Flat-Finish: Carefully lift the soft cookies out with wooden tongs, and lay them in a single layer on a flat wire rack. Do not stack them until they are completely cold, or the trapped steam will make them soggy.
Frequently Asked Questions (FAQs)
Why are my cookies soft/soggy?
Pizzelles are very sensitive to moisture. If you stack them while they are still warm, the steam gets trapped and turns them soft. Always let them cool completely in a single layer. They must be cooled. I store mine in an air-tight container.
How do I get those perfect “snowflake” edges?
It takes a few tries to find the right amount of batter. If your cookies aren’t filling the circle, add a little more batter next time. If they are overflowing, trim the excess off with a pair of clean kitchen scissors while the cookie is still warm! Mine took a while to start to look great. There is surely an art to making pizzelles and even I have not mastered the perfect pizzelle, but the flavor of these is delicious!!
Can I make these ahead of time?
Absolutely. These are the ultimate “make-ahead” cookie because they stay fresh for up to two weeks if kept in a truly airtight container.
How to Freeze Pizzelle (The Right Way)
If you’ve made a massive batch and want to save some for a month from now, follow these steps to preserve the texture:
- Cool Completely: Never freeze a cookie that is even slightly warm. Any residual heat will turn into ice crystals, which equals soggy cookies later.
- Double Bagging is Essential: Place the cookies in a heavy-duty freezer bag, squeeze out every bit of air, and then place that bag inside a second freezer container (like a plastic Tupperware). This prevents the cookies from absorbing “freezer smells.” Trust me, I have ruined foods with bananas and garlic-haha!
- Flash Freezing: If you have the space, lay them in a single layer on a baking sheet in the freezer for 20 minutes before bagging them. This prevents them from sticking together. Make sure you dont have any freezer odors if you choose that route!!!
The Thawing Secret
Do not open the bag immediately when you take them out of the freezer. Let the bag sit on the counter until it reaches room temperature. If you open it while the cookies are still cold, condensation will form on the surface and ruin the crunch.
The “Pro” Recovery Move: Even with perfect freezing, they might lose 5% of their crispness. To bring them back to life, pop the thawed cookies into a 300°F (150°C) oven for about 60 seconds. They’ll crisp right back up as they cool!
Can you freeze the batter?
No, I wouldn’t recommend it. Because this recipe uses a stand mixer to whisk air into the eggs and baking powder for lift, the batter will lose its “oomph” in the freezer. It’s much better to bake the cookies first and freeze the finished product.
Storage & Pro-Tips
Use a Tupperware or a Ziploc bag with all the air squeezed out to store cooled cookies at room-temperature in a humidity-free area. These will last for up to two weeks, but likely won’t make it until then because they’re just so delish!!
The Dessert Hack: Want to impress guests? While the cookie is fresh off the iron and still hot, wrap it around the handle of a wooden spoon. It will harden into a tube that you can fill with cannoli cream or whipped cream later!
More Cookies to Bake this Spring
- Lemon Snowball Cookies
- Pistachio Pudding Cookies
- Lemon Cake Mix Crinkle Cookies
- Chocolate Chip Biscotti
- Three Ingredient Peanut Butter Cookies

Crispy Lemon Pizzelle Recipe
Equipment
- pizzelle iron
- Stand Mixer fitted with whisk attachment
- tablespoon scoop
- Rubber Spatula
- Measuring cups & spoons
- wooden tongs
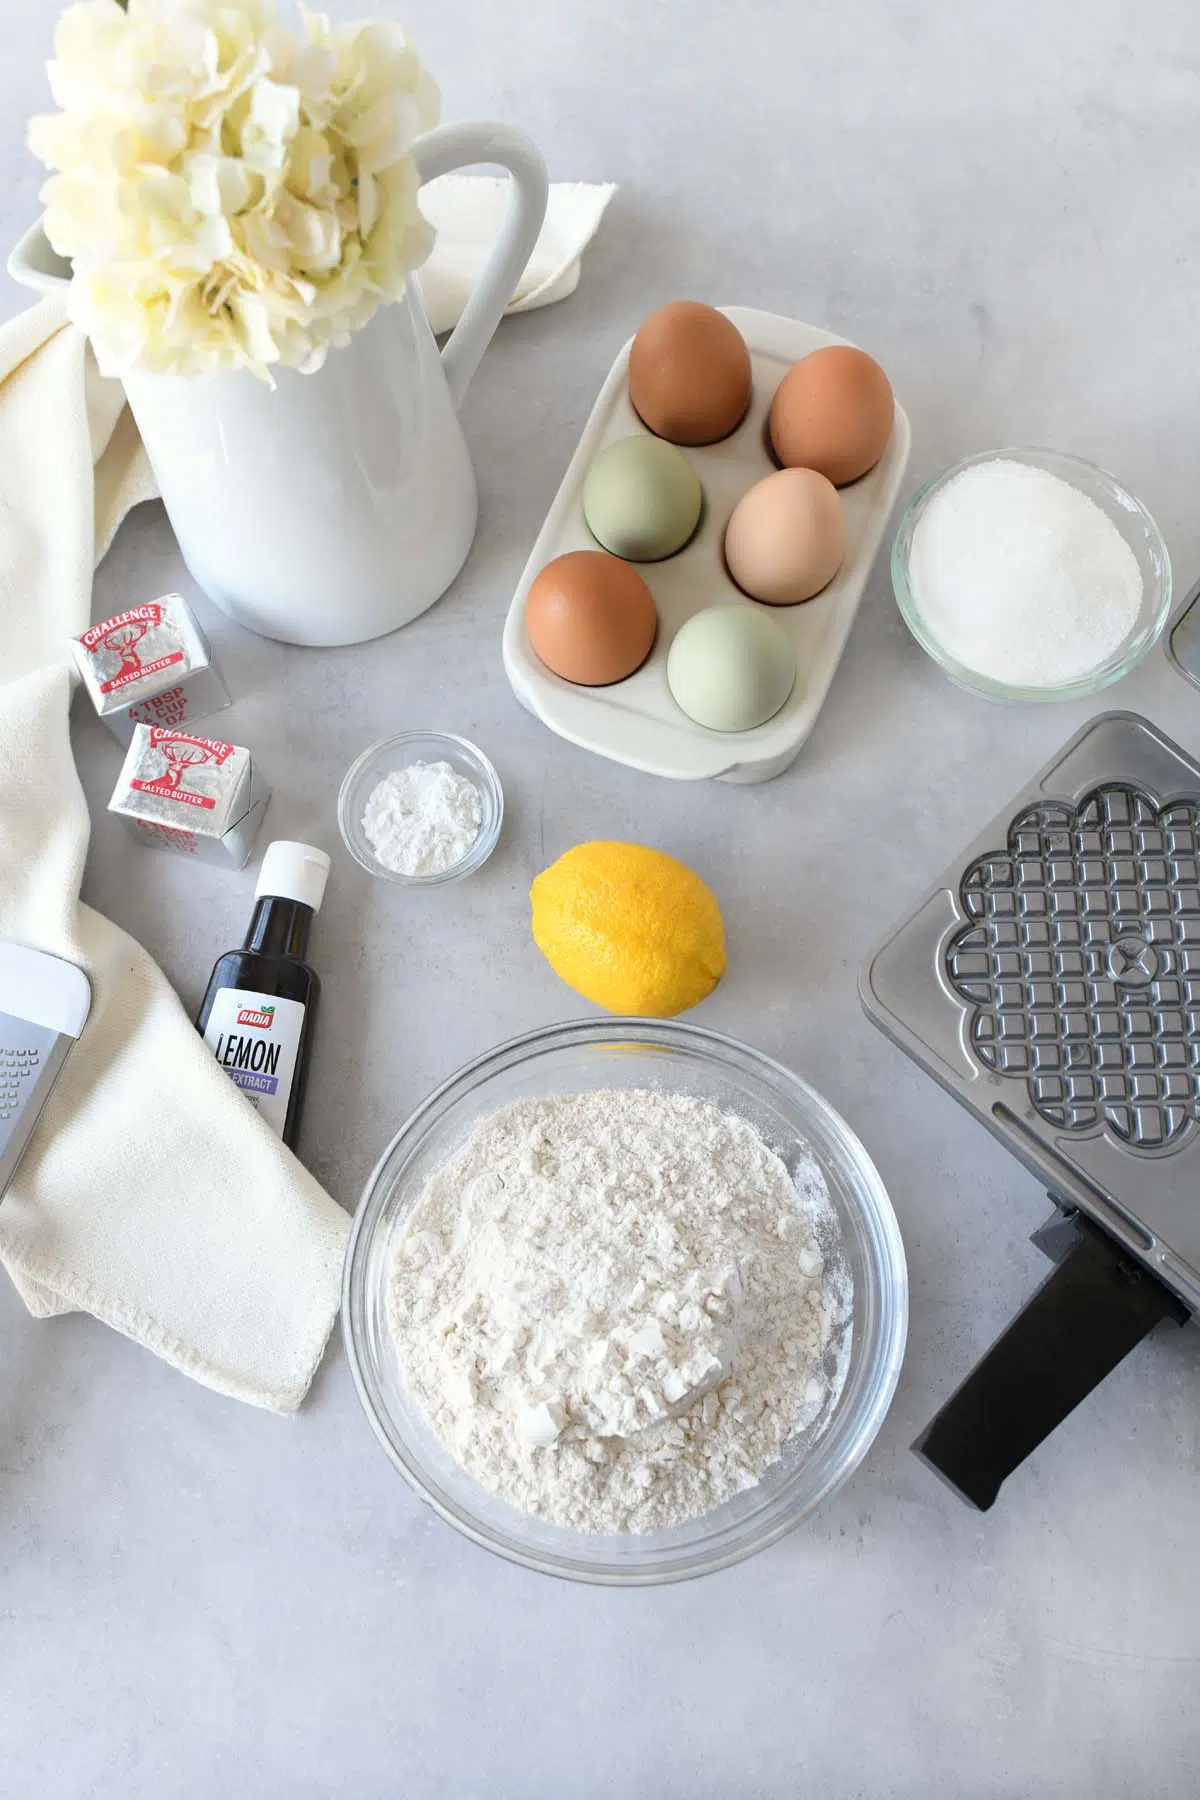
Ingredients
- 3 large eggs room temperature
- ¾ cup granulated sugar
- ½ cup melted unsalted butter
- 2 teaspoons lemon extract
- 1 tablespoon lemon zest *zest of one medium lemon
- 1¾ cup all-purpose flour
- 2 teaspoons baking powder
- ¼ cup powdered sugar *optional for dusting pizzelles.
Instructions
- Attach the whisk attachment to your stand mixer. Add the eggs and sugar to the bowl and beat on medium-high speed for about 2–3 minutes until the mixture is pale, thick, and frothy.
- Turn the mixer to low and slowly pour in the melted (but cooled!) butter, lemon extract, and fresh zest. Mix just until combined.
- Stop the mixer and sift in your flour and baking powder. Turn the mixer back to the lowest setting and mix until the flour just disappears. Do not overmix, or the cookies will lose their delicate snap!
- While the batter rests for a minute, heat your pizzelle iron. Even if it’s "non-stick," I recommend a tiny spritz of cooking spray or a brush of oil for the very first batch to ensure a clean release.
- Drop about one tablespoon of batter slightly behind the center of each pattern. Lock the lid and bake for 30–45 seconds. A good rule of thumb: when the steam stops escaping the sides, they are usually ready.
- Carefully lift the soft cookies out with a fork and lay them in a single layer on a flat wire rack. Do not stack them until they are completely cold, or the trapped steam will make them soggy.
- Repeat baking process until all pizzelles have been made.
- Dust with powdered sugar if desired.
Leave a Reply