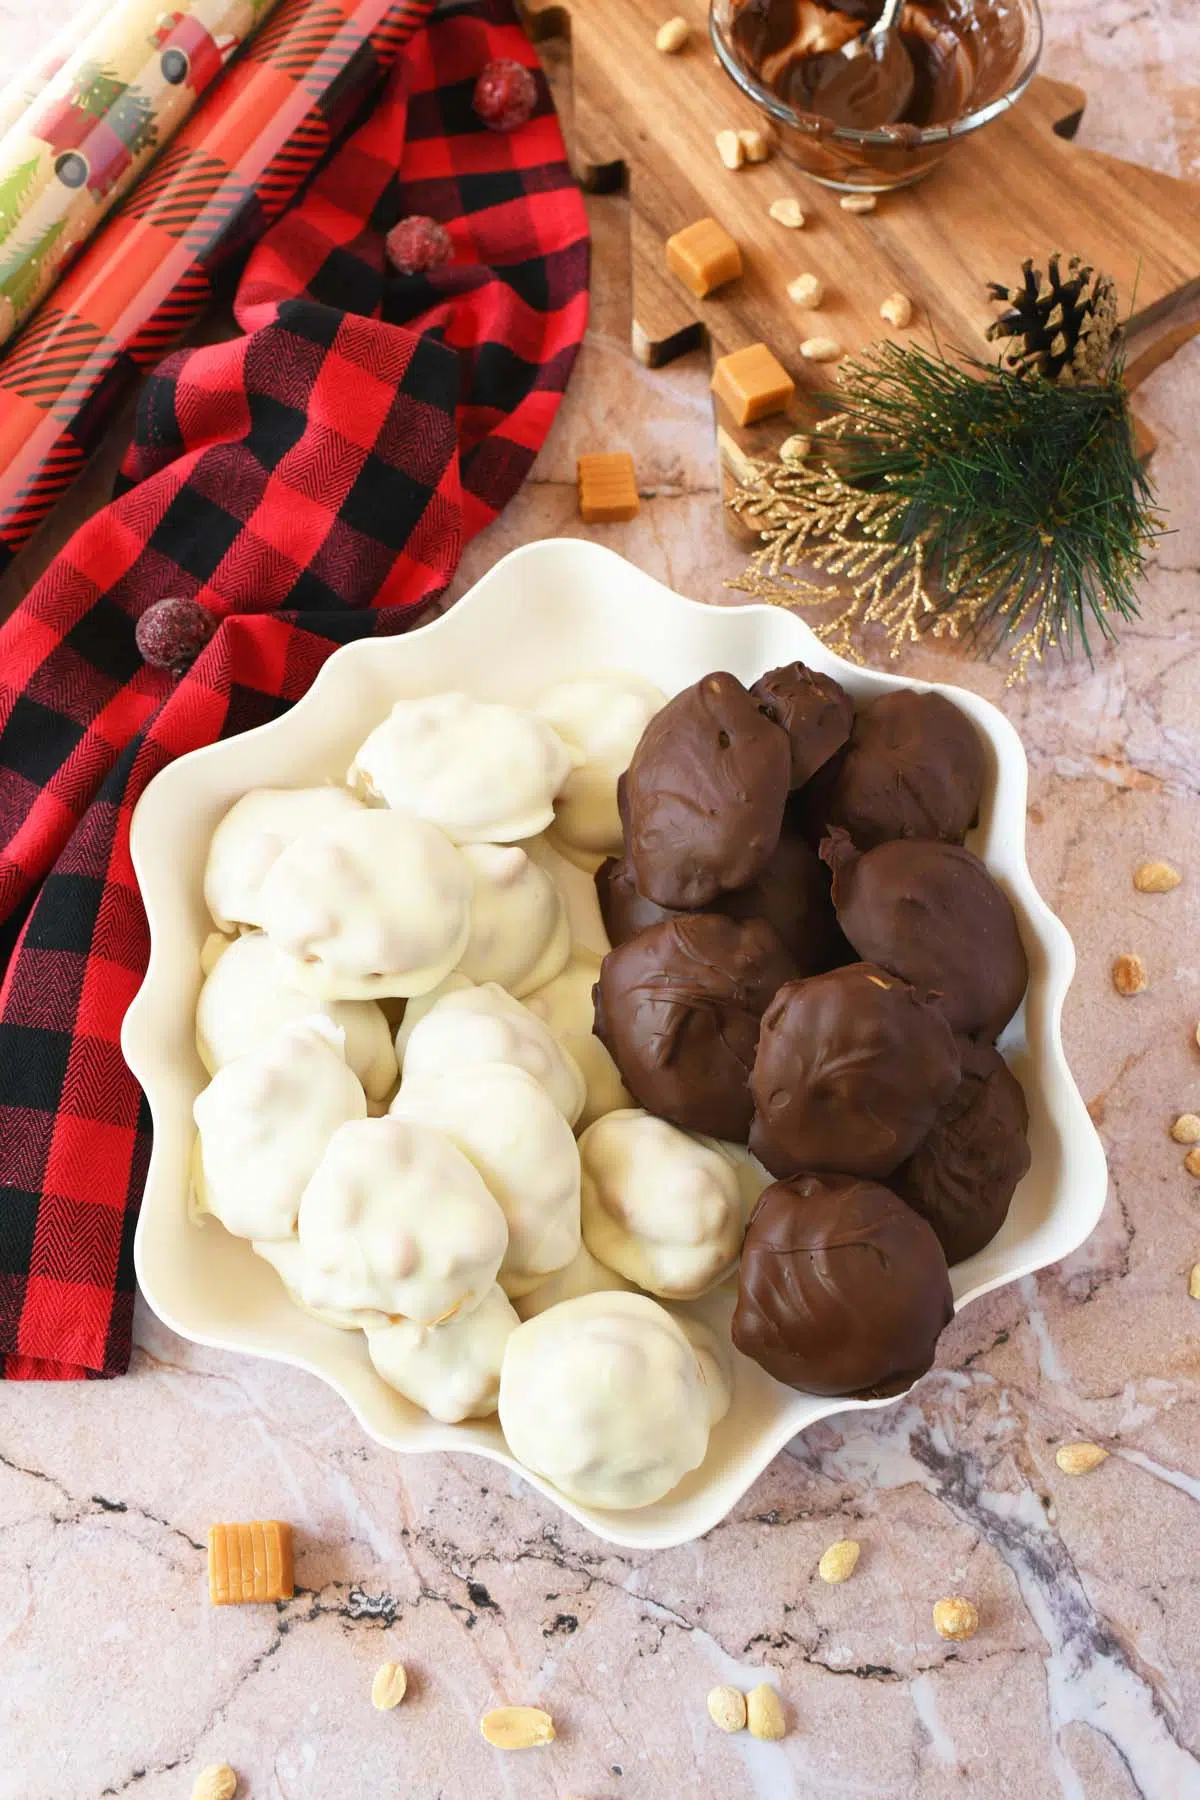
These irresistible Polar Bear Paws Candies are a delicious confection that captures the magic of winter in every bite. This recipe yields a generous batch of candies that are perfect for holiday platters, gifting, or simply enjoying as a decadent treat.
The combination of a rich, creamy chocolate with crunchy salted peanuts and a gooey caramel center creates a mouthwatering experience. This is a no-bake, easy-to-follow candy recipe that’s perfect for both novice and experienced candy makers because it doesn’t involve candy thermometers or the stovetop! This post contains Amazon affiliate links.

As a busy mom of three, who loves to create in the kitchen, I have been itching to start on my holiday confections. Each year, I share tasty sweets and treats ahead of time to help both you and I plan or holiday sweets tables.
You all know I have the BEST Homemade Turtle Candy recipe, so it was only natural that I move onto trying to replicate another one of my favorite candies. I’m talking about Polar Bear Paws Candy. Yep, you heard me right. They’re a sweet little mouth of heaven that tastes like a winter dream come true. If you love buttery caramel, white chocolate (or your fave) and salty peanuts—you’ve come to the right recipe post.
Why I’m Head-Over-Heels for Polar Bear Paws Candies
There are so many reasons why these sweet goodies have become a favorite in our house.
- They’re just so delicious! The taste and texture are out of this world. It’s a mix of creamy, chewy, and crunchy that just hits all the right spots.
- They’re a perfect little treat. Whether it’s for a movie night, a small reward for the kids, or a moment of peace for me, they’re the perfect size.
- They make great gifts. I’m already thinking about making little gift baskets for the holidays with them. It’s a super simple and thoughtful way to share a little bit of joy without having to do a ton of work.
- The whole family loves them. It’s so hard to find a snack that everyone agrees on, but these are a hit with all of us!
What’s In a Polar Bear Paw Candy?
You might be wondering what makes these so good. It’s a simple combo that creates confectionary magic!
- White Chocolate (or milk/dark): This is the base of the candy and it’s what gives it that beautiful “polar bear” look. It’s creamy, rich, and melts in your mouth.
- Peanuts: A big handful of crunchy peanuts are mixed right into the caramel. They give it a delicious nutty flavor and a great texture contrast.
- Caramel: A little ribbon of soft, buttery, chewy caramel enrobes the peanuts. It adds a sweet, gooey texture that is just divine.
The combination of the creamy chocolate, the crunchy peanuts, and the chewy caramel is just… wow. It’s sweet, it’s rich, but it is also the holidays which is a time to indulge a little. The bit of saltiness from the nuts makes you just want more and more-haha!
How to Make Your Own Polar Bear Paws Candy at Home
Now, I know not everyone can order these from chocolatiers, and some of you are probably thinking, I couldn’t afford the $30+ price tag anyhow. The answer is I GET IT—SO Let’s make some at home!
Ingredients:
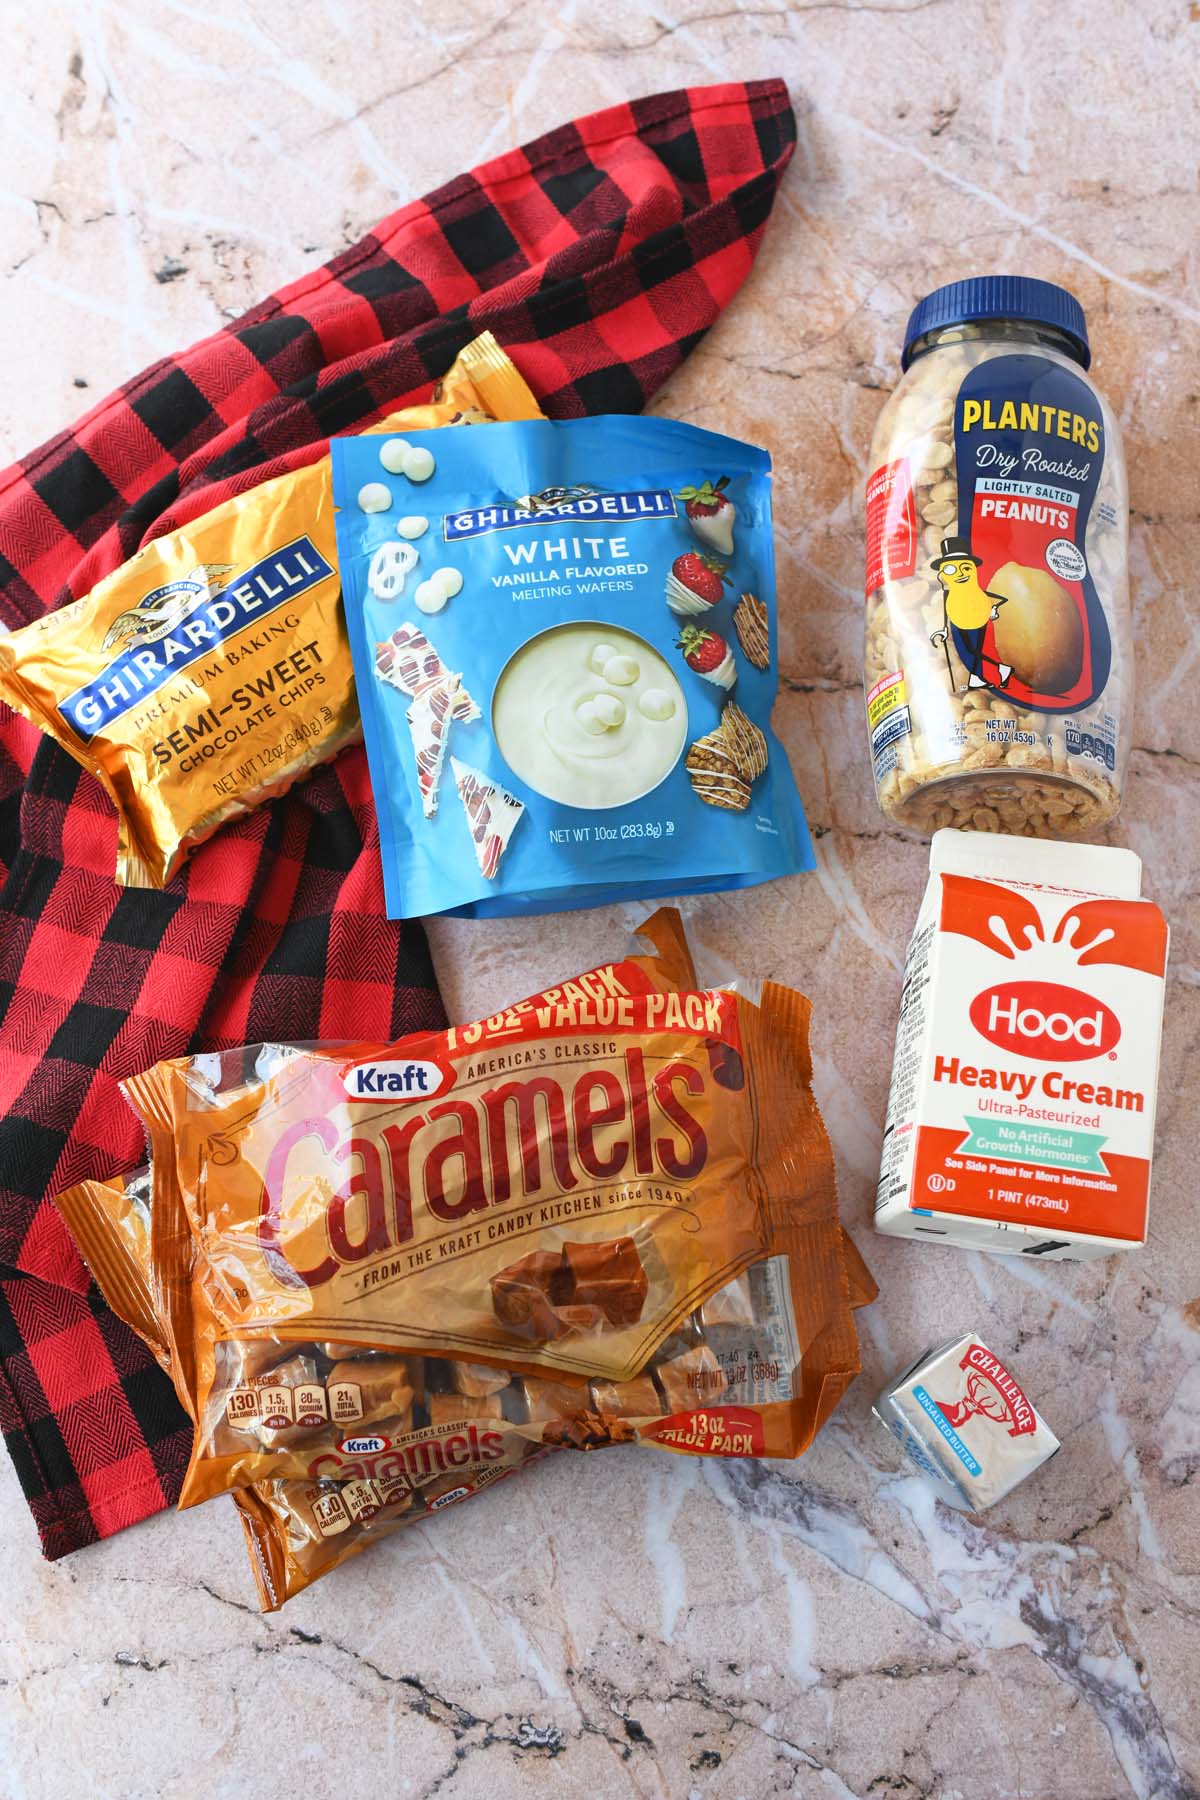
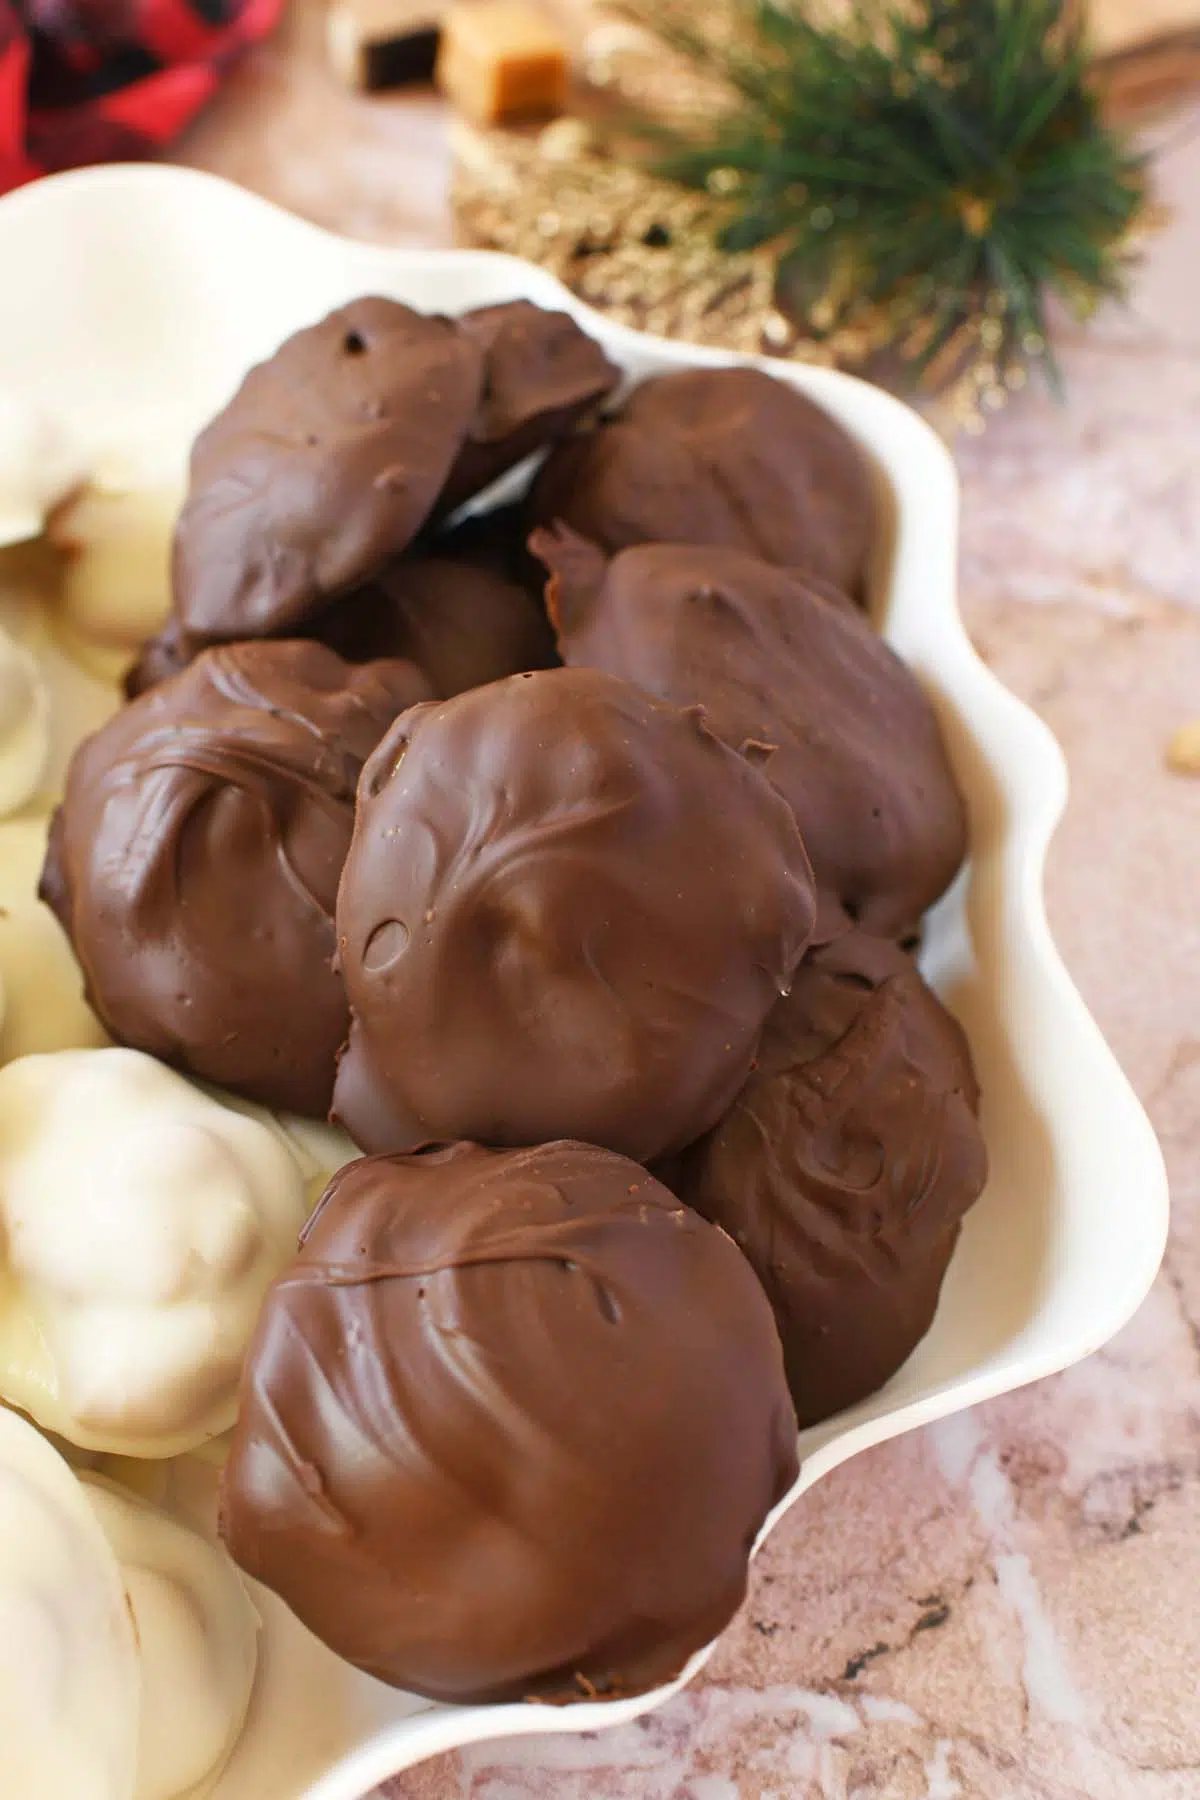
- 2 bags of premium white chocolate melts like Ghirardelli. I split mine between white chocolate melts, and Ghirardelli Semi-Sweet morsels. I guess you could say I made “muddy polar bear paws candy” haha!
- 2 cups of lightly roasted peanuts. I love the Planter’s brand.
- 2 bags of Kraft Caramels (22 ounces total)
- 6 tablespoons of Hood Heavy Whipping Cream-the best!
- 2 tablespoons of Challenge Unsalted Butter-so good!
Make the Caramel Nut Centers
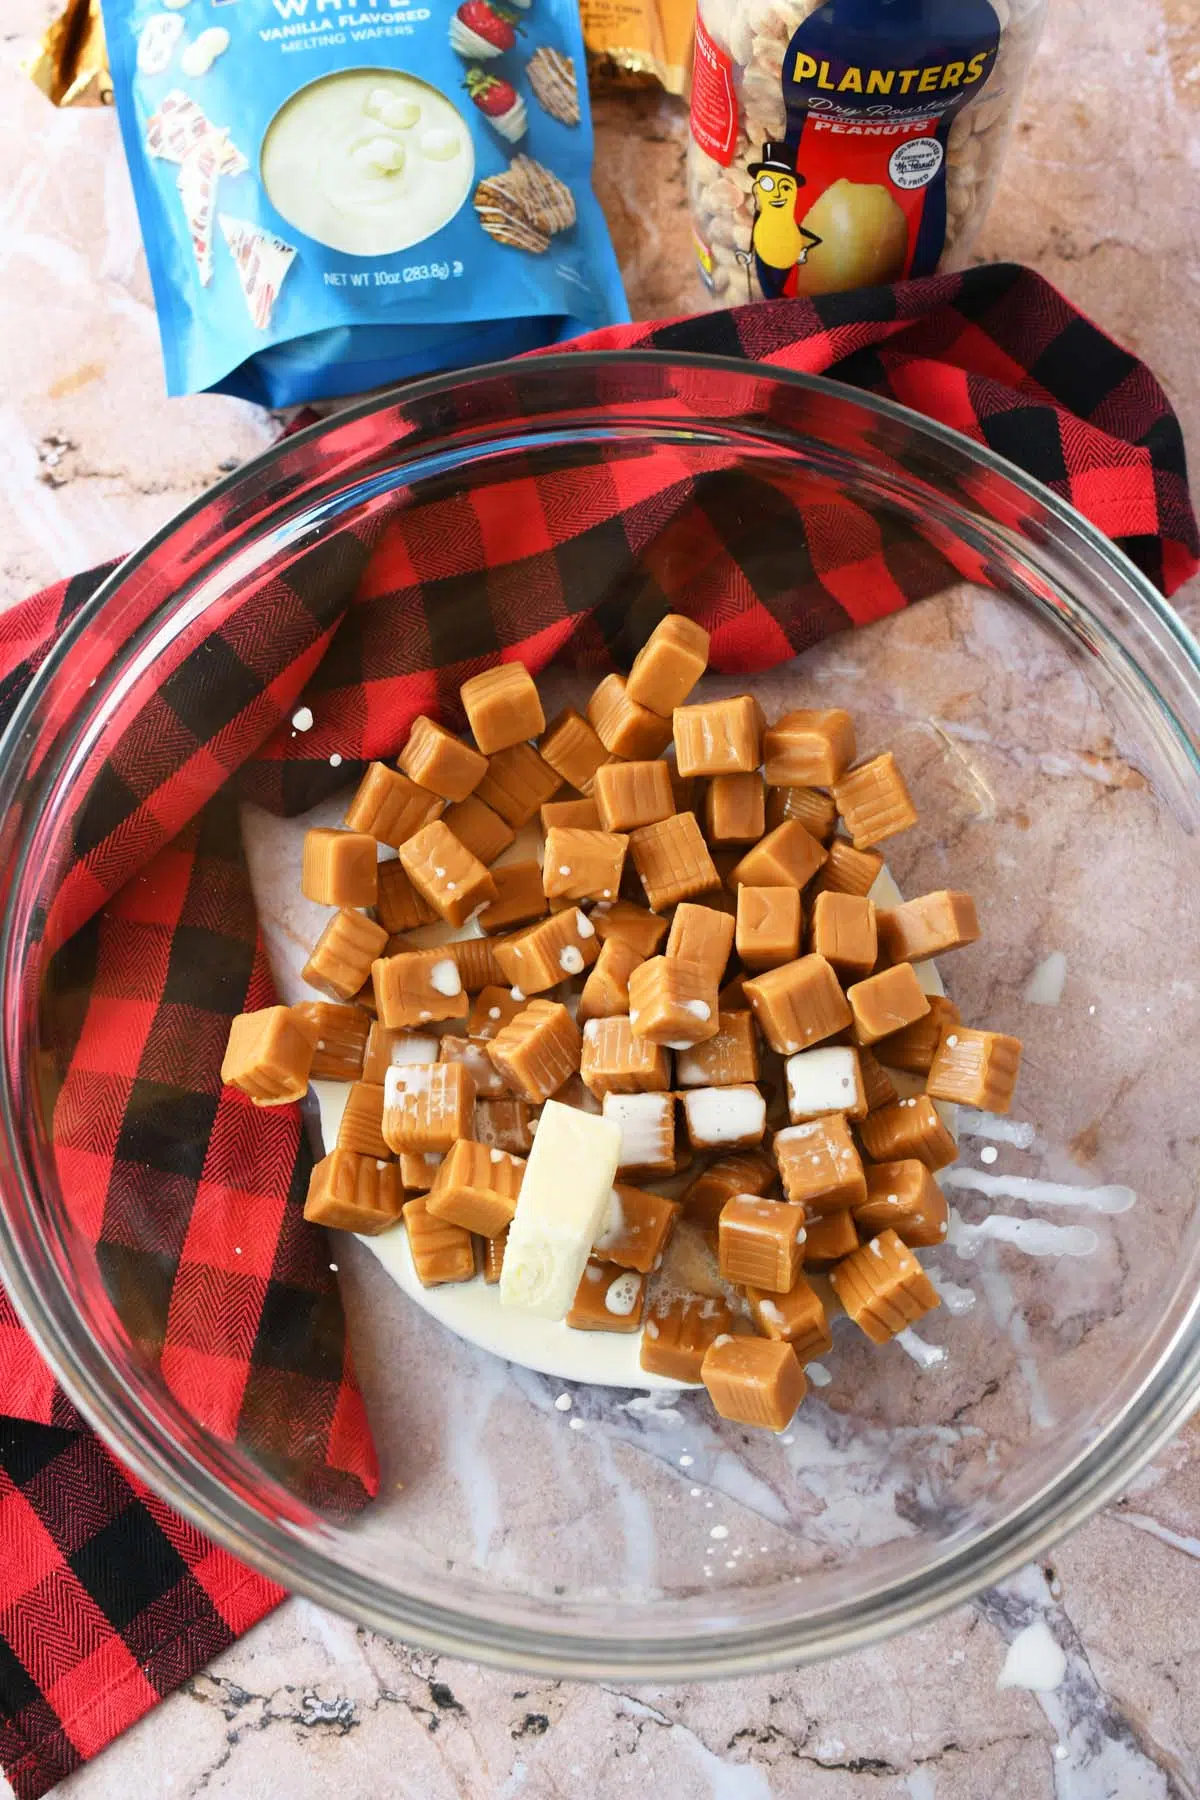
In a medium, microwave-safe bowl, combine the two bags of Kraft Caramels, 6 tablespoons of Hood Heavy Whipping Cream, and 2 tablespoons of Challenge Unsalted Butter. Microwave in 30-second intervals, stirring after each one, until the caramel is completely melted and smooth. This should take about 2 to 3 minutes.
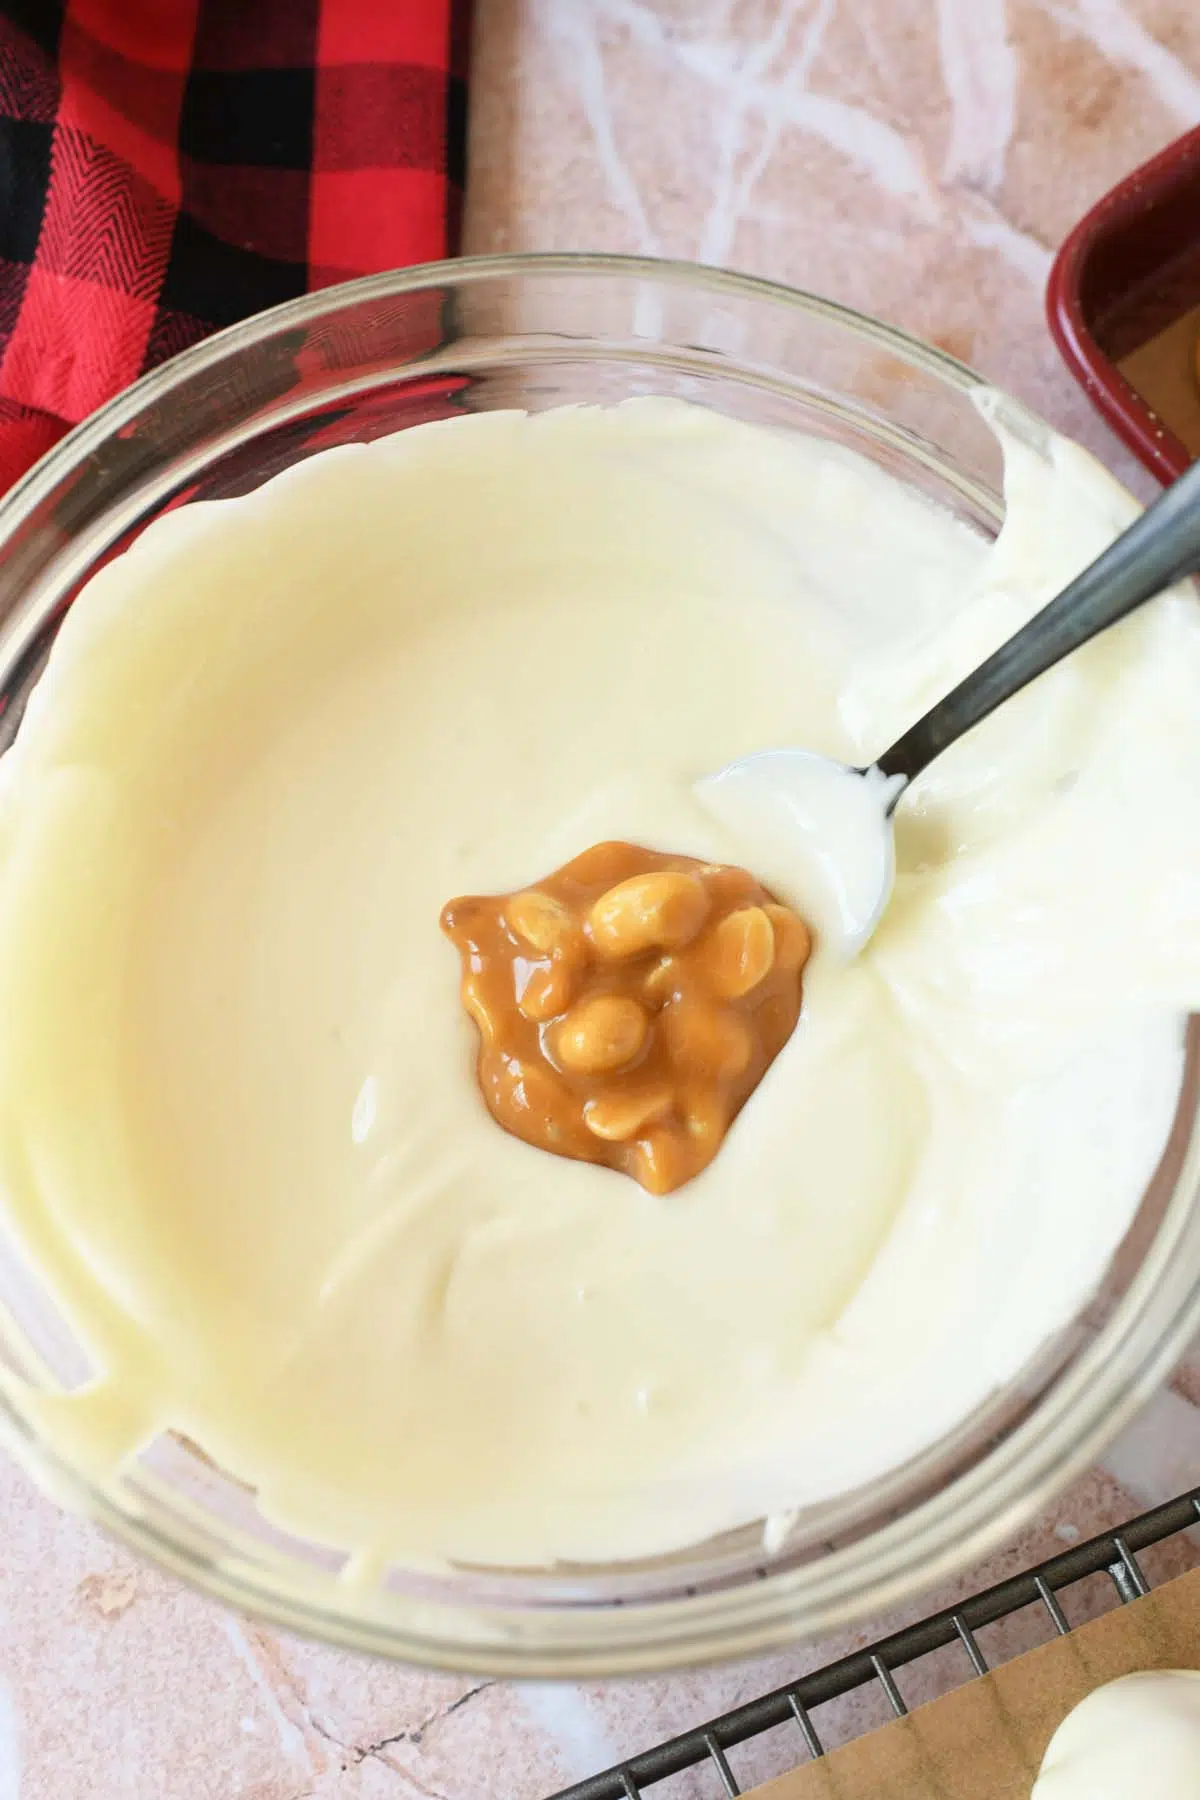
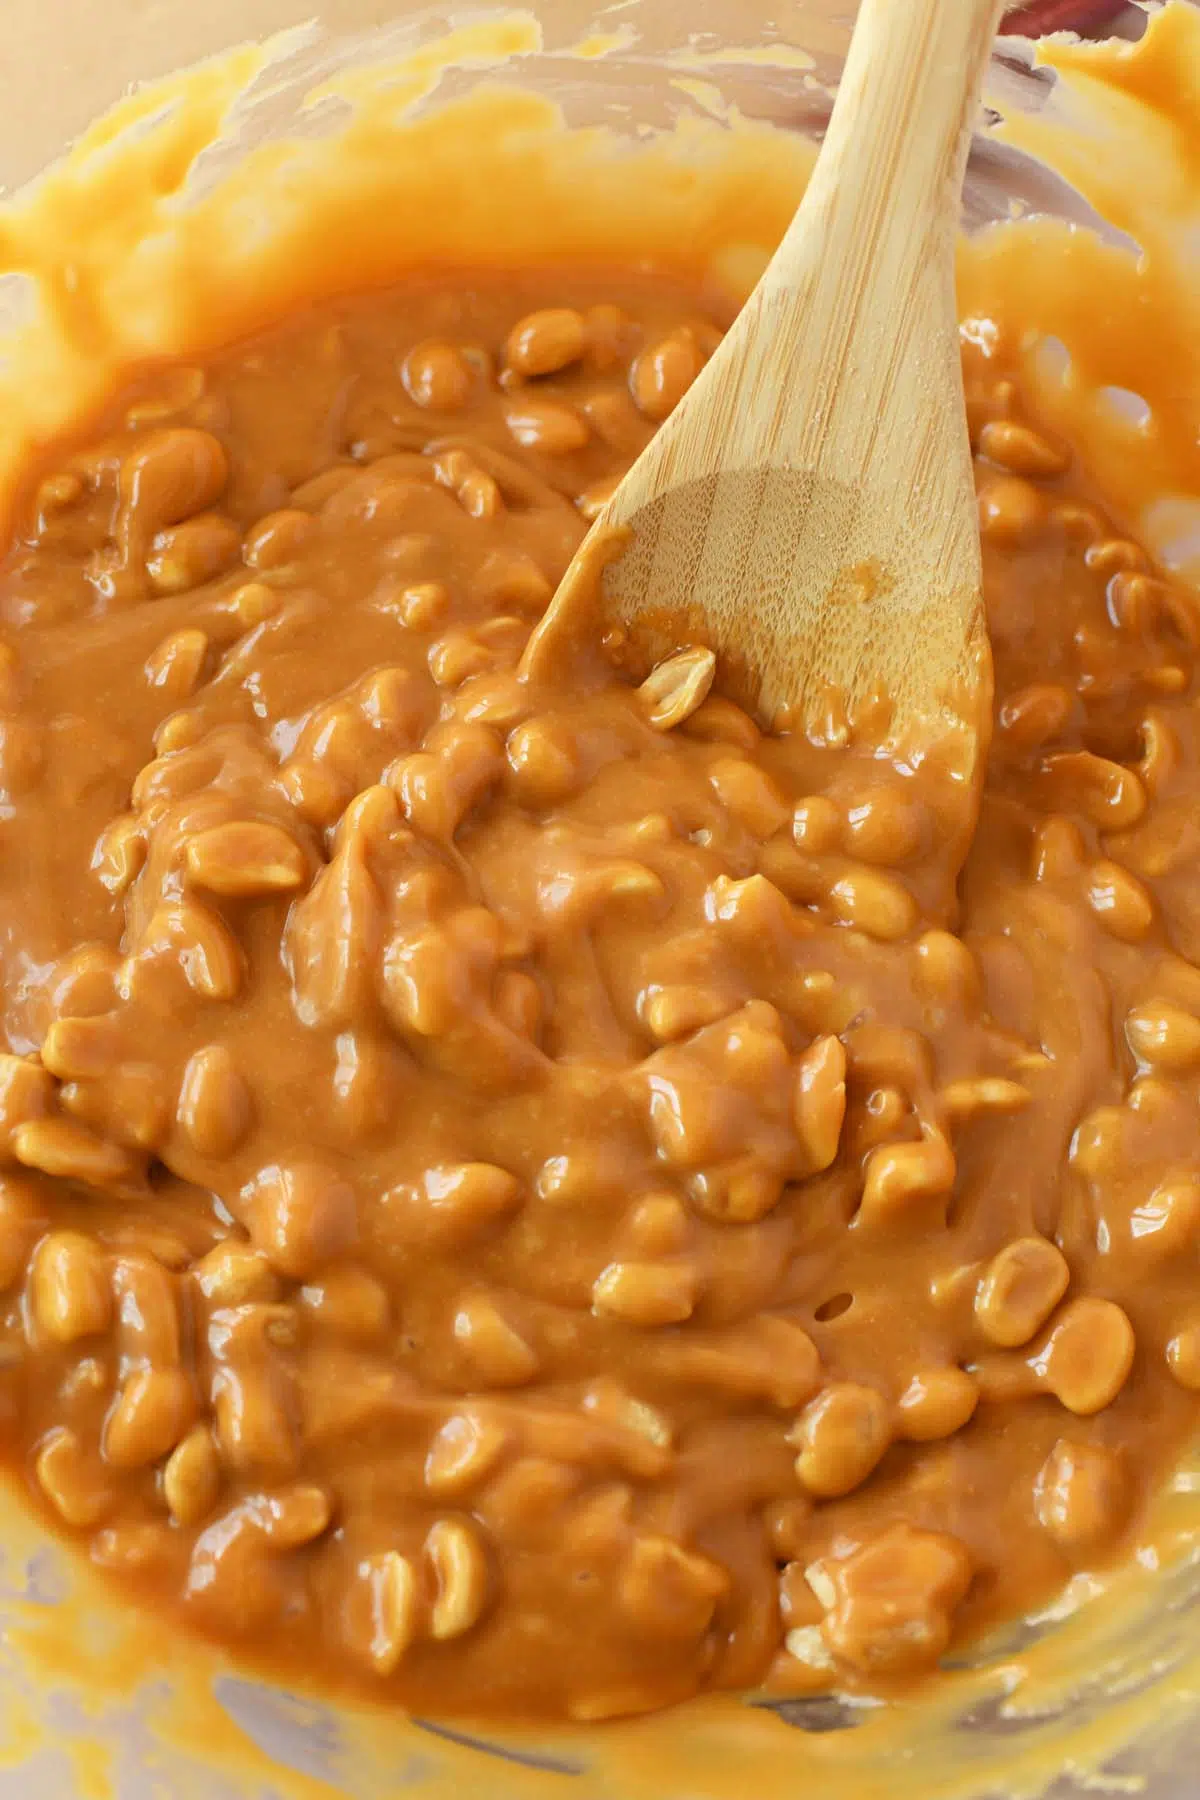
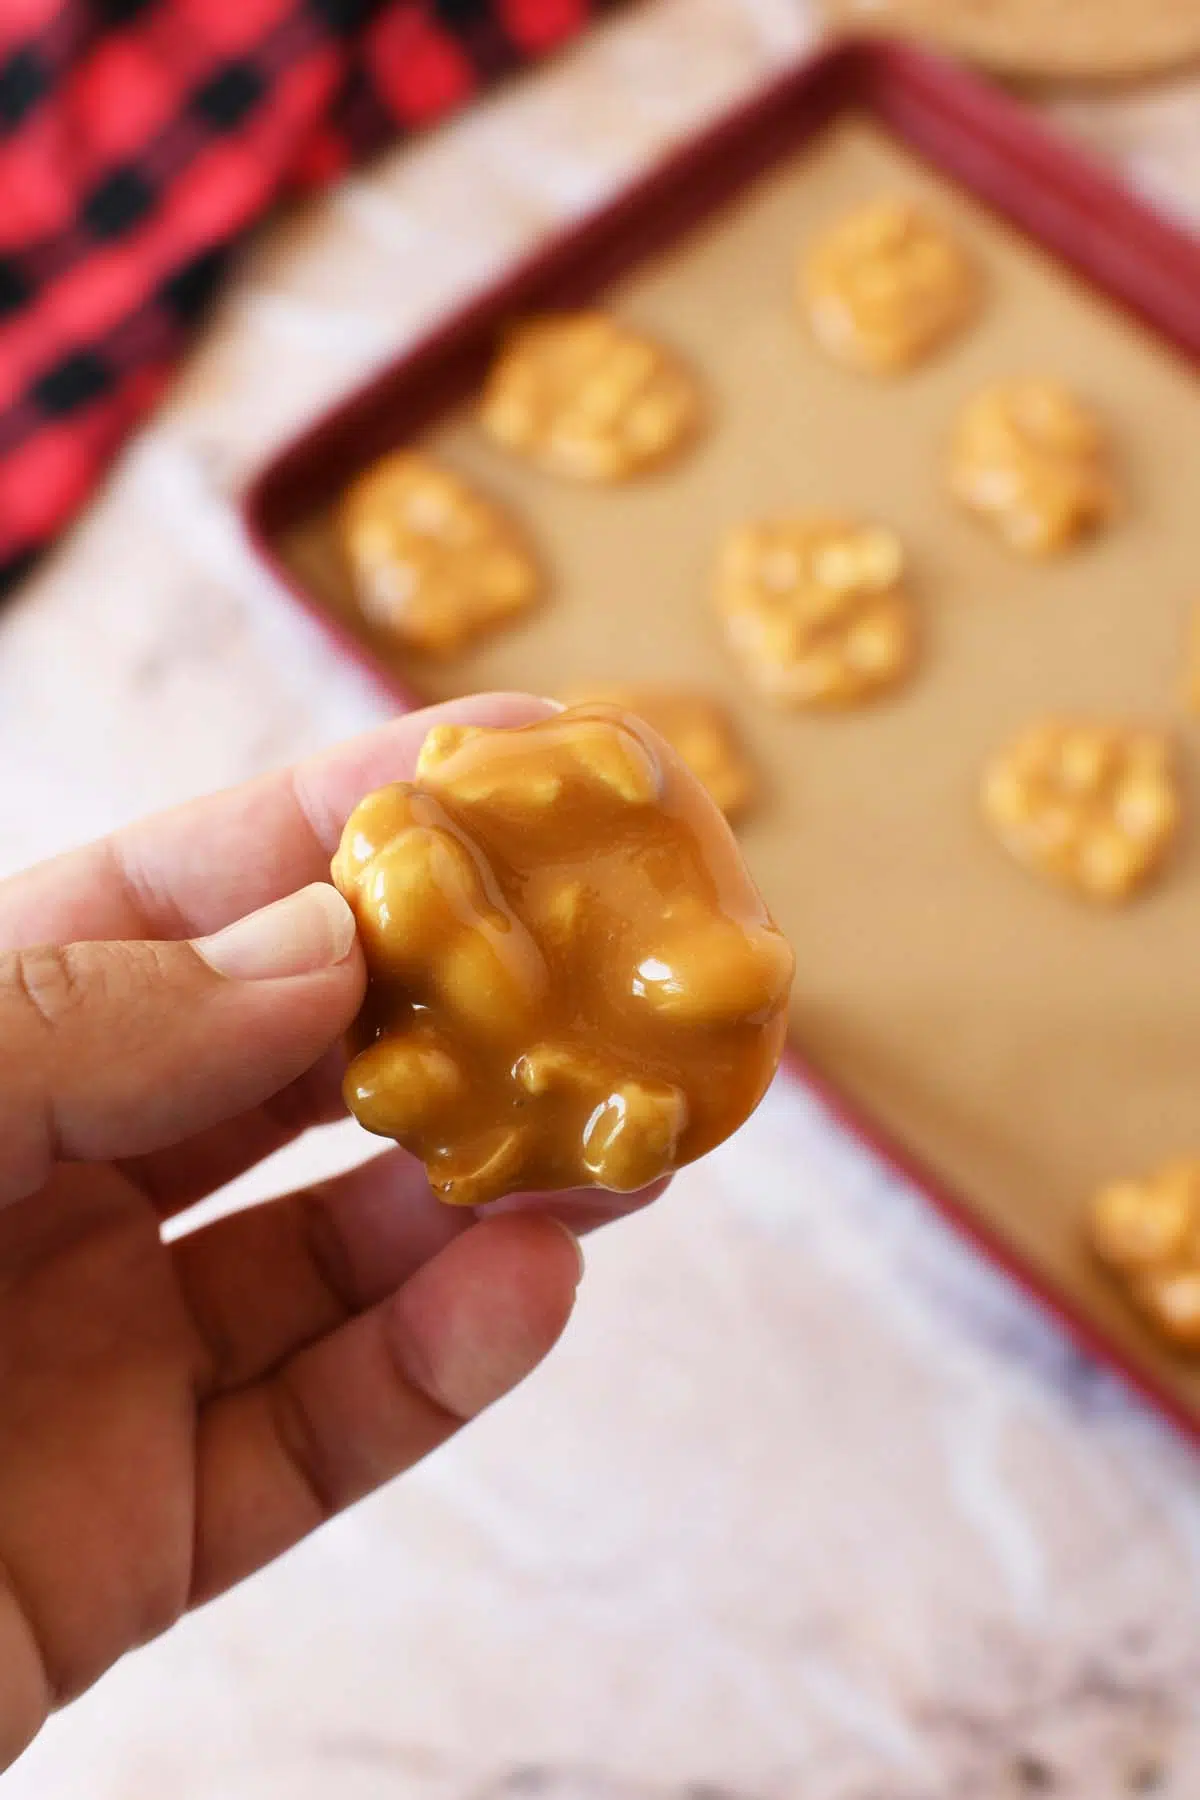
Once the caramel is melted, stir in the 2 cups of lightly roasted peanuts until they’re fully coated. Using a tablespoon, drop small clusters of the caramel-nut mixture onto a baking sheet lined with parchment paper. Place the baking sheet in the refrigerator and chill for at least 30 minutes, or until the centers are firm.
Melt the Chocolate
In a separate large, microwave-safe bowl, combine the two bags of Ghirardelli premium white chocolate melts and semi-sweet morsels. Microwave in 30-second intervals, stirring after each one, until the chocolate is smooth and fully melted.
Coat the Centers
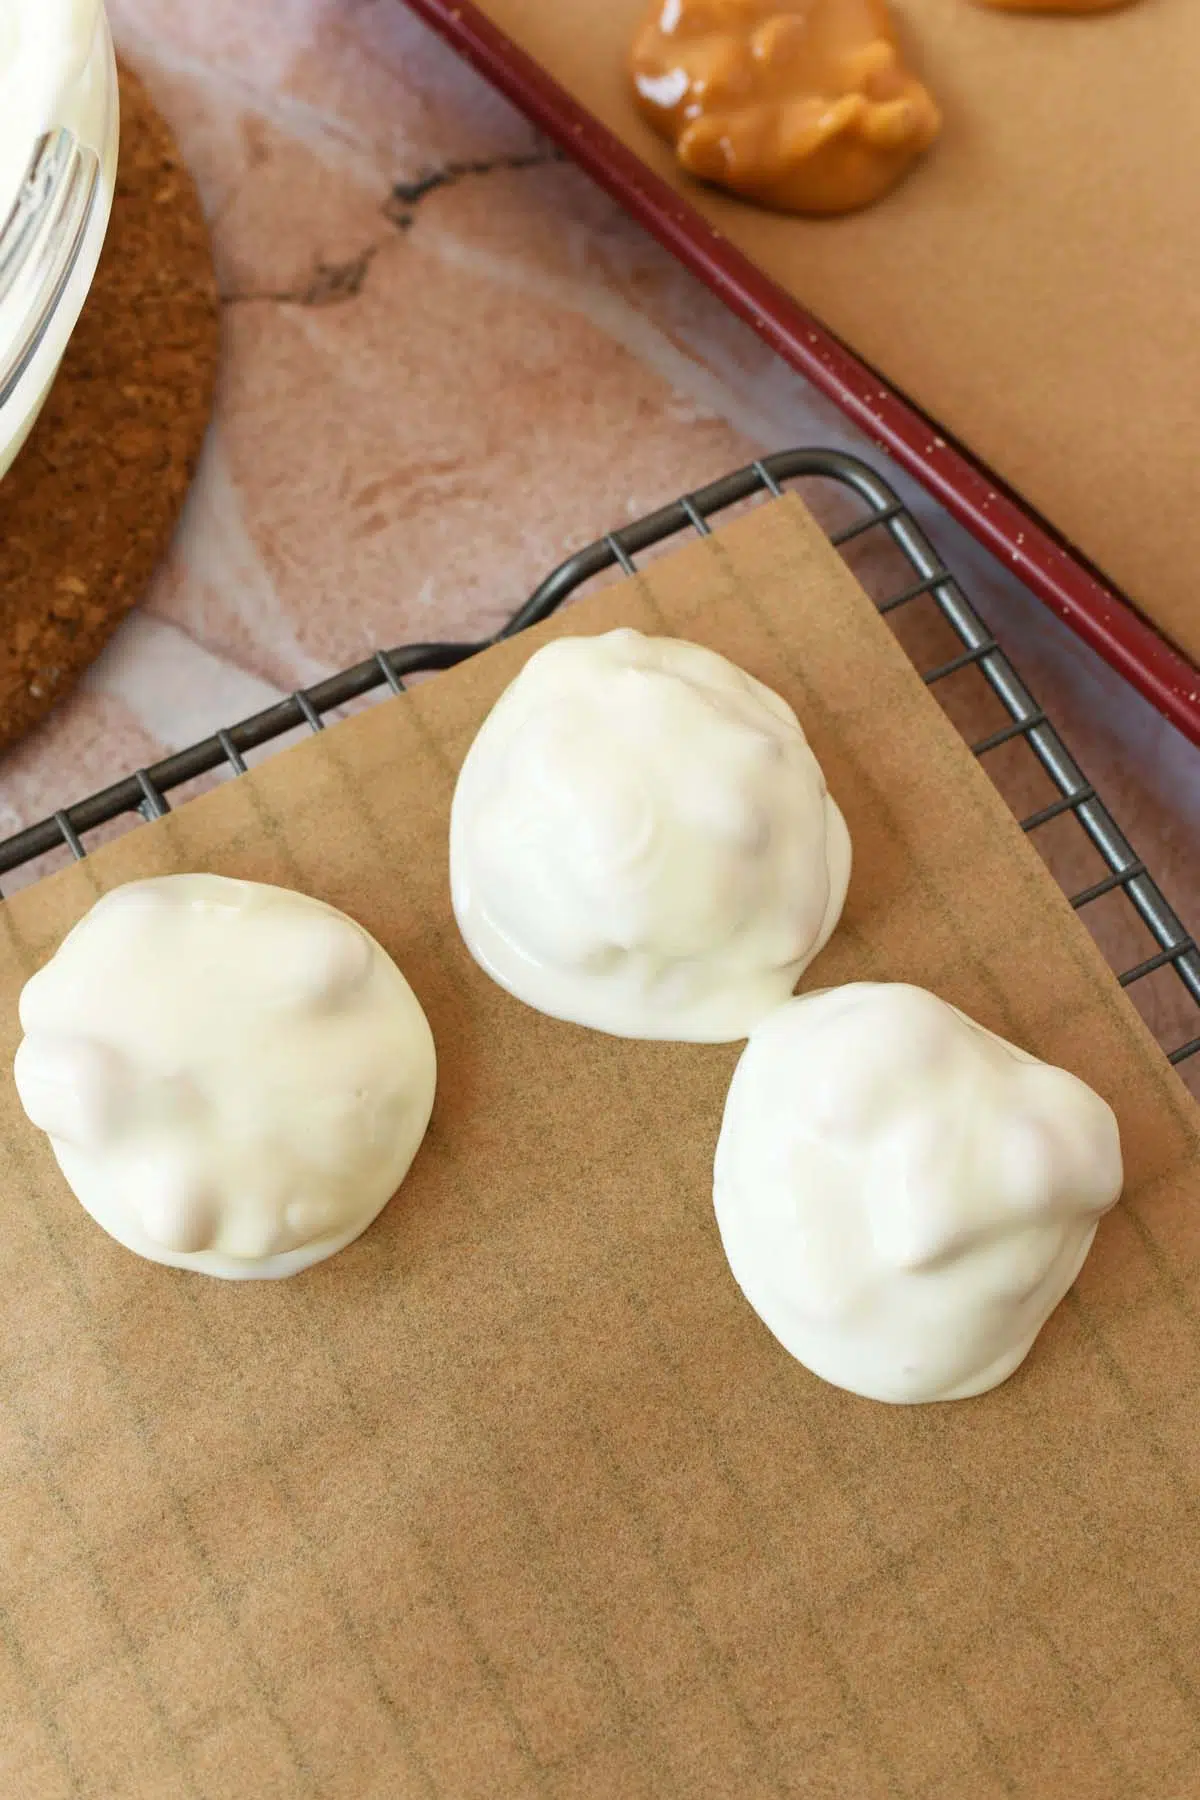
Remove the chilled caramel-nut centers from the refrigerator. One by one, dip each caramel center into the melted chocolate, making sure to fully coat it. Use a fork or a dipping tool to lift the candy out, allowing any excess chocolate to drip back into the bowl. Place the coated candies back on the parchment-lined baking sheet.
Chill to Set
Return the baking sheet to the refrigerator for at least 30 minutes, or until the chocolate is completely firm and set. Once set, the candies can be stored in an airtight container at room temperature for up to a week.
FAQs About Polar Bear Paws
Are Polar Bear Paws Candy only available during the holidays? You can often find them year-round, but they are most popular during the winter and holiday months. If you can’t find them, my recipe above is a great way to make sure you can enjoy them anytime!
Can I use different nuts? Absolutely! Walnuts or almonds would also be delicious in this recipe.
How should I store them? Store them in an airtight container in the refrigerator for up to two weeks. But, let’s be honest, they probably won’t last that long! You can also store them in the freezer for up to 3 months when stored properly. Allow them to thaw before eating. Use extra caution enjoying if you have dentures or a loose tooth!
Must-Try Christmas Candy Recipes
- Homemade Turtle Candy
- Gumdrop Nougat
- Cherry Nut Fudge
- Chocolate Raisin Peanut Clusters
- Martha Washington Candy
- Cream Cheese Mints
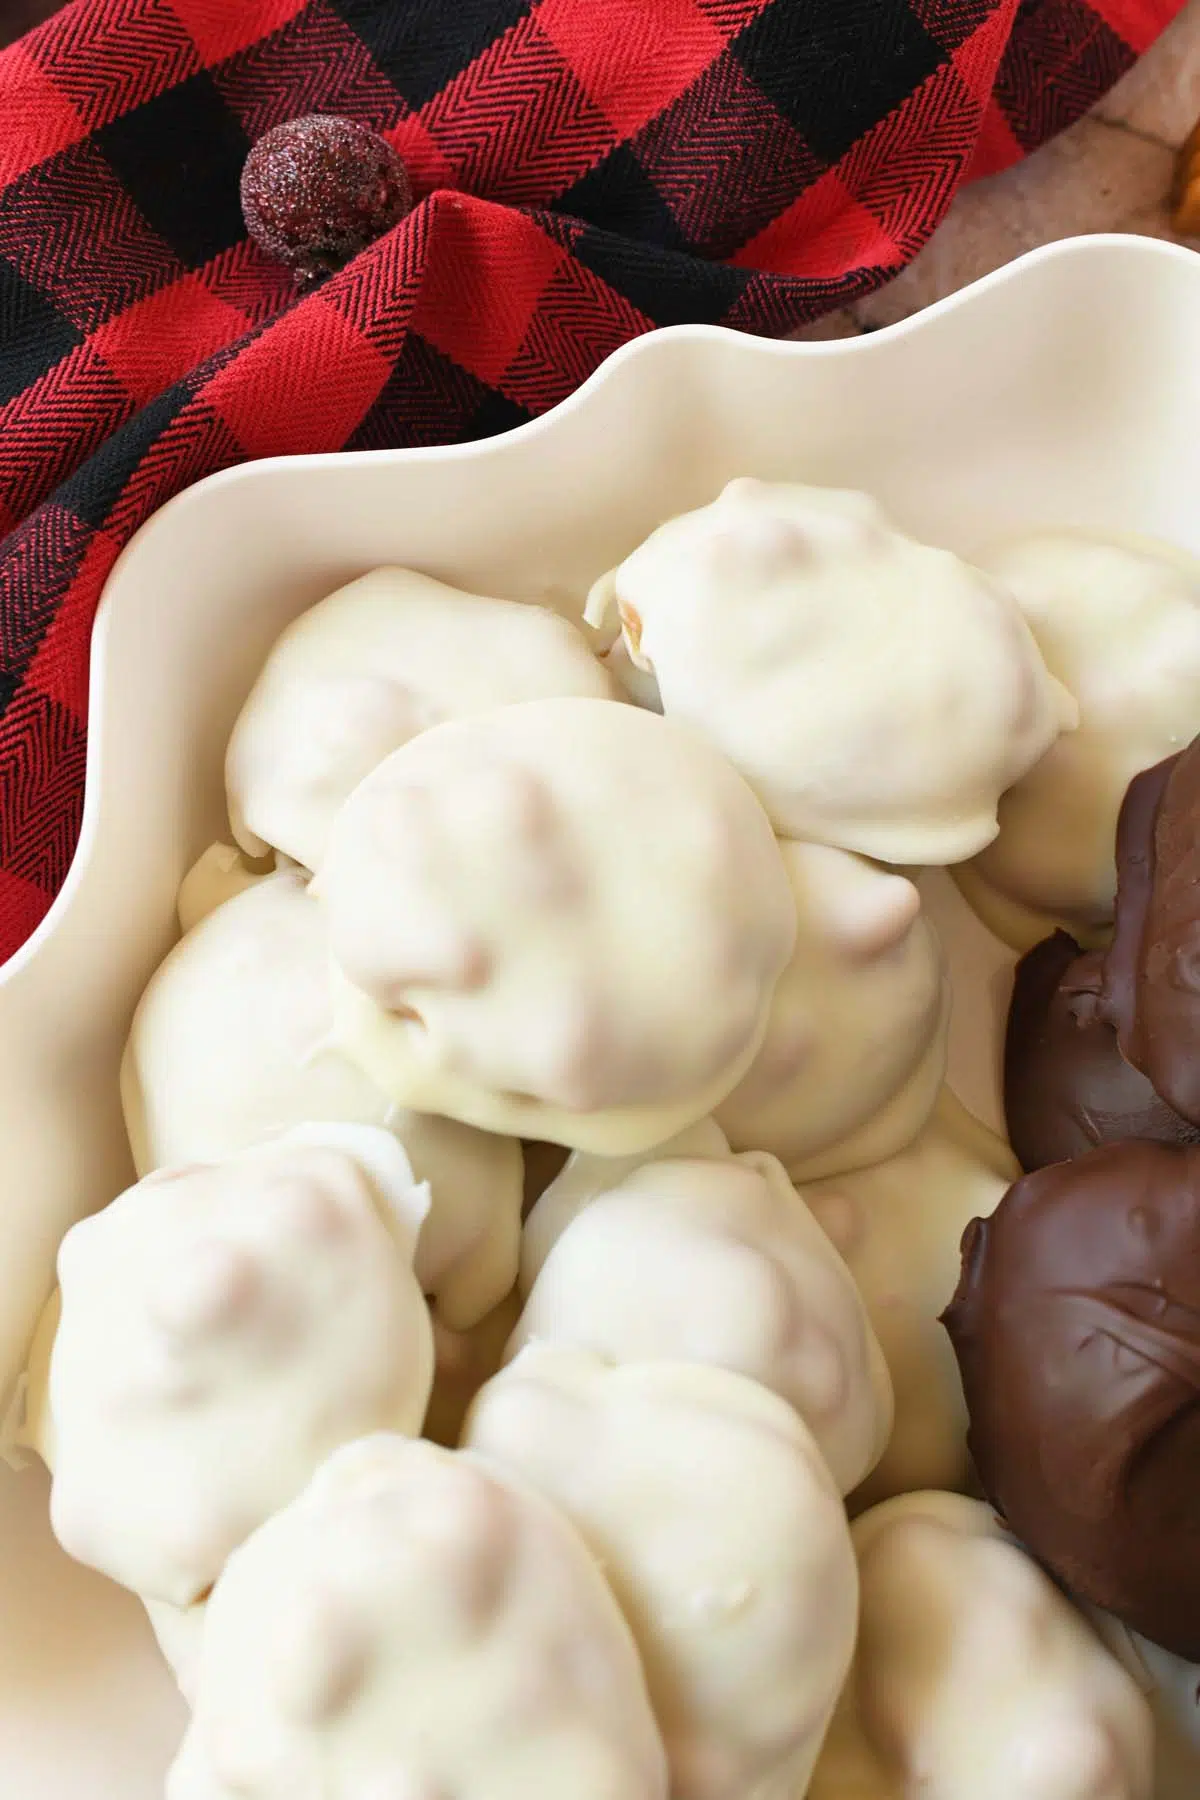


Polar Bear Paws Candy
Equipment
- 3 small baking sheets
- parchment paper
- tablespoon sized cookie scoop
- 3 microwave-safe bowls
- Microwave
- wooden spoon
- measuring spoons
Ingredients
- 22 ounces Kraft Caramel Squares
- 6 tablespoons Hood Heavy Whipping Cream
- 2 tablespoons Challenge Unsalted Butter
- 2 cups Planter's Lightly Roasted Peanuts
- 20 ounces Ghirardelli Vanilla Melting Wafers Can sub 10 ounces with dark, or milk chocolate as well like I did. 20 ounces is the TOTAL chocolate needed.
Instructions
- In a medium, microwave-safe bowl, combine the two bags of Kraft Caramels, 6 tablespoons of Hood Heavy Whipping Cream, and 2 tablespoons of Challenge Unsalted Butter. Microwave in 30-second intervals, stirring after each one, until the caramel is completely melted and smooth. This should take about 2 to 3 minutes.
- Once the caramel is melted, stir in the 2 cups of lightly roasted peanuts until they’re fully coated.
- Using a tablespoon, drop small clusters of the caramel-nut mixture onto a baking sheet lined with parchment paper. Place the baking sheet in the refrigerator and chill for at least 30 minutes, or until the centers are firm.
- In a separate large, microwave-safe bowl, combine the two bags of Ghirardelli Premium White Chocolate melts and semi-sweet morsels. Microwave in 30-second intervals, stirring after each one, until the chocolate is smooth and fully melted.
- Remove the chilled caramel-nut centers from the refrigerator. One by one, dip each caramel center into the melted chocolate, making sure to fully coat it. Use a fork or a dipping tool to lift the candy out, allowing any excess chocolate to drip back into the bowl. Place the coated candies back on the parchment-lined baking sheet.
- Return the baking sheet to the refrigerator for at least 30 minutes, or until the chocolate is completely firm and set.
- Once set, the candies can be stored in an airtight container at room temperature for up to a week.

Leave a Reply